It’s no secret that I’m a deal shopper when it comes to flights/travel things, and I’m always scouting for deals to determine where we go next. One of my previously Hawaii-dwelling friends was getting married and I just couldn’t swing a $900 plane ticket and thought I’d have to miss out. Then one day, I heard Southwest was planning on opening routes to Hawaii, and I just KNEW other airlines would start dropping prices. So I waited, and watched very carefully, and one day at work BINGO, I scored $260 RT tickets! At the time my former grad-school roomie Kasey lived in Maui, so she sent me this magnificent email (three of them actually) jam packed full of fabulous recommendations both from a “tourists love this” standpoint and a “local favorites” point of view. And you guys…of every trip we’ve ever taken, this has to be my favorite! I owe that (and most of the tips in this post!) to her. Consider Kasey my co-author on this one, or maybe consider me hers! Ha!

To be honest when we booked this trip, I was excited but really truly believed Hawaii must be overly hyped. And to be fair, I did feel that was true for in Oahu based on our experience there, however we spent such a short time there I’m willing to give it another chance someday before I form my final opinion. But Maui? Ya’ll. Take all the hype and excitement you hear and see about Hawaii and magnify it times 10, and Maui in real life is probably still better. It’s everything you want in a vacation, and truly a magical place. We fit as many of Kasey’s recommendations into our agenda as possible in the five short days we were there, and it felt like a real-life scavenger hunt with natural treasures around every corner.
When I got home, after posting a ton of pictures, I ended up forwarding my friend’s emails (along with my personal embellishments/additions) to literally a dozen different people who had asked! That’s honestly when I thought yeah, maybe I really should start a blog. For the same reason my beautiful friend Kasey took the time to send me those emails – because people want to know when they go somewhere that they’re making the most of their time there, and what better way than to get advice from someone they know has first-hand experience and loved it! So, without further ado, here’s a Maui travel guide!
Where to stay in Maui
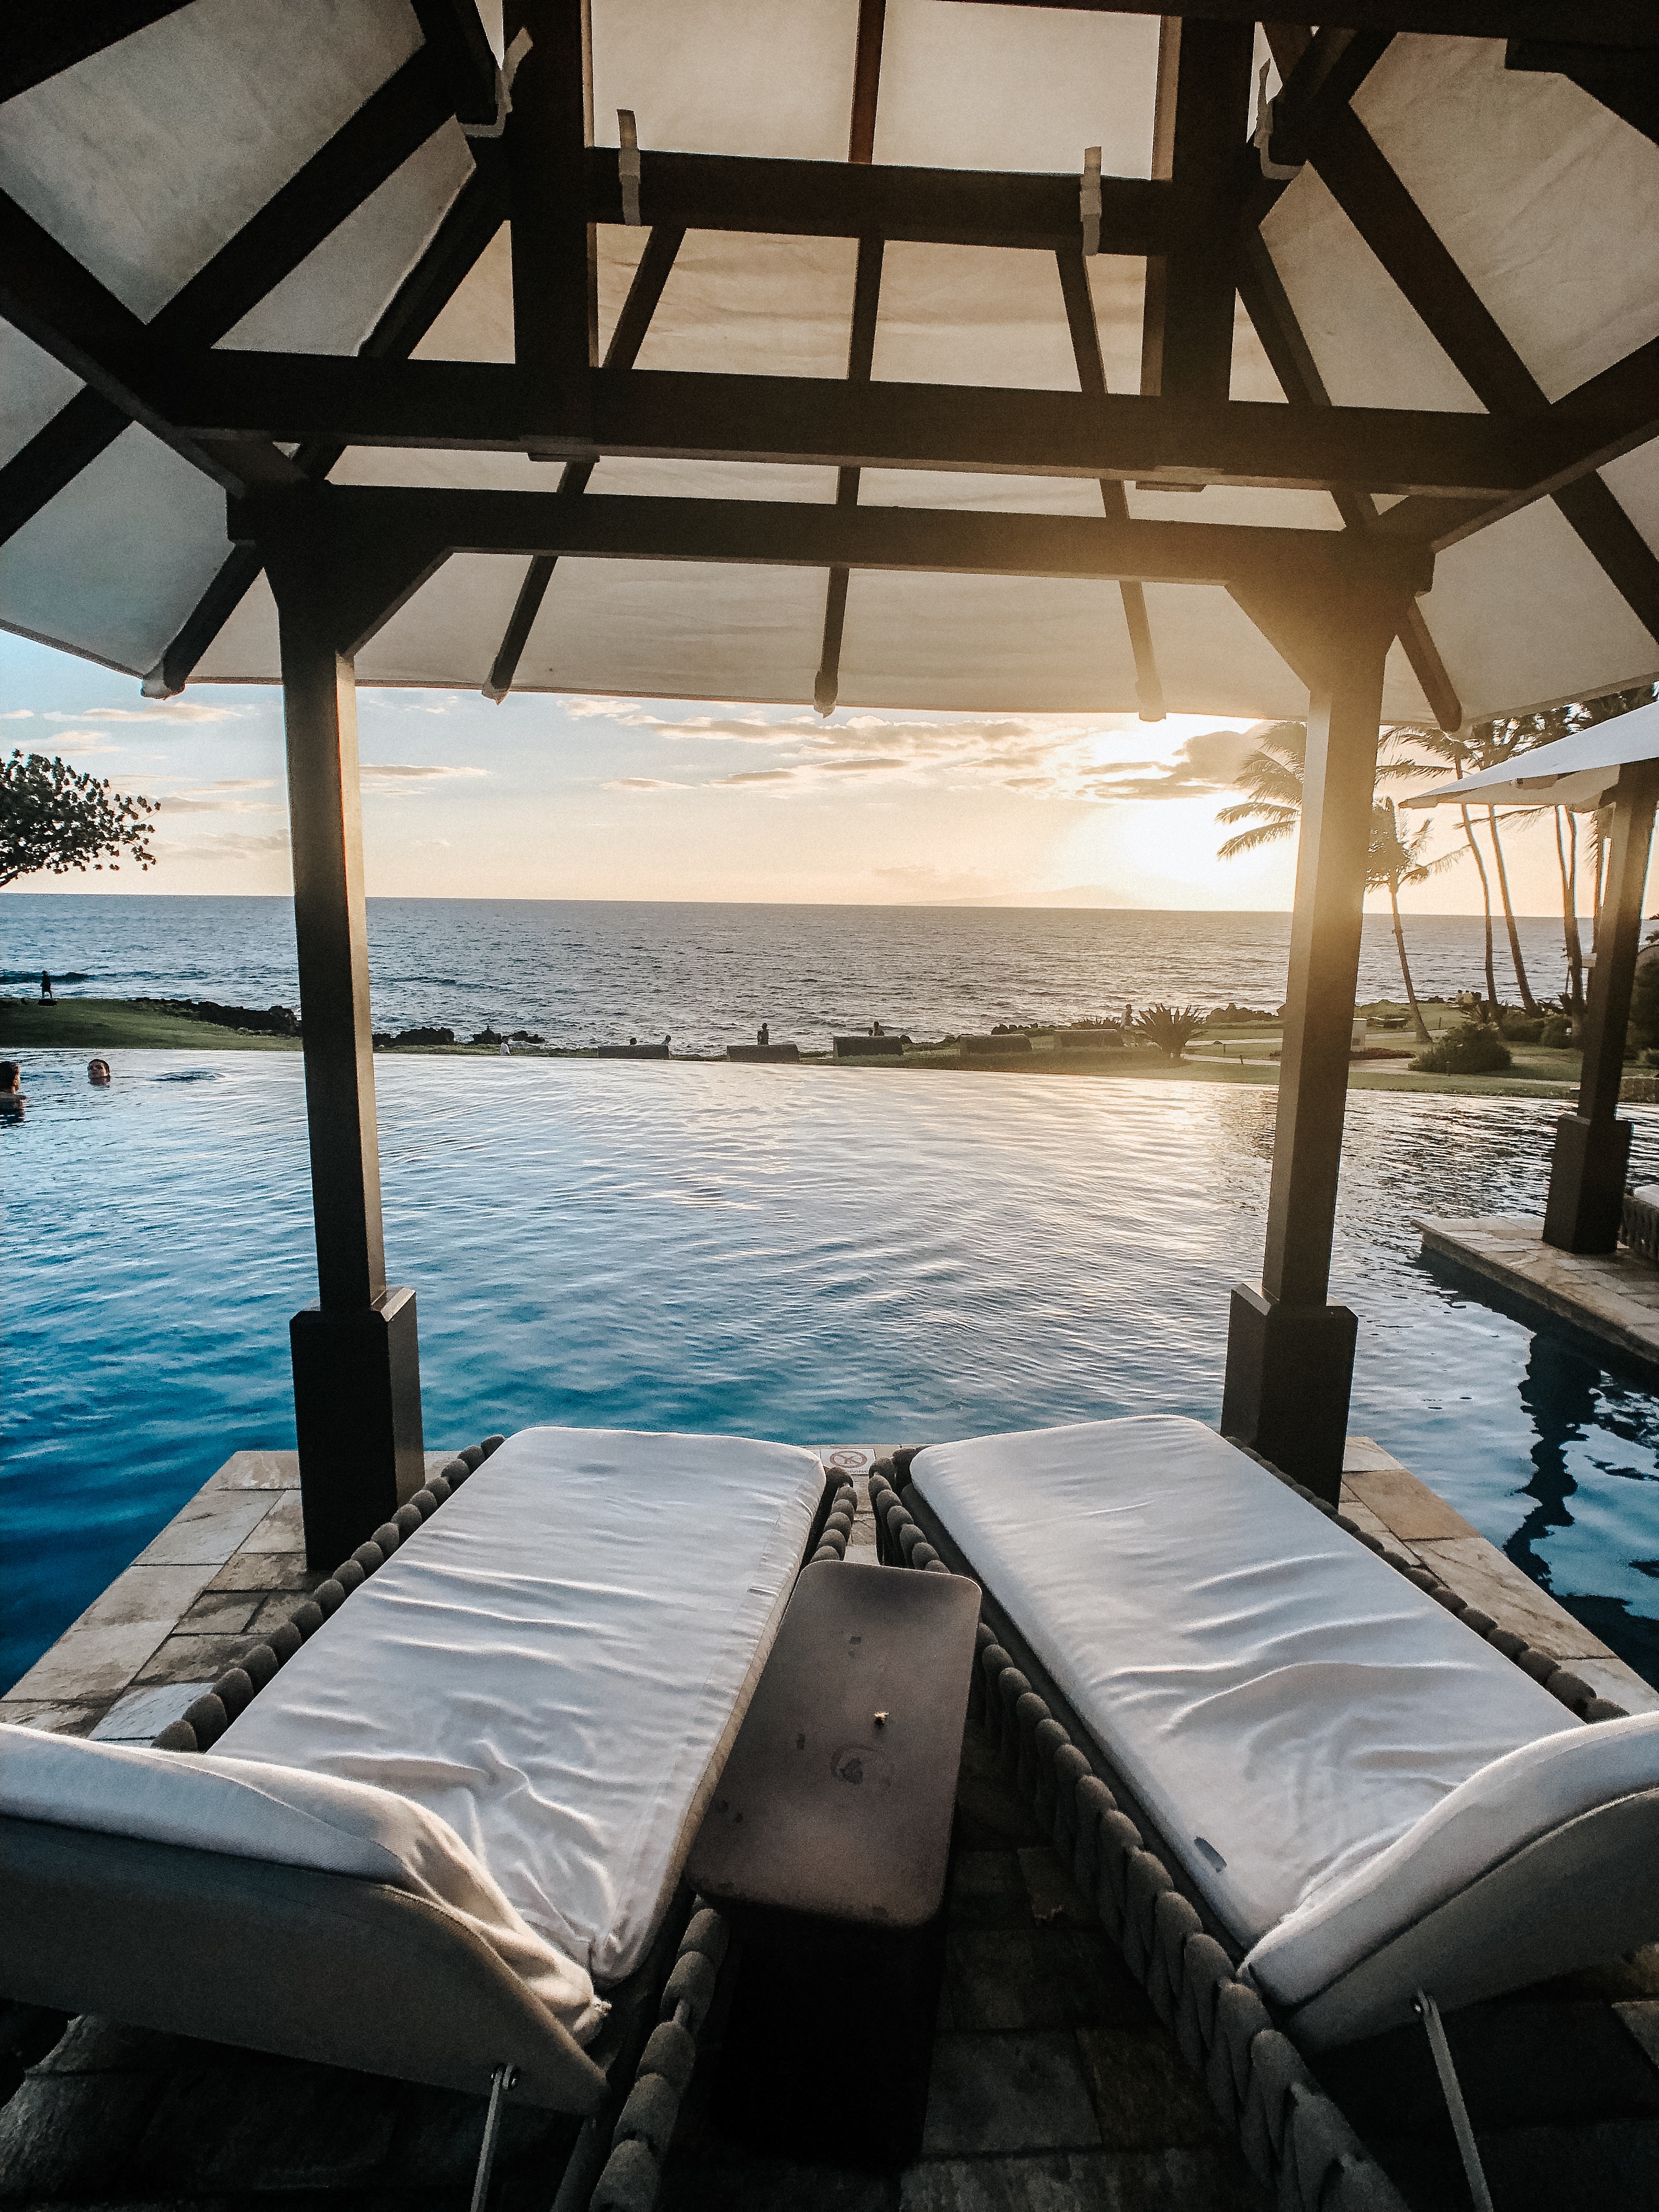
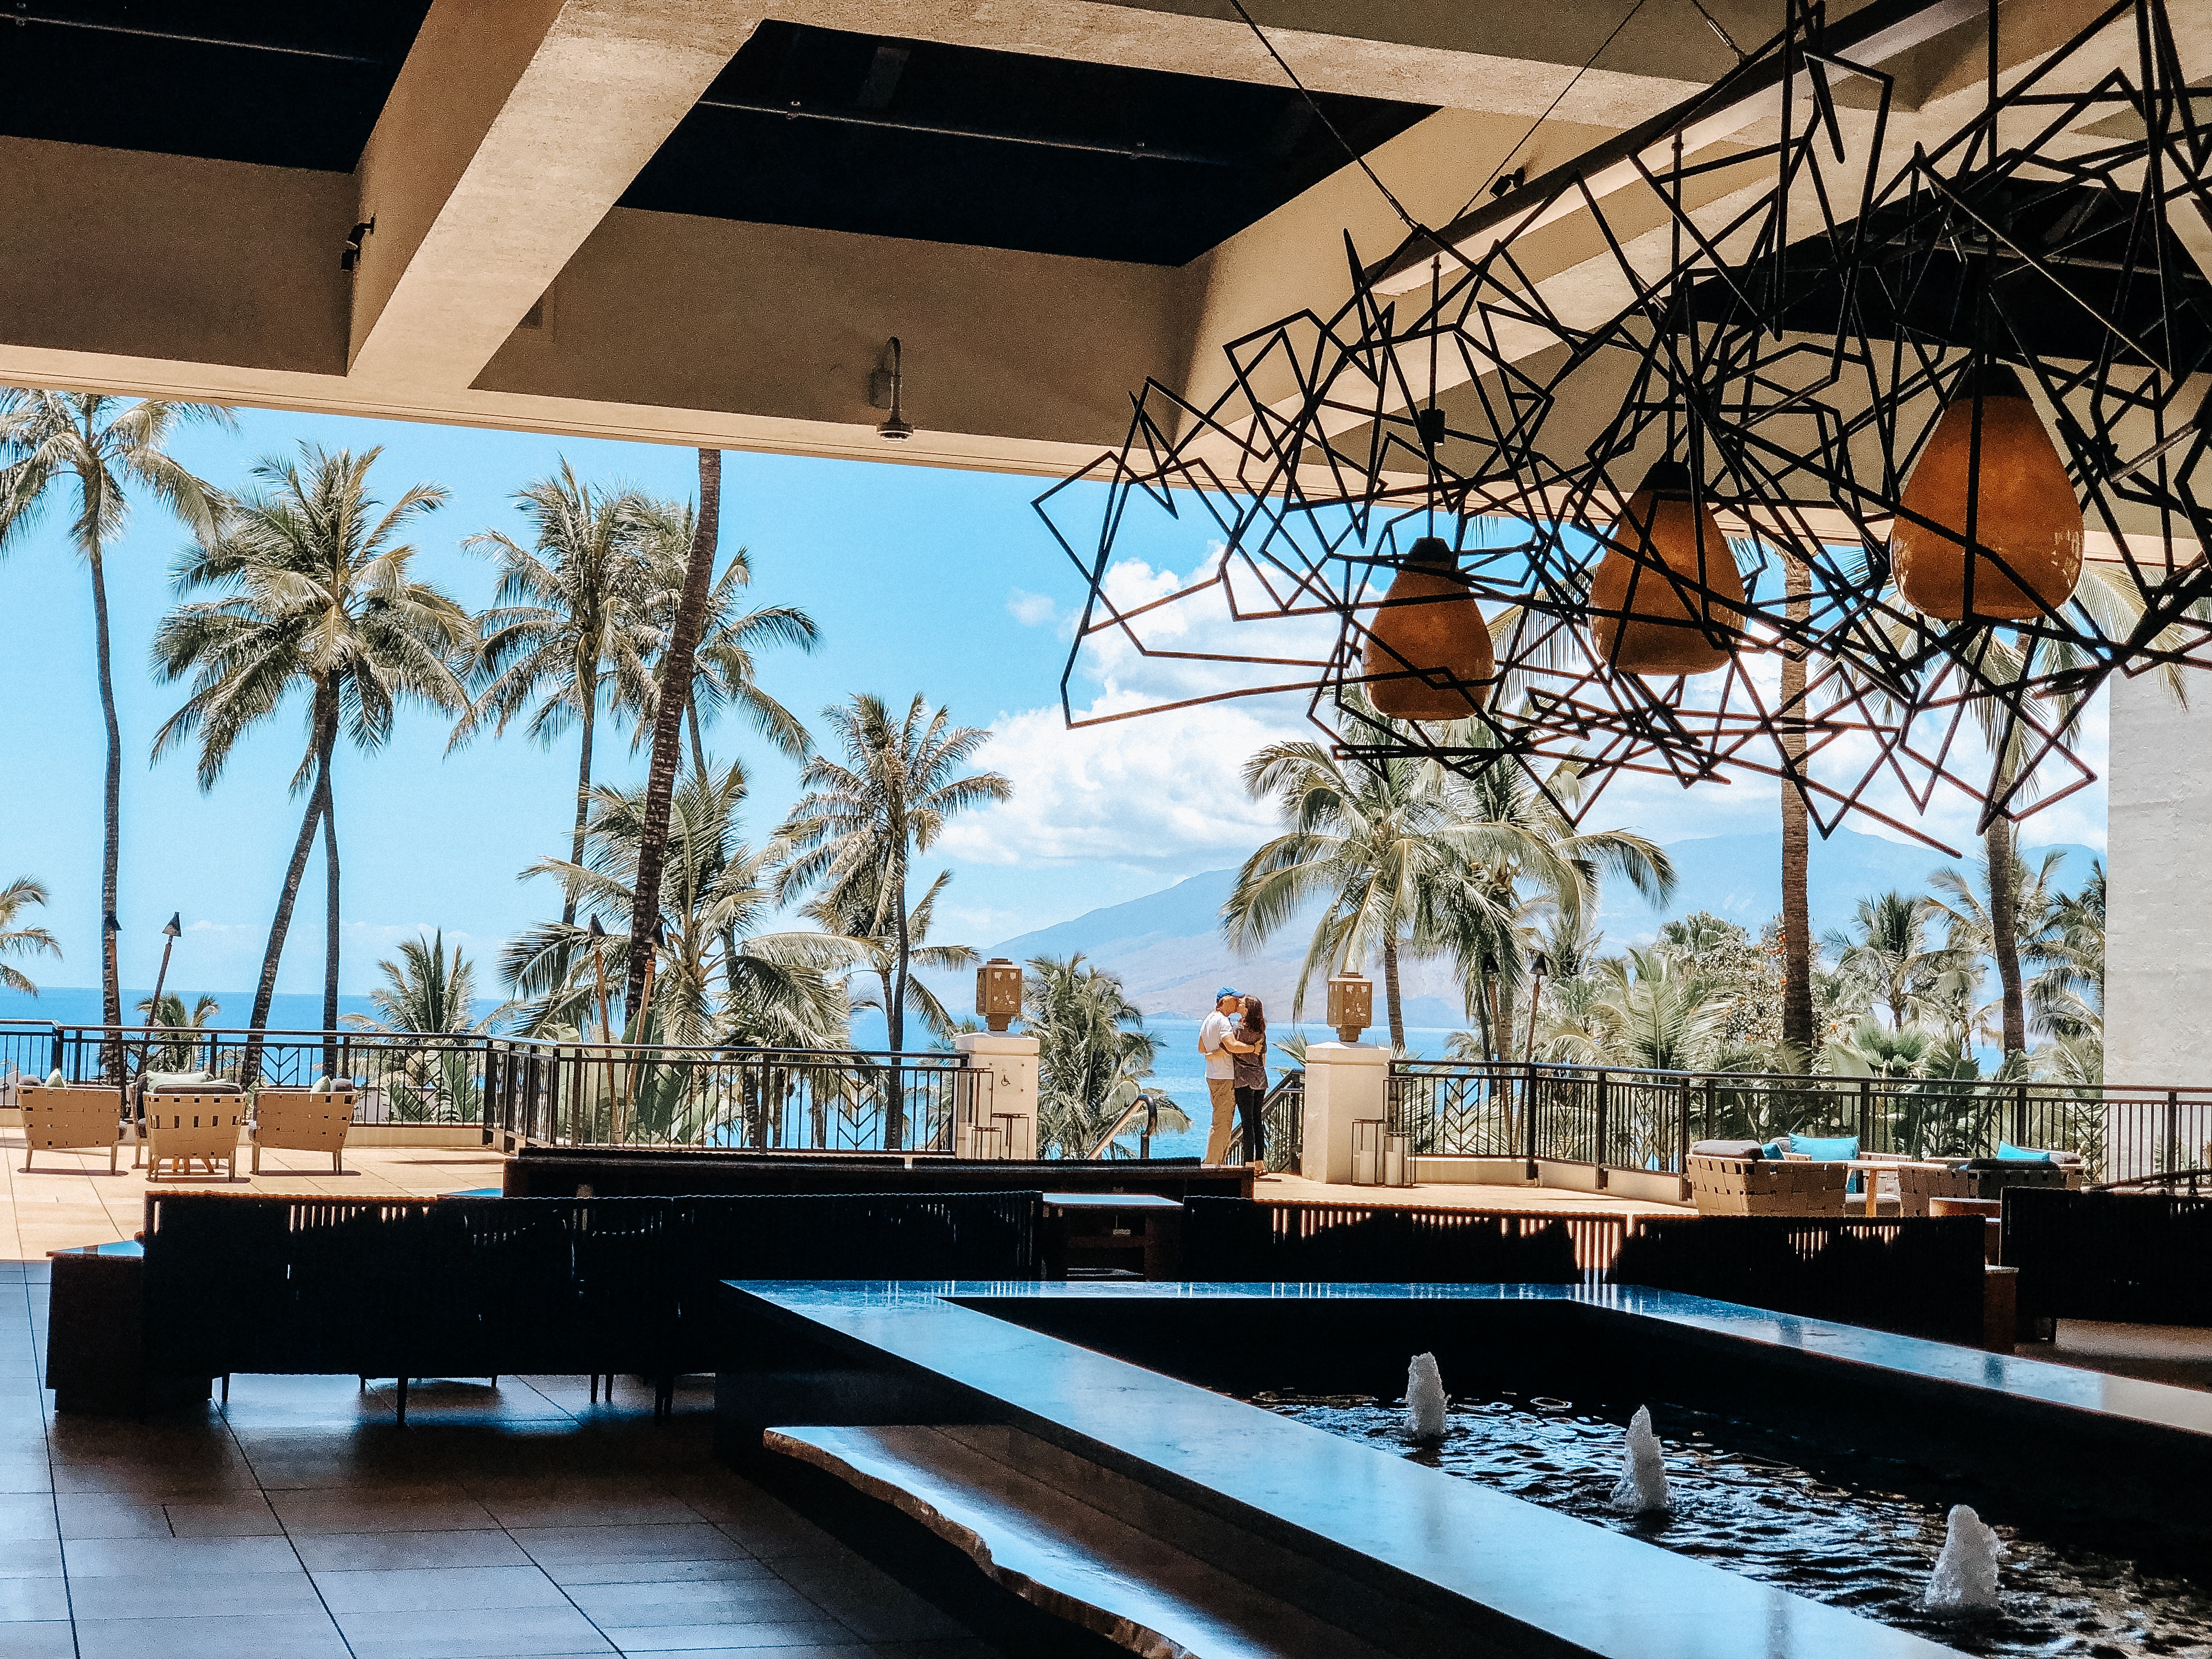
So, I don’t like to advise on places I haven’t been, unless for some reason I have reputable information on those places. So for that reason I will only tell you about where we did stay, and I honestly couldn’t recommend it enough! If you’re on a tight budget, this is on the pricier side, so maybe check private rentals if so. I’ve heard good things about Airbnb’s in the area, but we didn’t find any that suited our needs for this trip, so we stayed at Wailea Beach Resort by Marriott. We get points through Marriott Bonvoy and Expedia, so scored a super sweet deal on our room, but truly once we got there it was so beautiful that we literally felt sad that we left the beautiful grounds every day to explore the island. It’s worth a vacation in and of itself just to stay at this beautiful hotel and enjoy all the beautiful things there. Service was excellent, they had fabulous amenities, and the beds were comfy which is super important to me! I have also heard wonderful things about most of the other resorts down in Wailea area and would recommend staying there on your first time in Maui if you’re like me and enjoy a bougie vibe. These resorts are connected by sidewalks on the beach and you can walk hotel to hotel and see many of them from the oceanfront which is pretty fun too. Back to the Marriott though; Staff was wonderful, the pools and beach views are dreamy, and they have one of the best Luau’s on the island I’m told. Right behind the hotel there’s a precious little supermarket full of delightful local products (if you go, try the Maui crisps! It’s beef jerky but sliced so thin before dehydration, that it crunches like a potato chip and you guys…I could (and did) eat my weight in them!) so it’s within walking distance if you’re a sucker for snacks like I am.


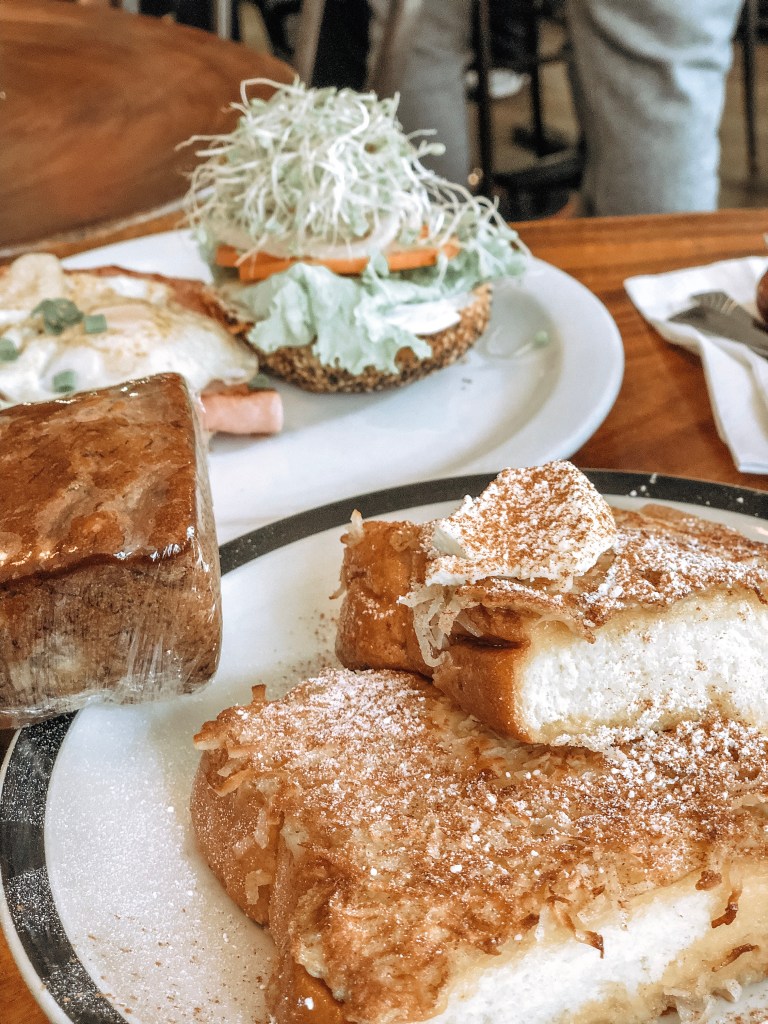
What to EAT in Maui
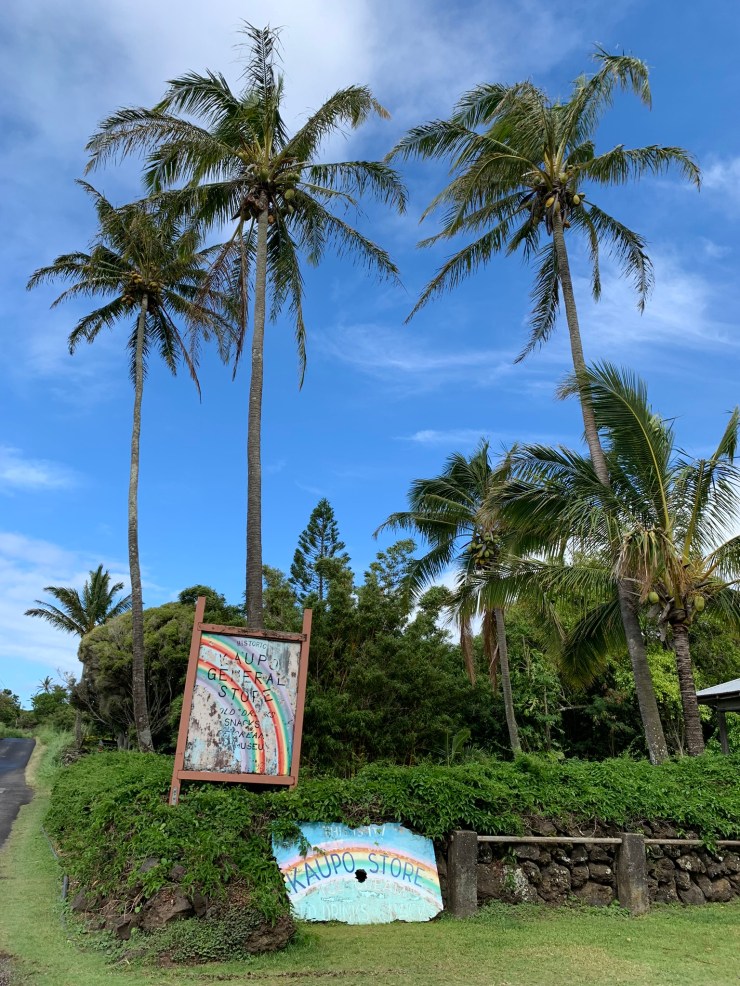
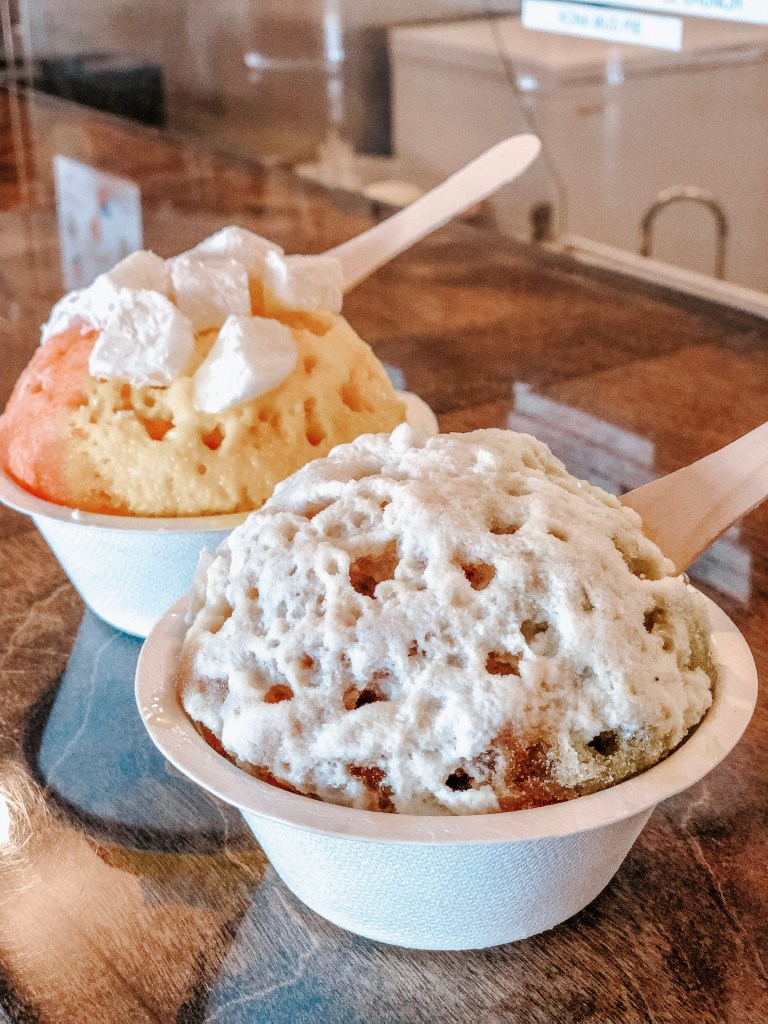
To be honest we mostly stocked up on pic-nick kind of foods and did a lot of eating on the go to save time. This was primarily an adventure trip, so we were less focused on foodie things, and more so on saving time for exploring! If you’re like us, the supermarket I mentioned above is a good spot to stock up, but I also highly recommend bringing cash with you so you can stop at the many road-side fruit stands & buy local produce and snacks along the way! I didn’t want to focus as much on food here, but have a separate post dedicated to food – because ya’ll KNOW it was part of our agenda. Click here for a post on our favorite Maui eats!

Mama’s Fish House is a must! 
Branch out of your comfort zone and sample some of the locally grown treats, most of these stands have fabulous banana bread ❤
WHAT TO DO & SEE IN MAUI
First and foremost, while you’re there try really hard to be respectful of the culture and of the land. Hawaiians actually prefer that we ask permission to enter into their islands, because it is such a sacred place to them. A few things we can do to show our respect include:
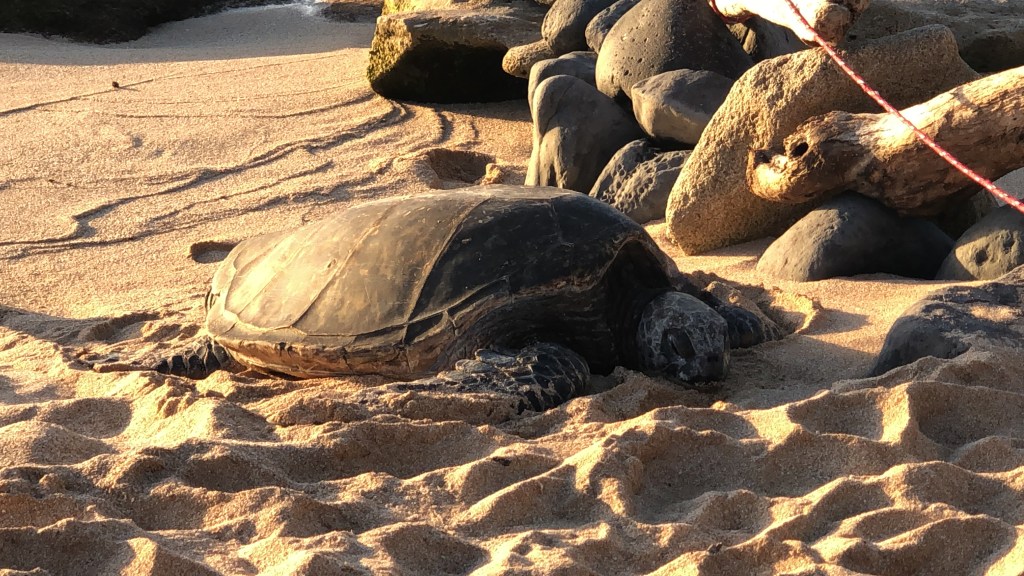
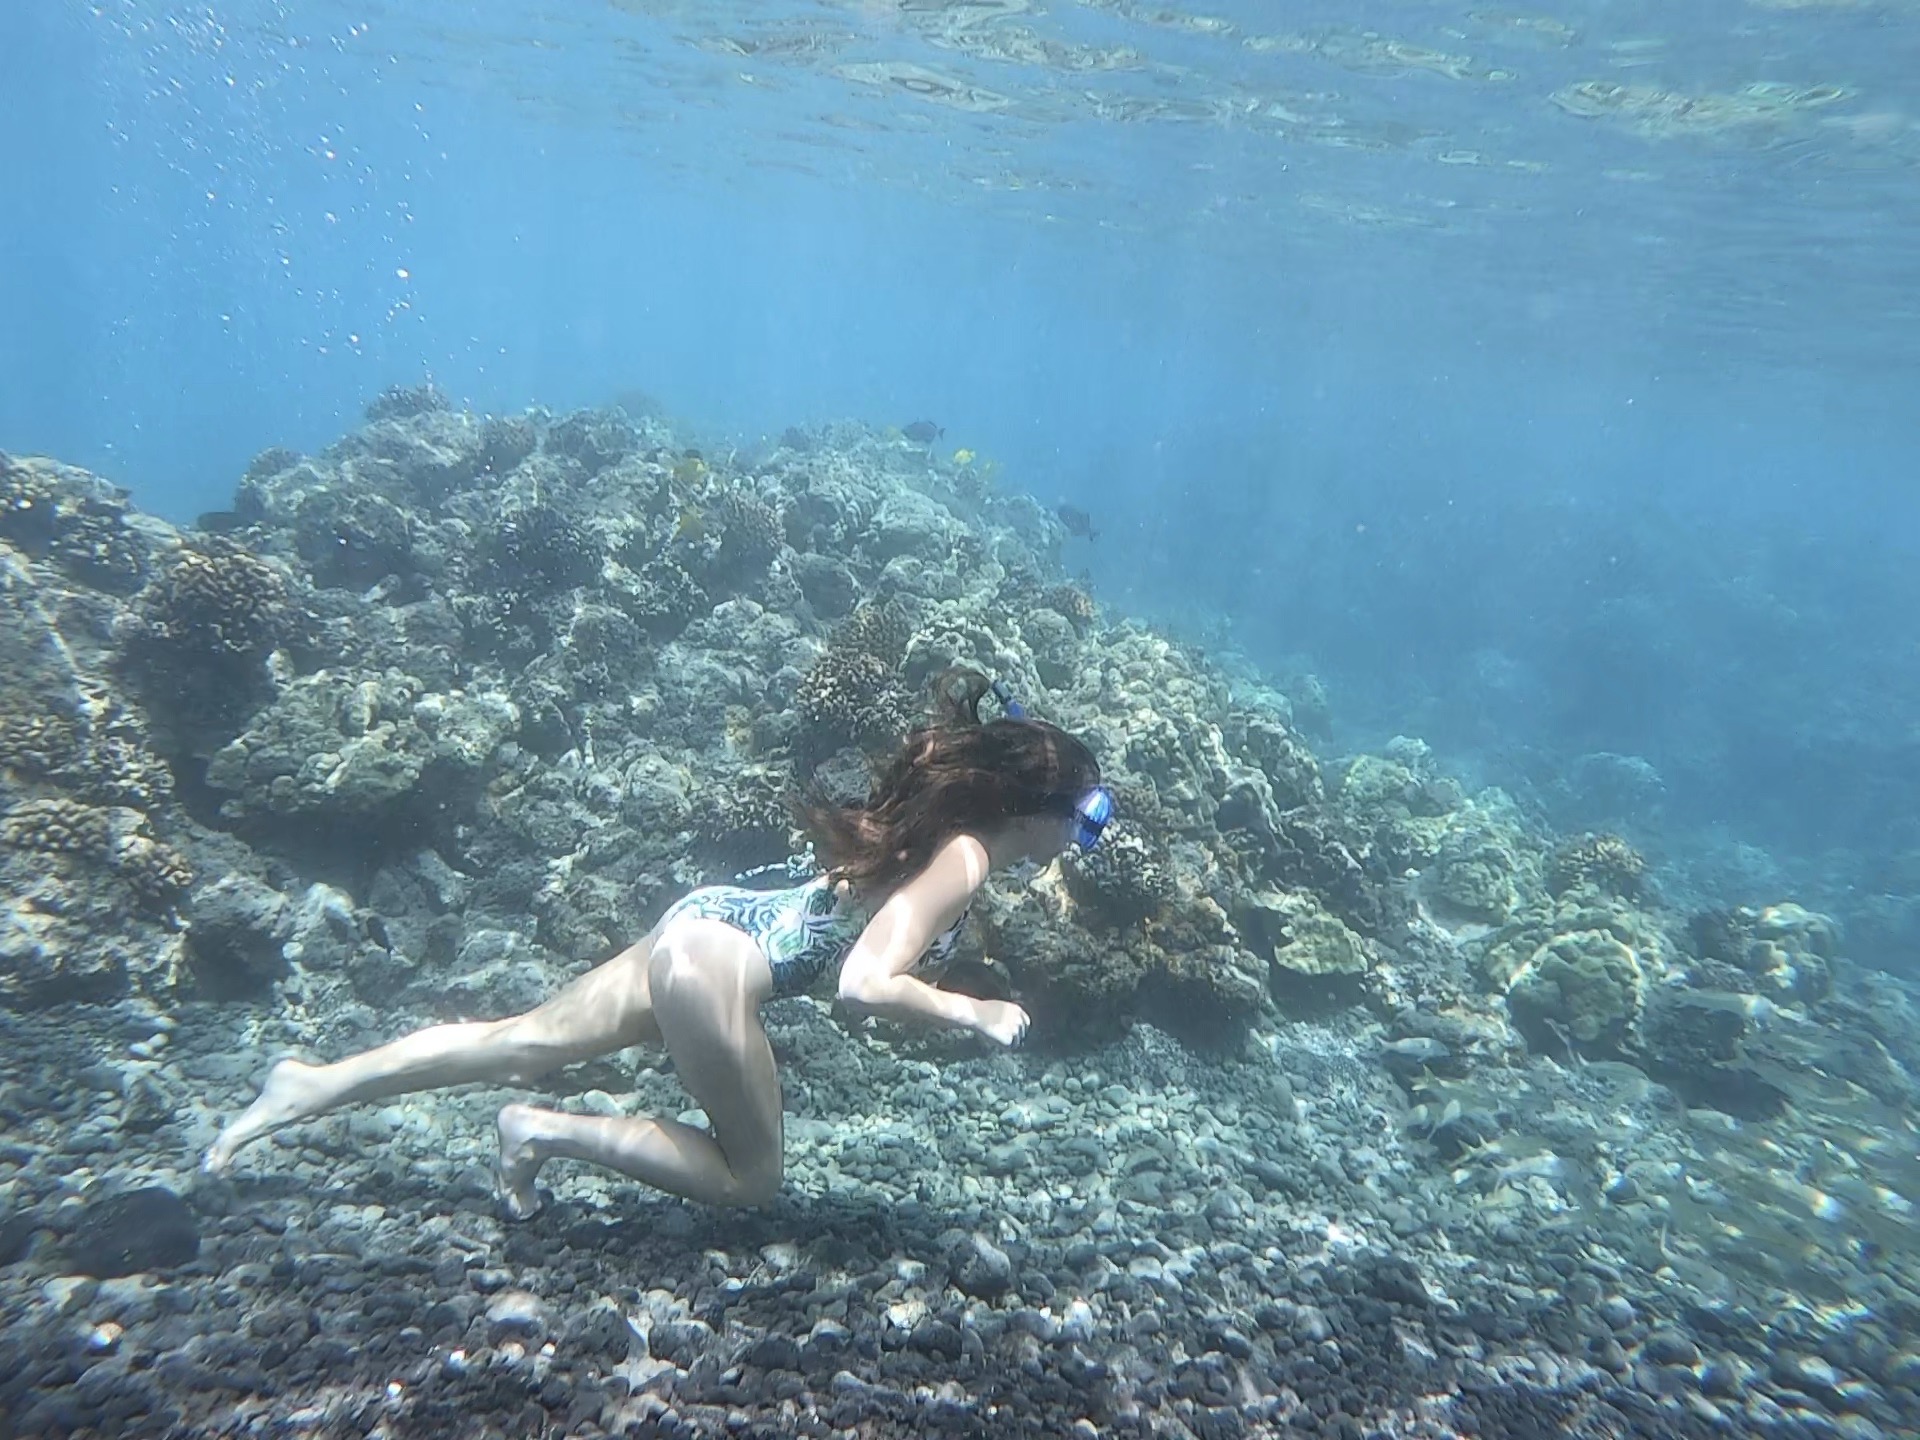
*protecting wildlife (don’t try to touch turtles, fish, or corals…and that includes walking on the “rocks” in the ocean, and always wear REEF SAFE sunscreen/tanning lotions)
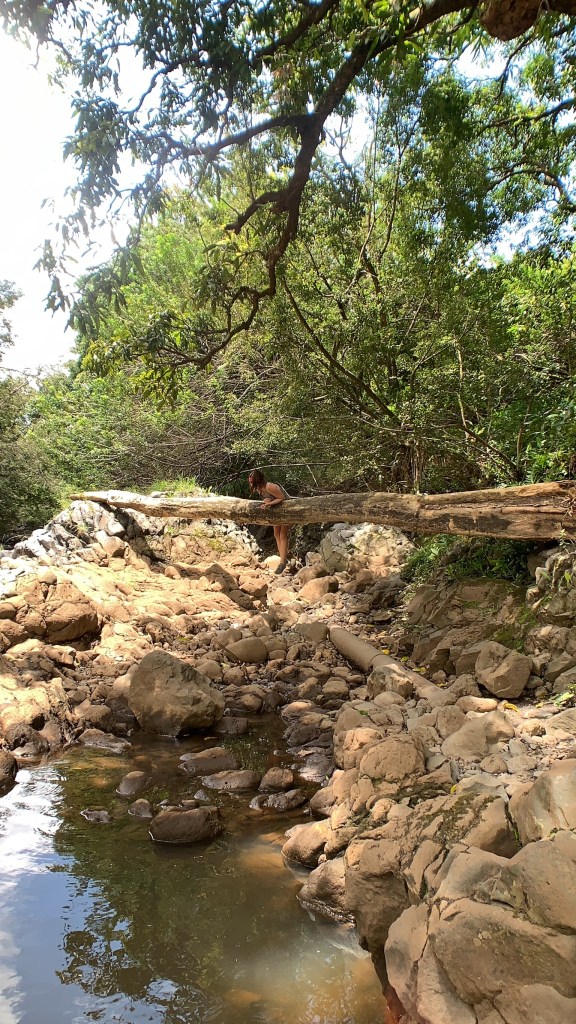
*following rules (don’t swim at high surf, don’t jump off waterfalls, don’t leave the trails lest you get lost in a bamboo forest; even people who know what they are doing have become disoriented and lost for days like this girl)
*being conscientious of how we behave towards locals when we accept their hospitality.
There are so many versions of how I could write an itinerary for what to do and see in Maui. As I said earlier, the resorts alone are worthy of their own vacations. But regardless of how you spend your time, these are things I wouldn’t miss!
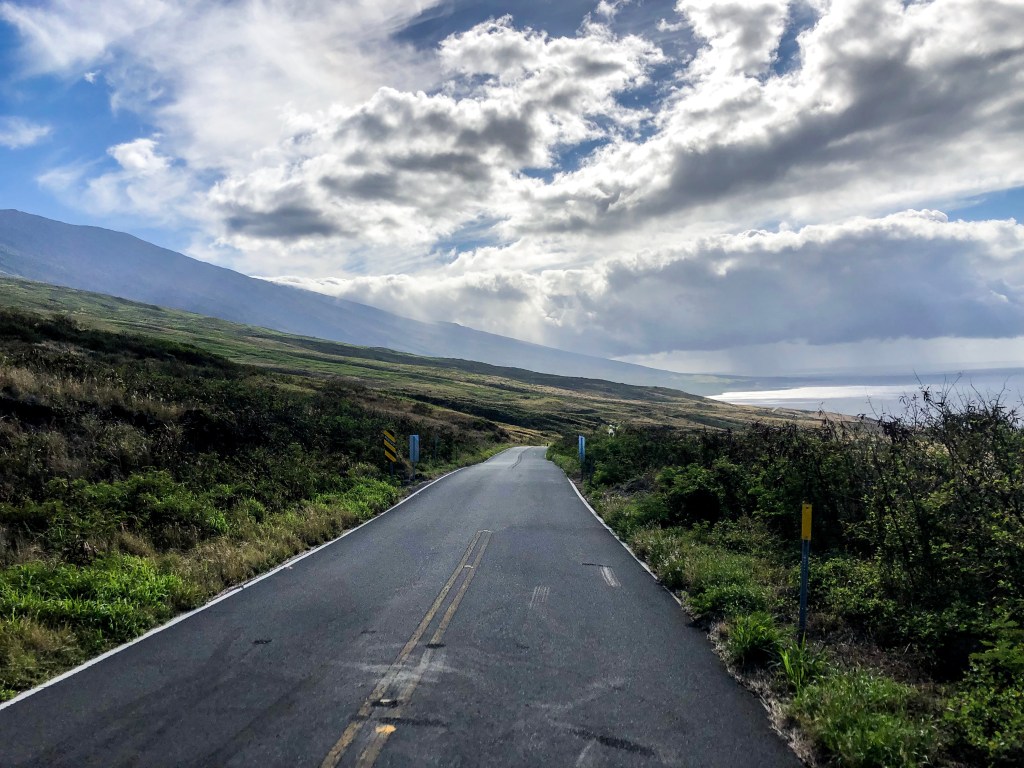
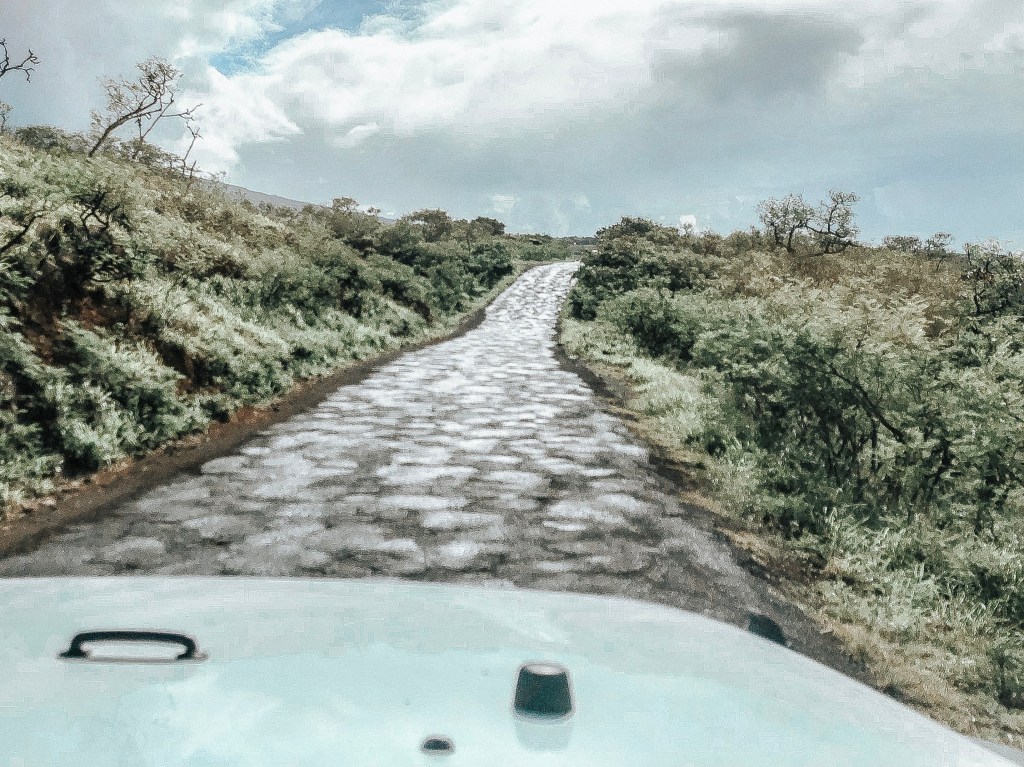
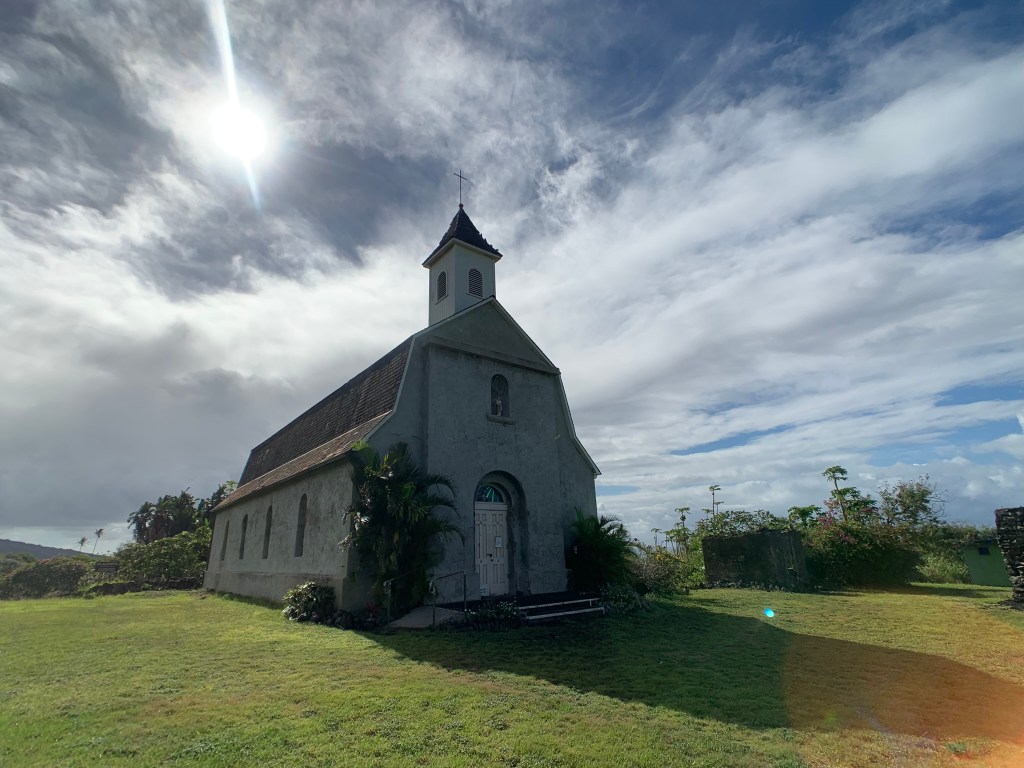
• H A N A • Experiencing the Road to Hana
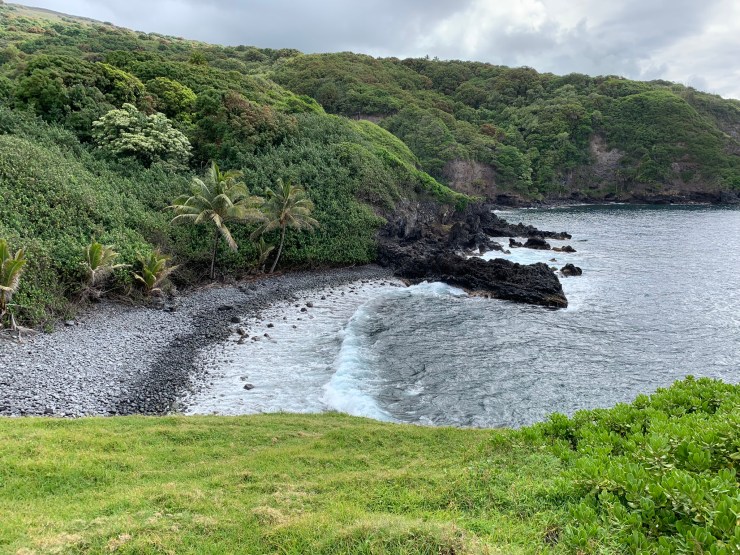
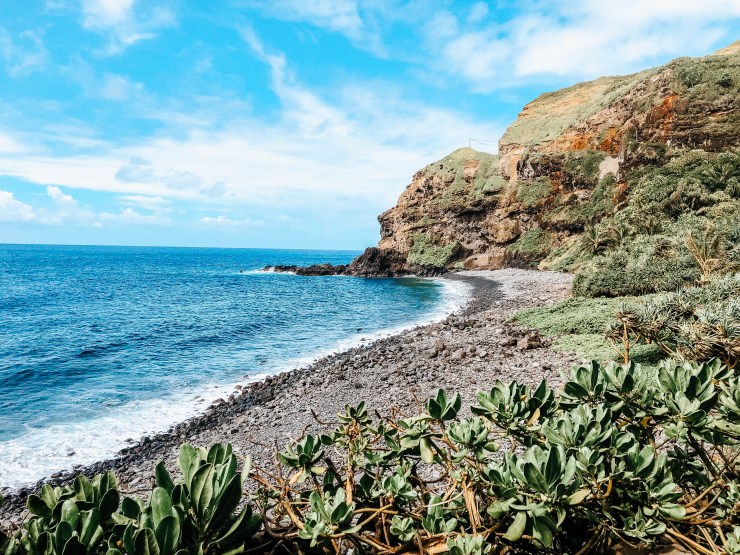
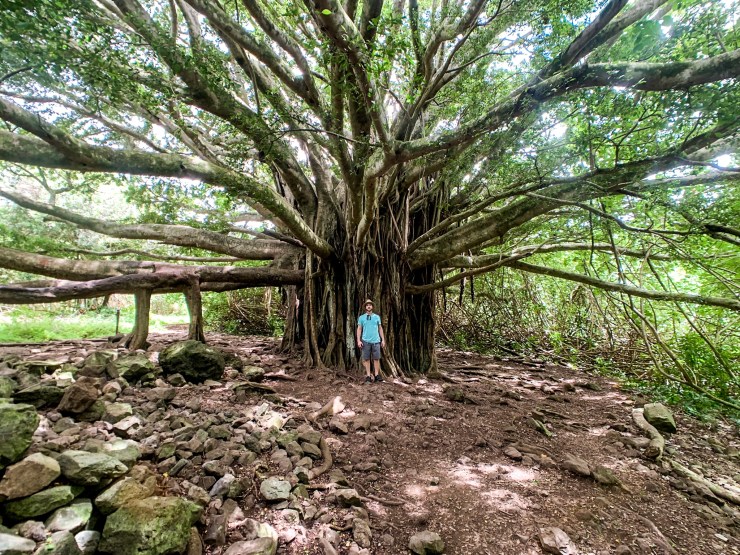
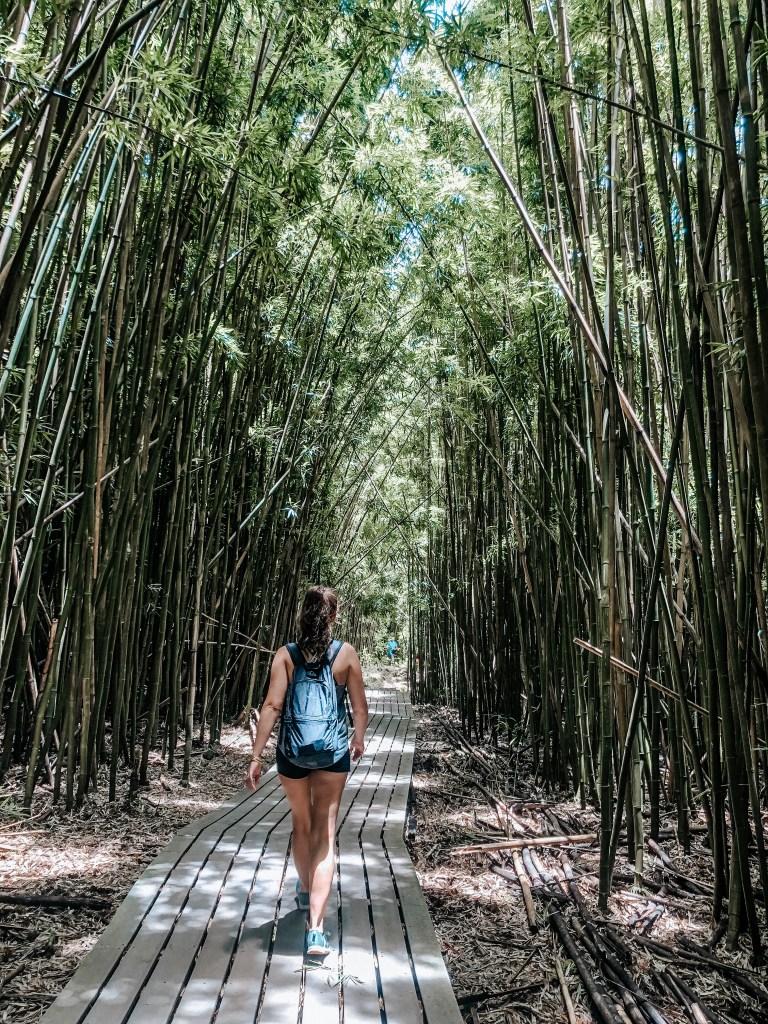
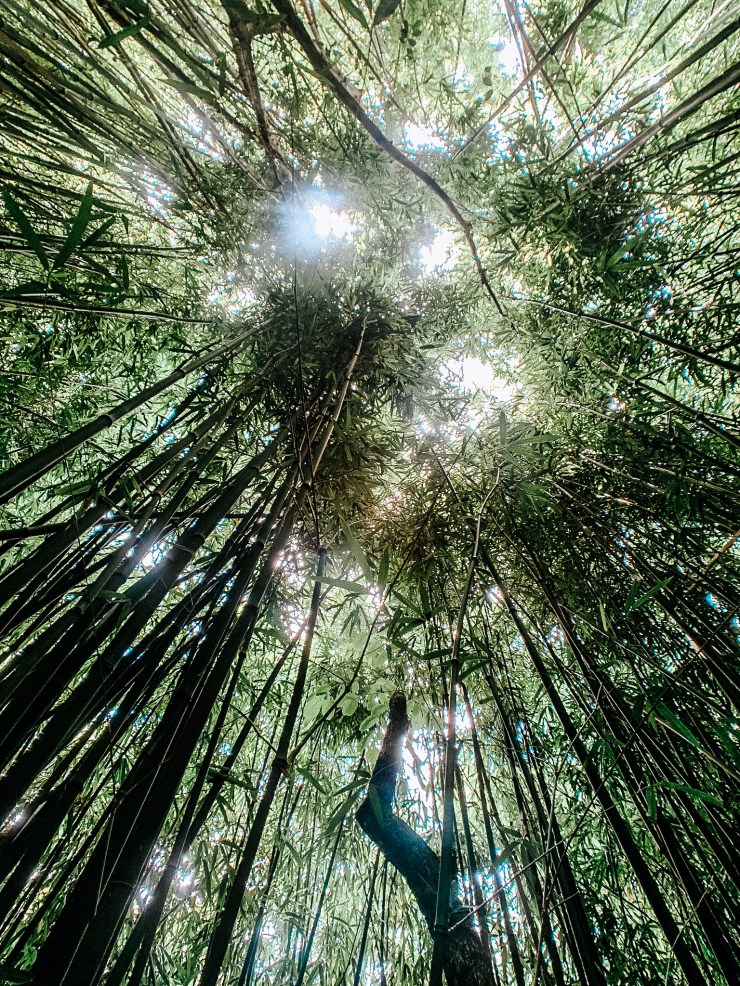
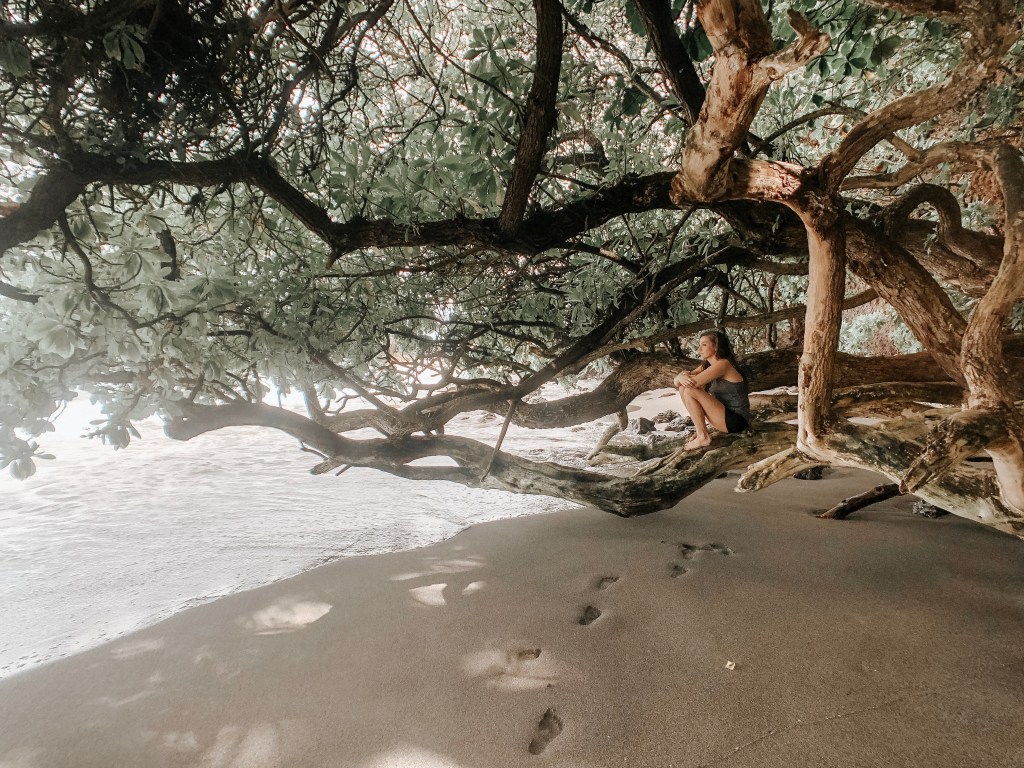
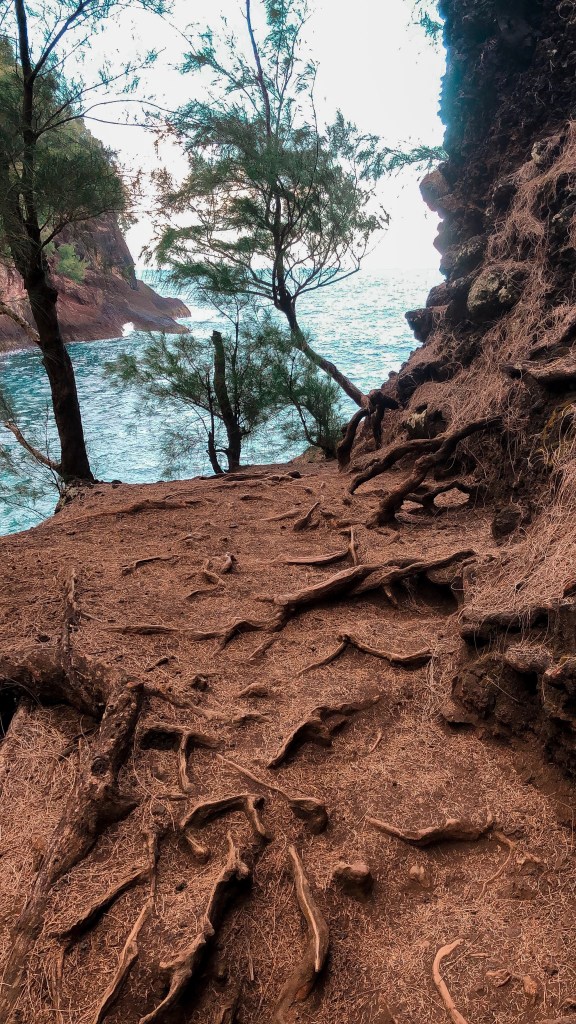
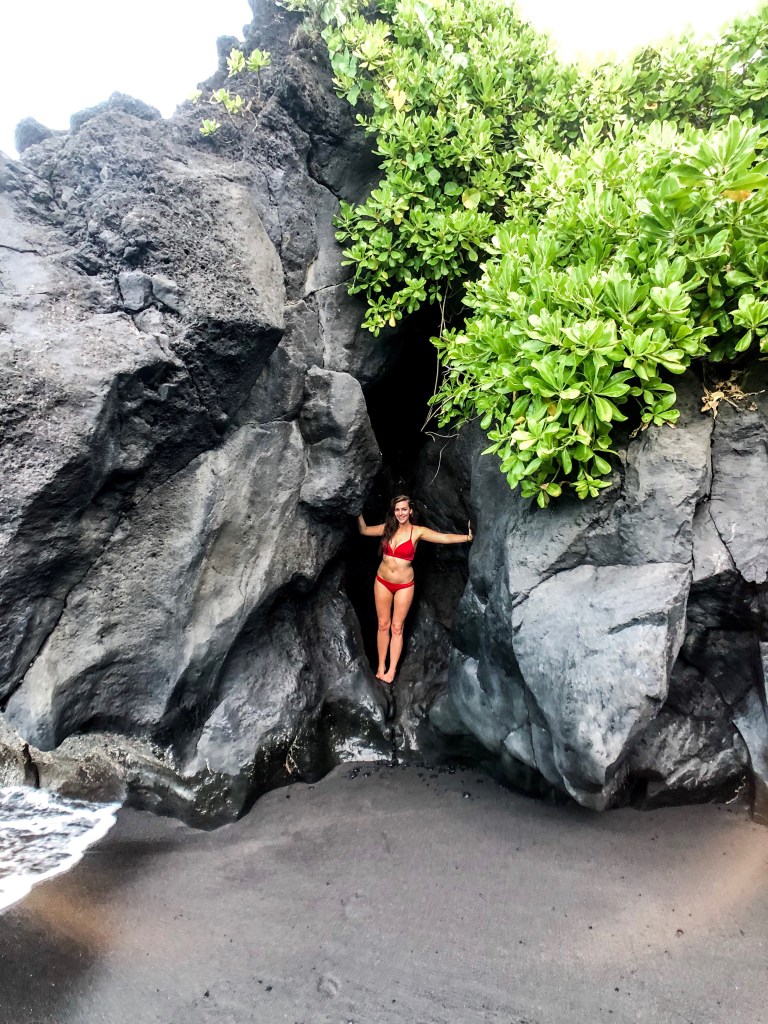
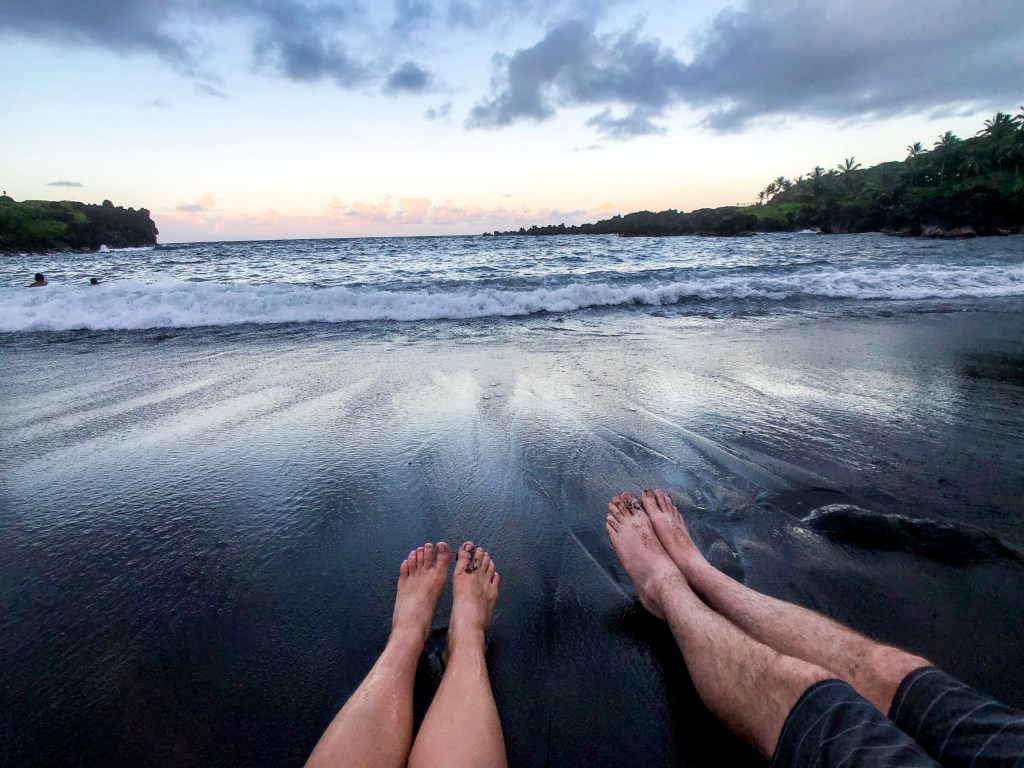
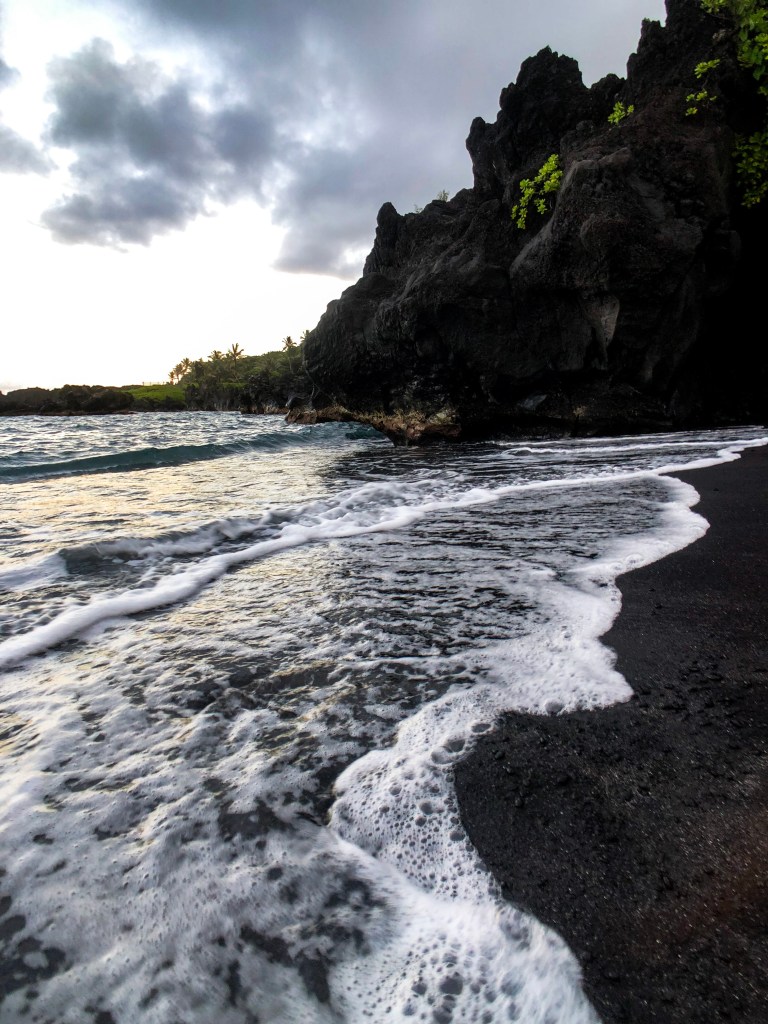
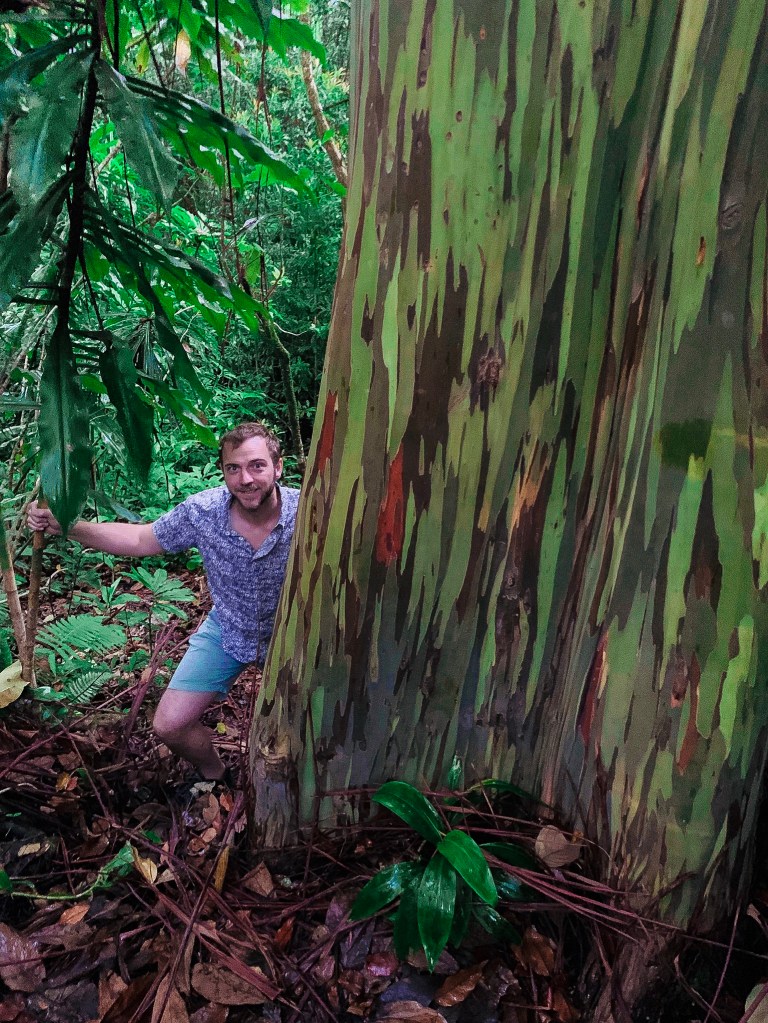
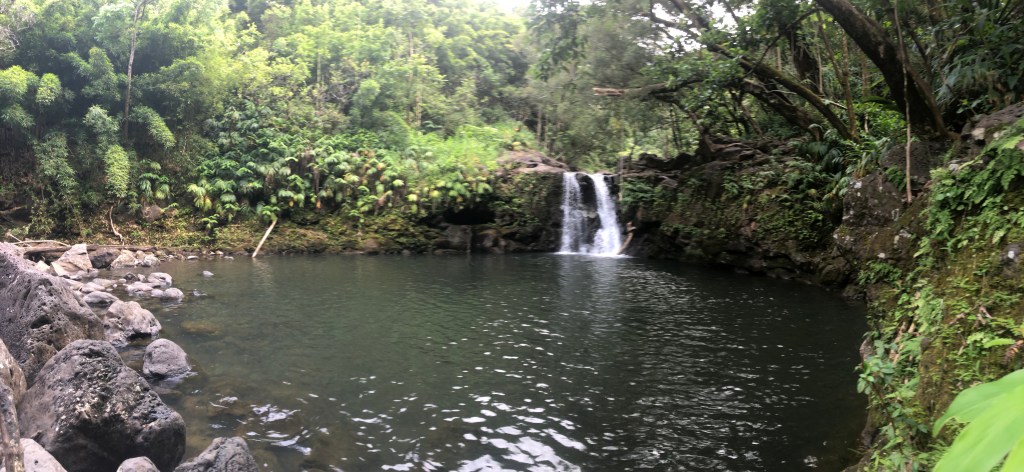
We did Road to Hana backwards, and I can’t say enough about how great our experience was. In a nutshell it’s a long road full of the most beautiful sites Maui has to offer. Everything from Rainbow Eucalyptus (seriously!), to multi colored beaches, bamboo forests, waterfalls, and swimming holes. Words and pictures fail to do it justice. I felt it deserved a post of it’s own, so you can read more my guide to our Backwards Hana Tour here. There is beauty around every corner, and it really feels like a real-life treasure hunt while you hunt for every magical stop. If you do nothing else on your trip to Maui, do this! I would devote at least a couple of days for Hana sites alone, even if you don’t see it all. And my top three sites for this include Red Sands Beach, Waimoku Falls, and Venus Pools (cliff jumping!)
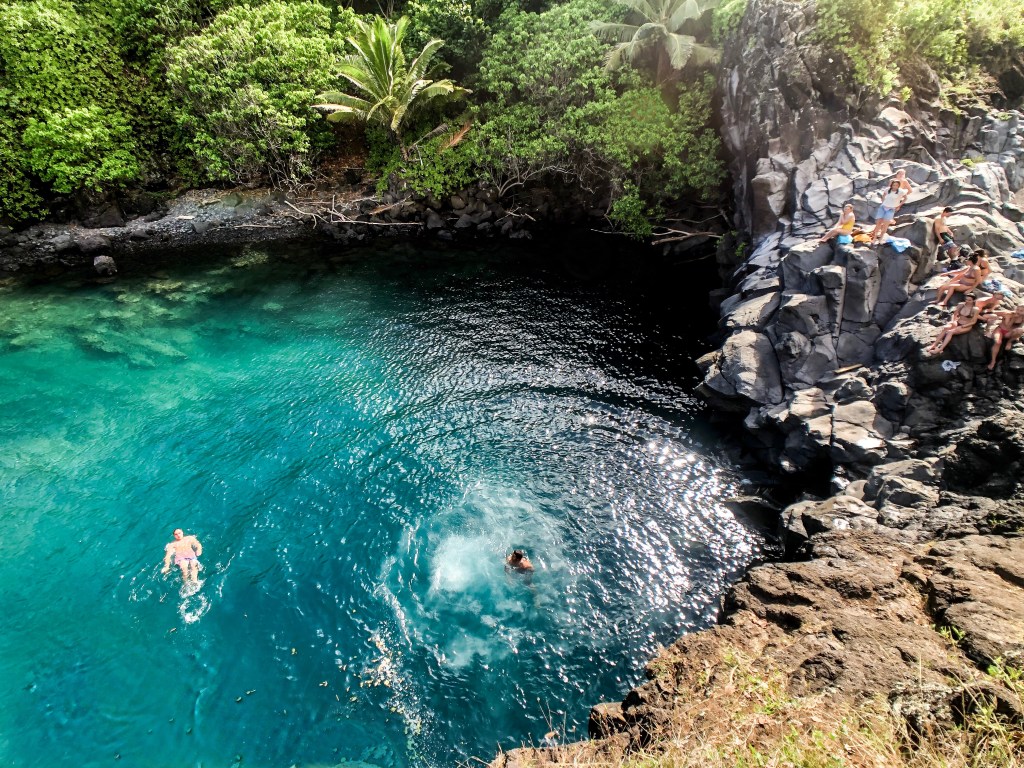
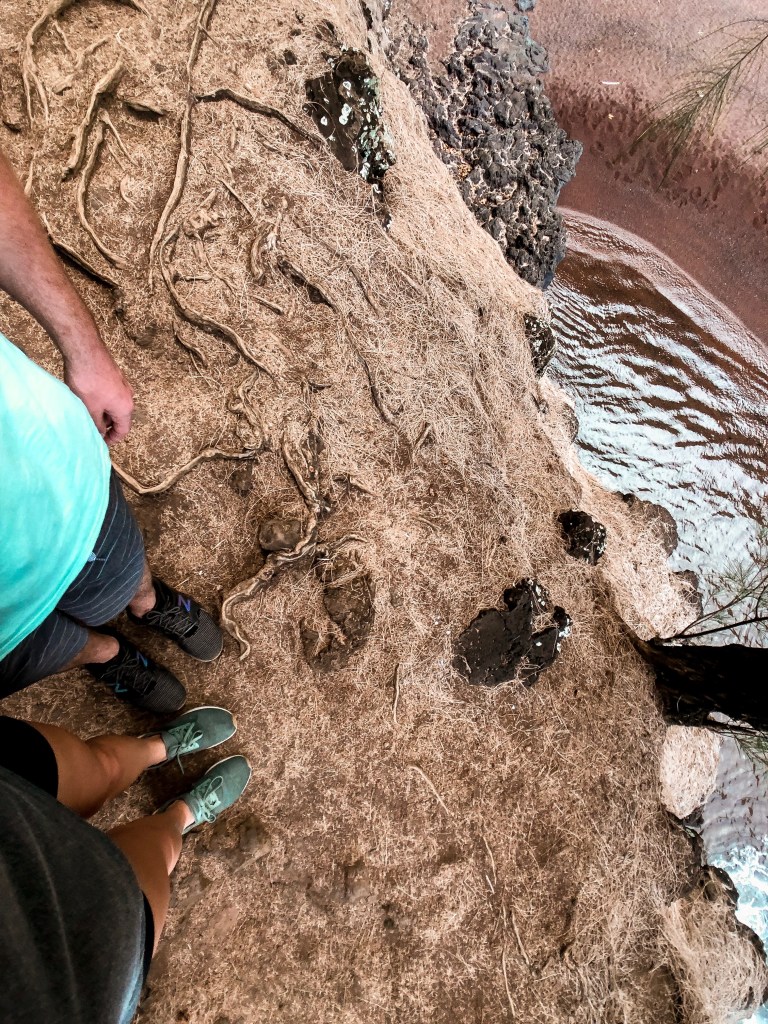
Venus Pools – 45 foot cliff jump! 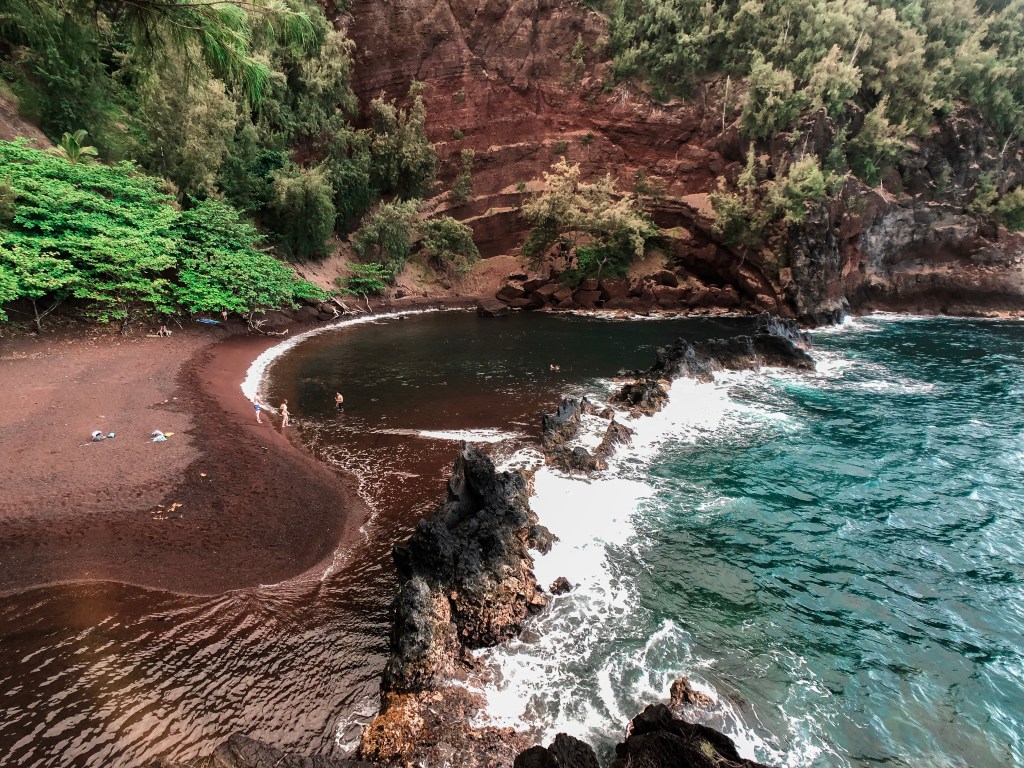
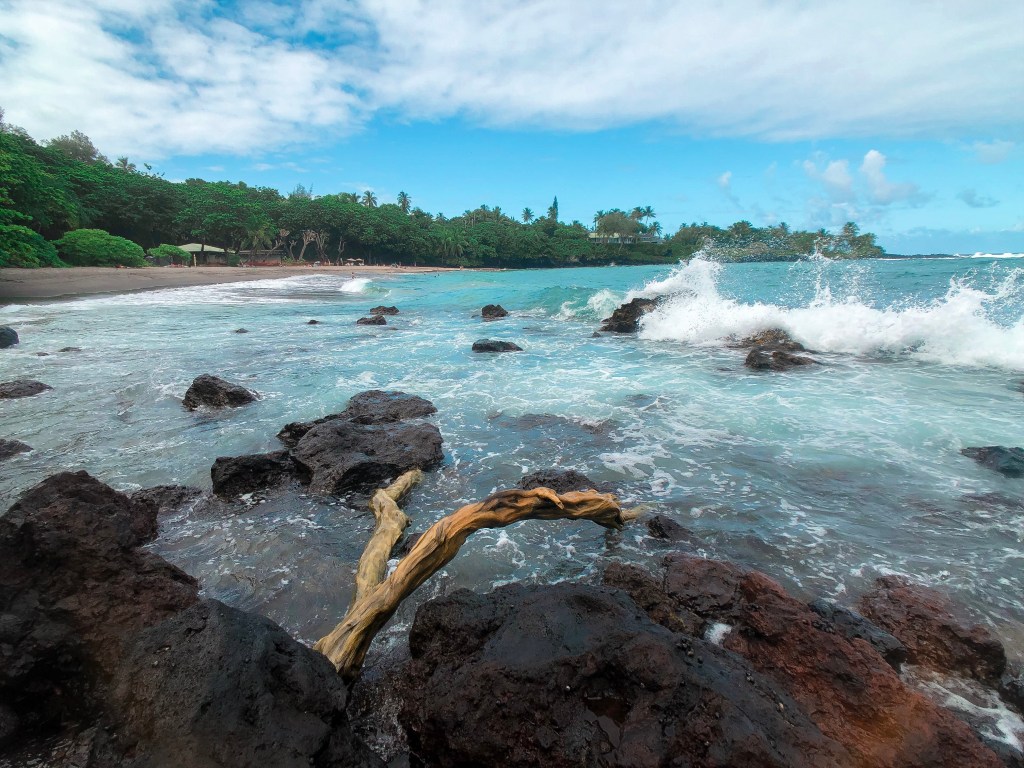
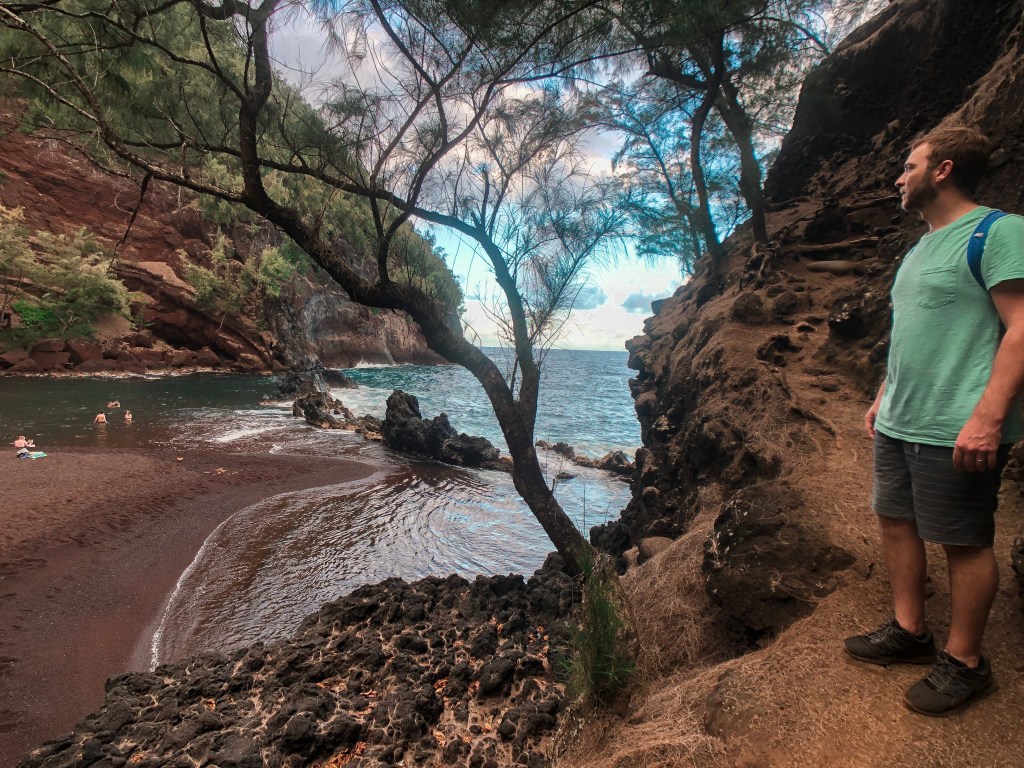
Red Sands Beach 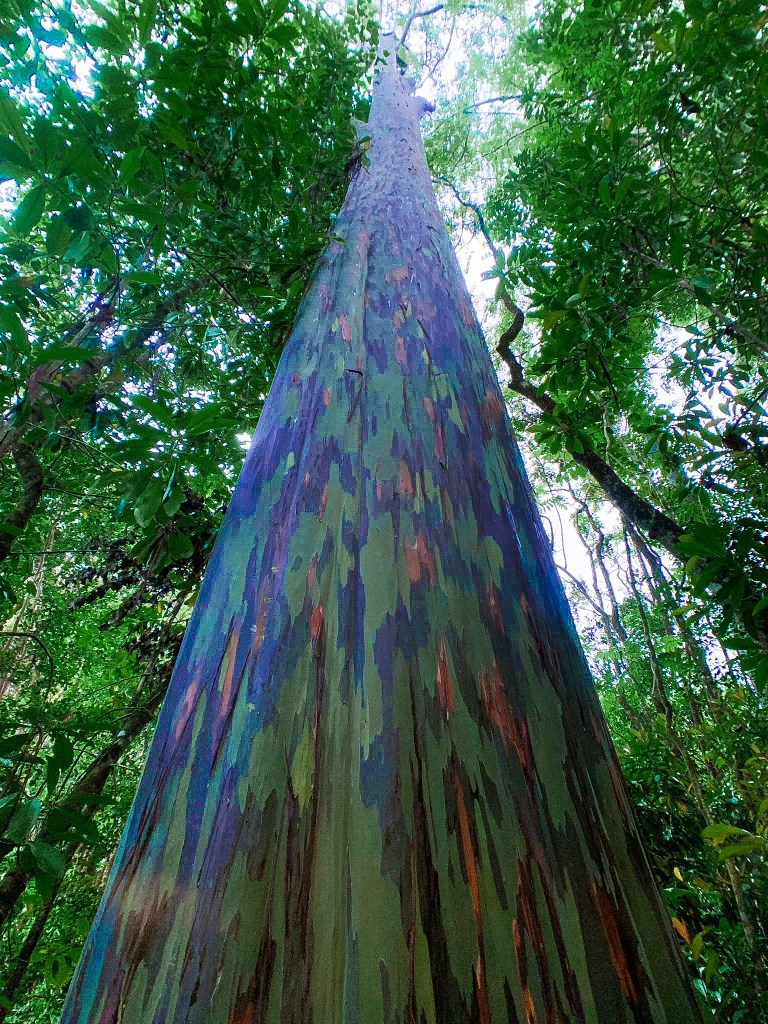
Rainbow Eucalyptus 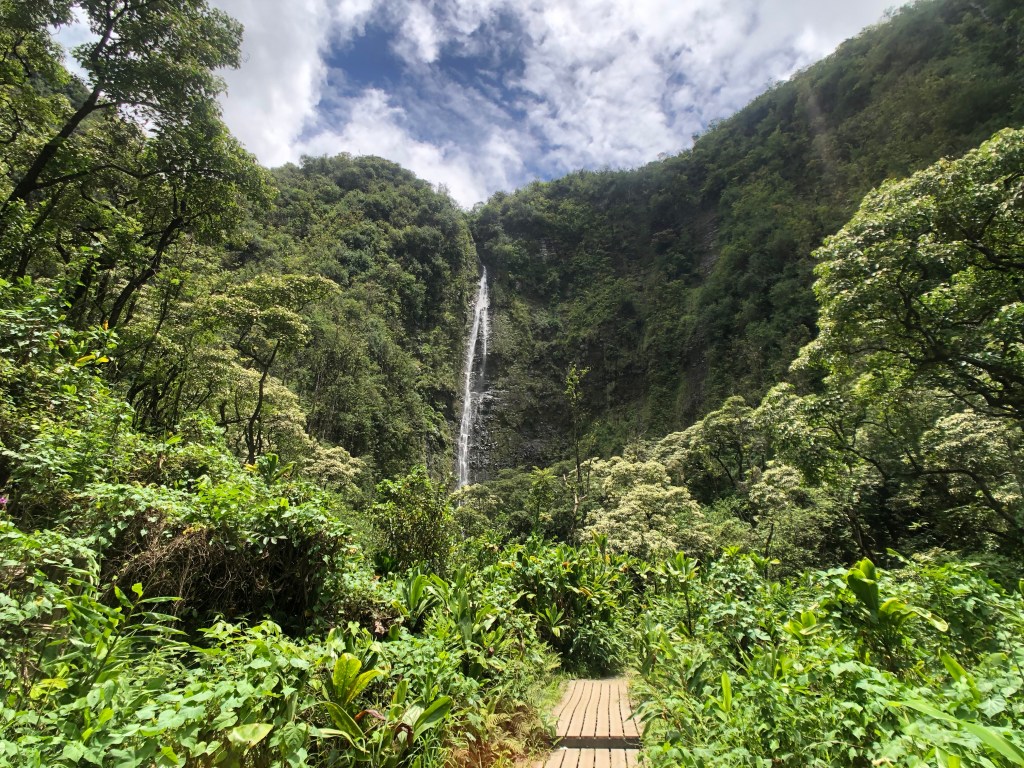
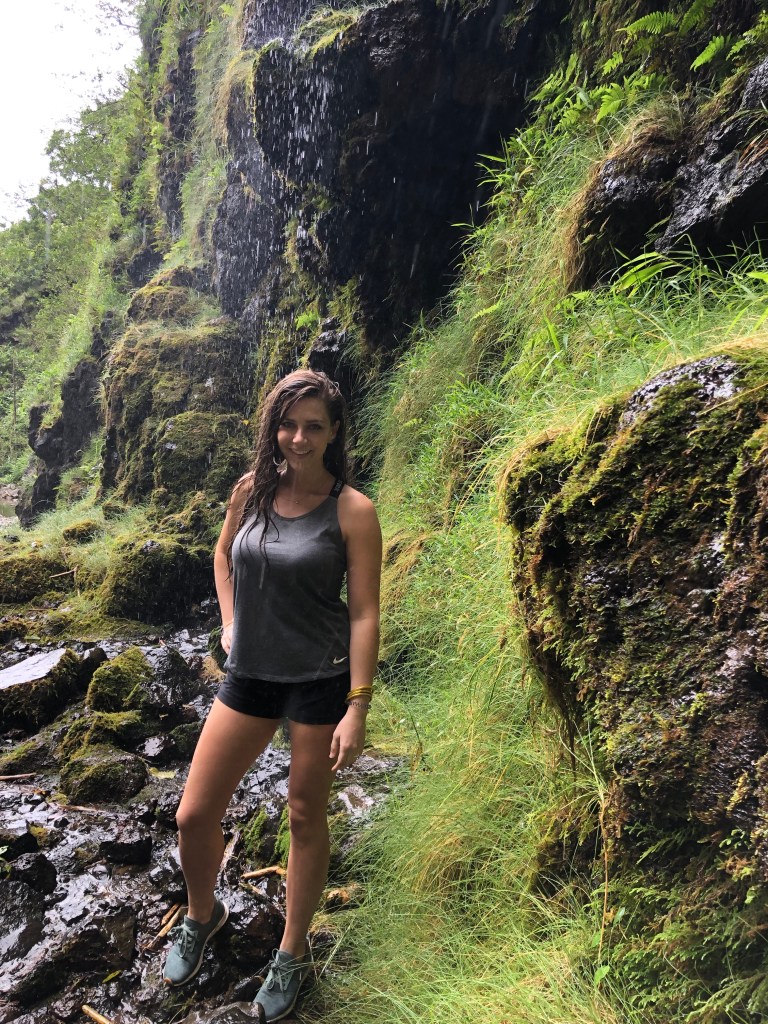
Waimoku Falls is the breathtaking reward after a 2 mile hike through the bamboo forest! Worth every step! 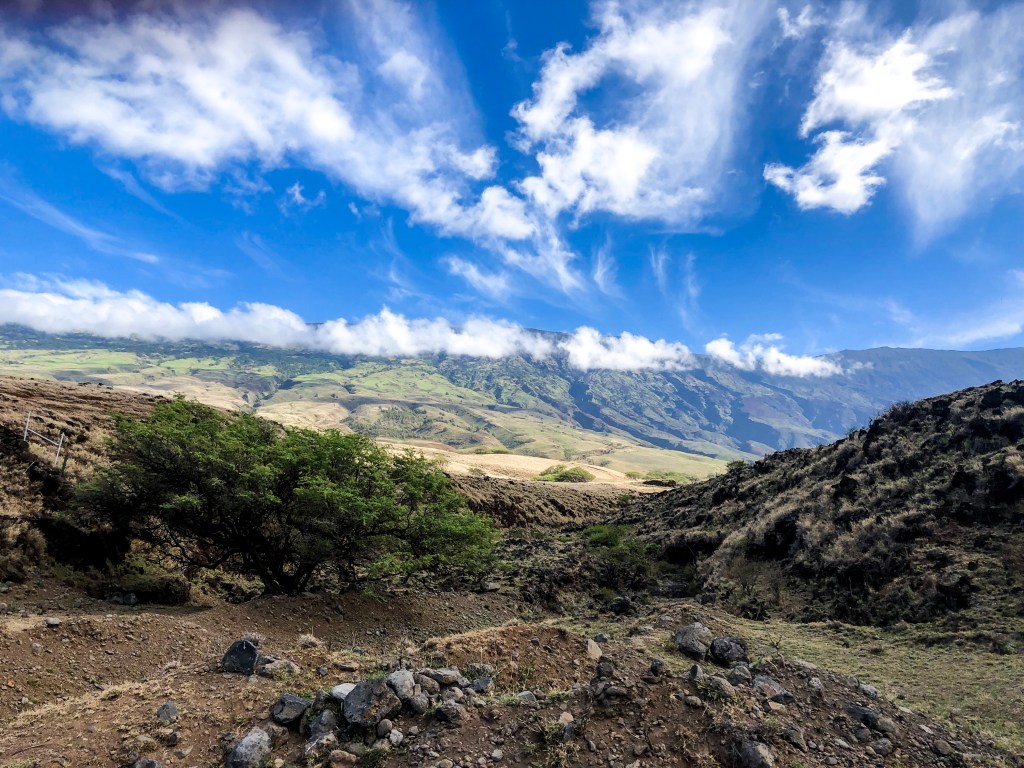
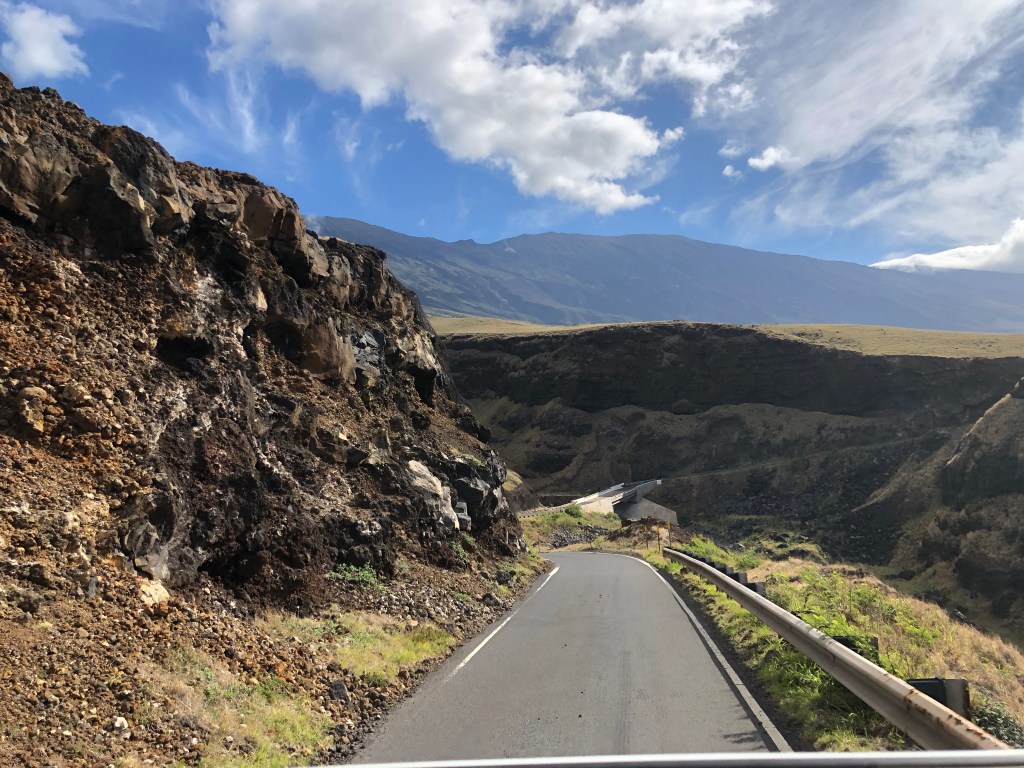
Road to Hana – Up Country
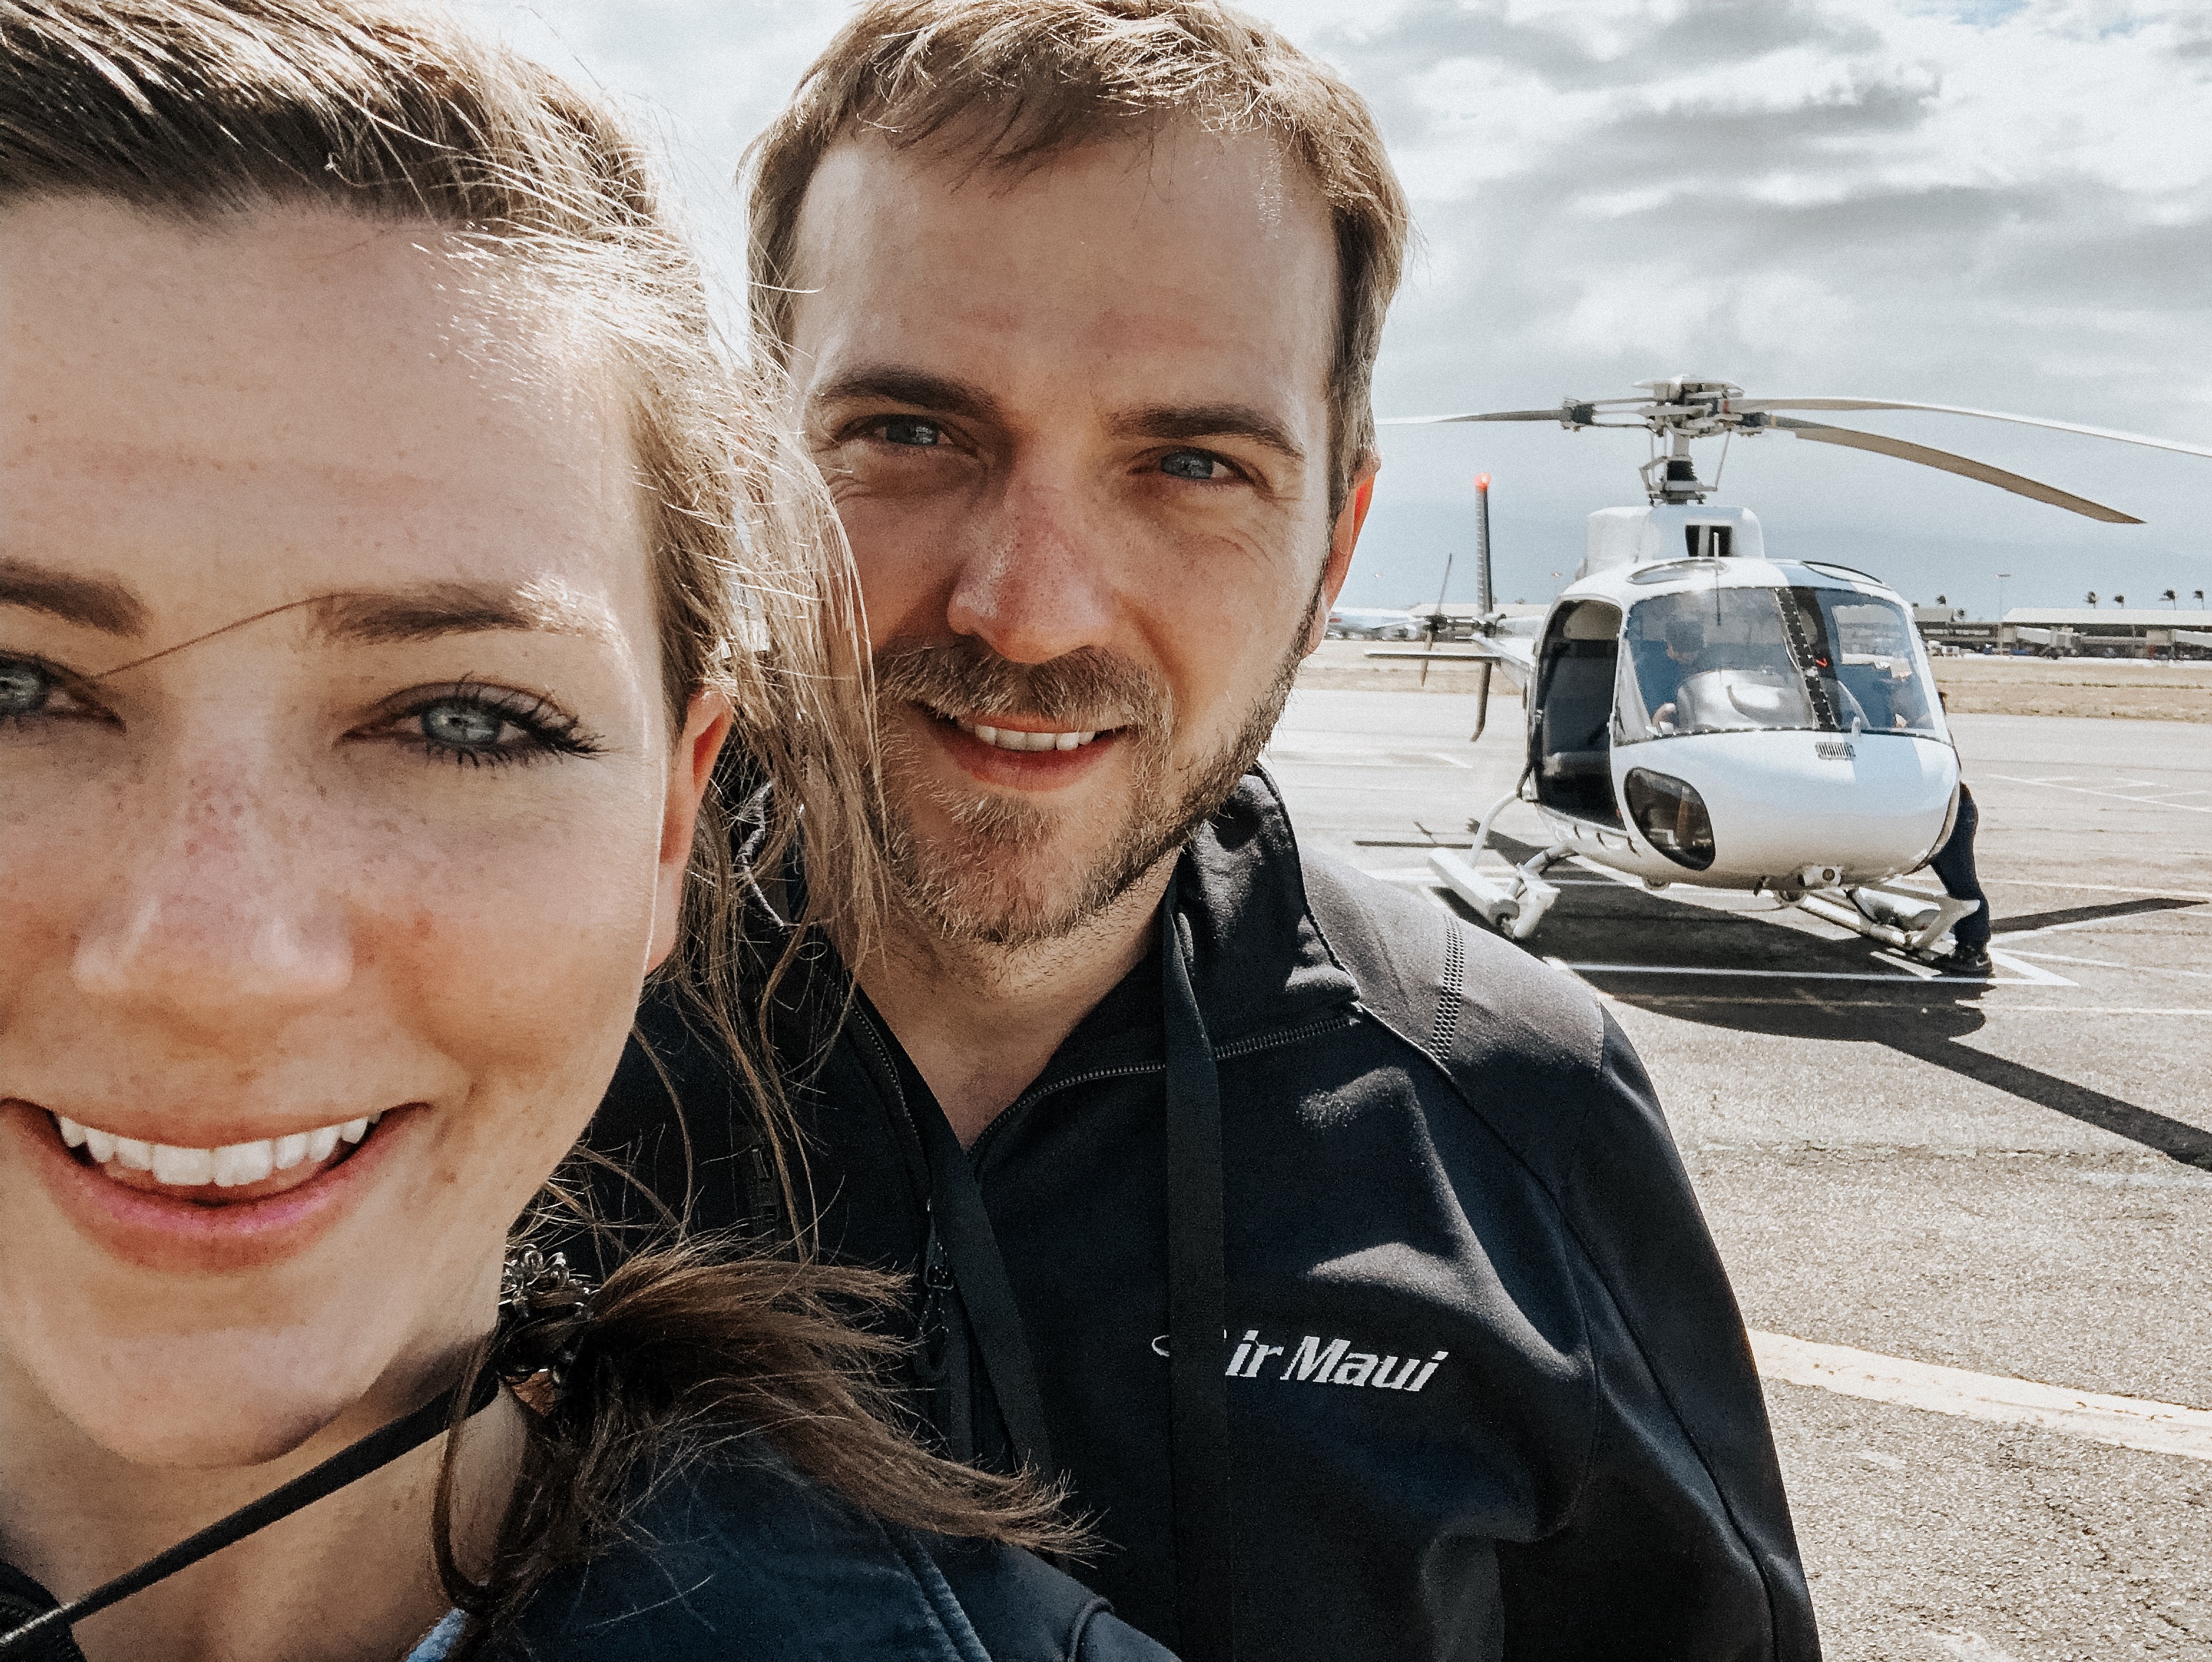
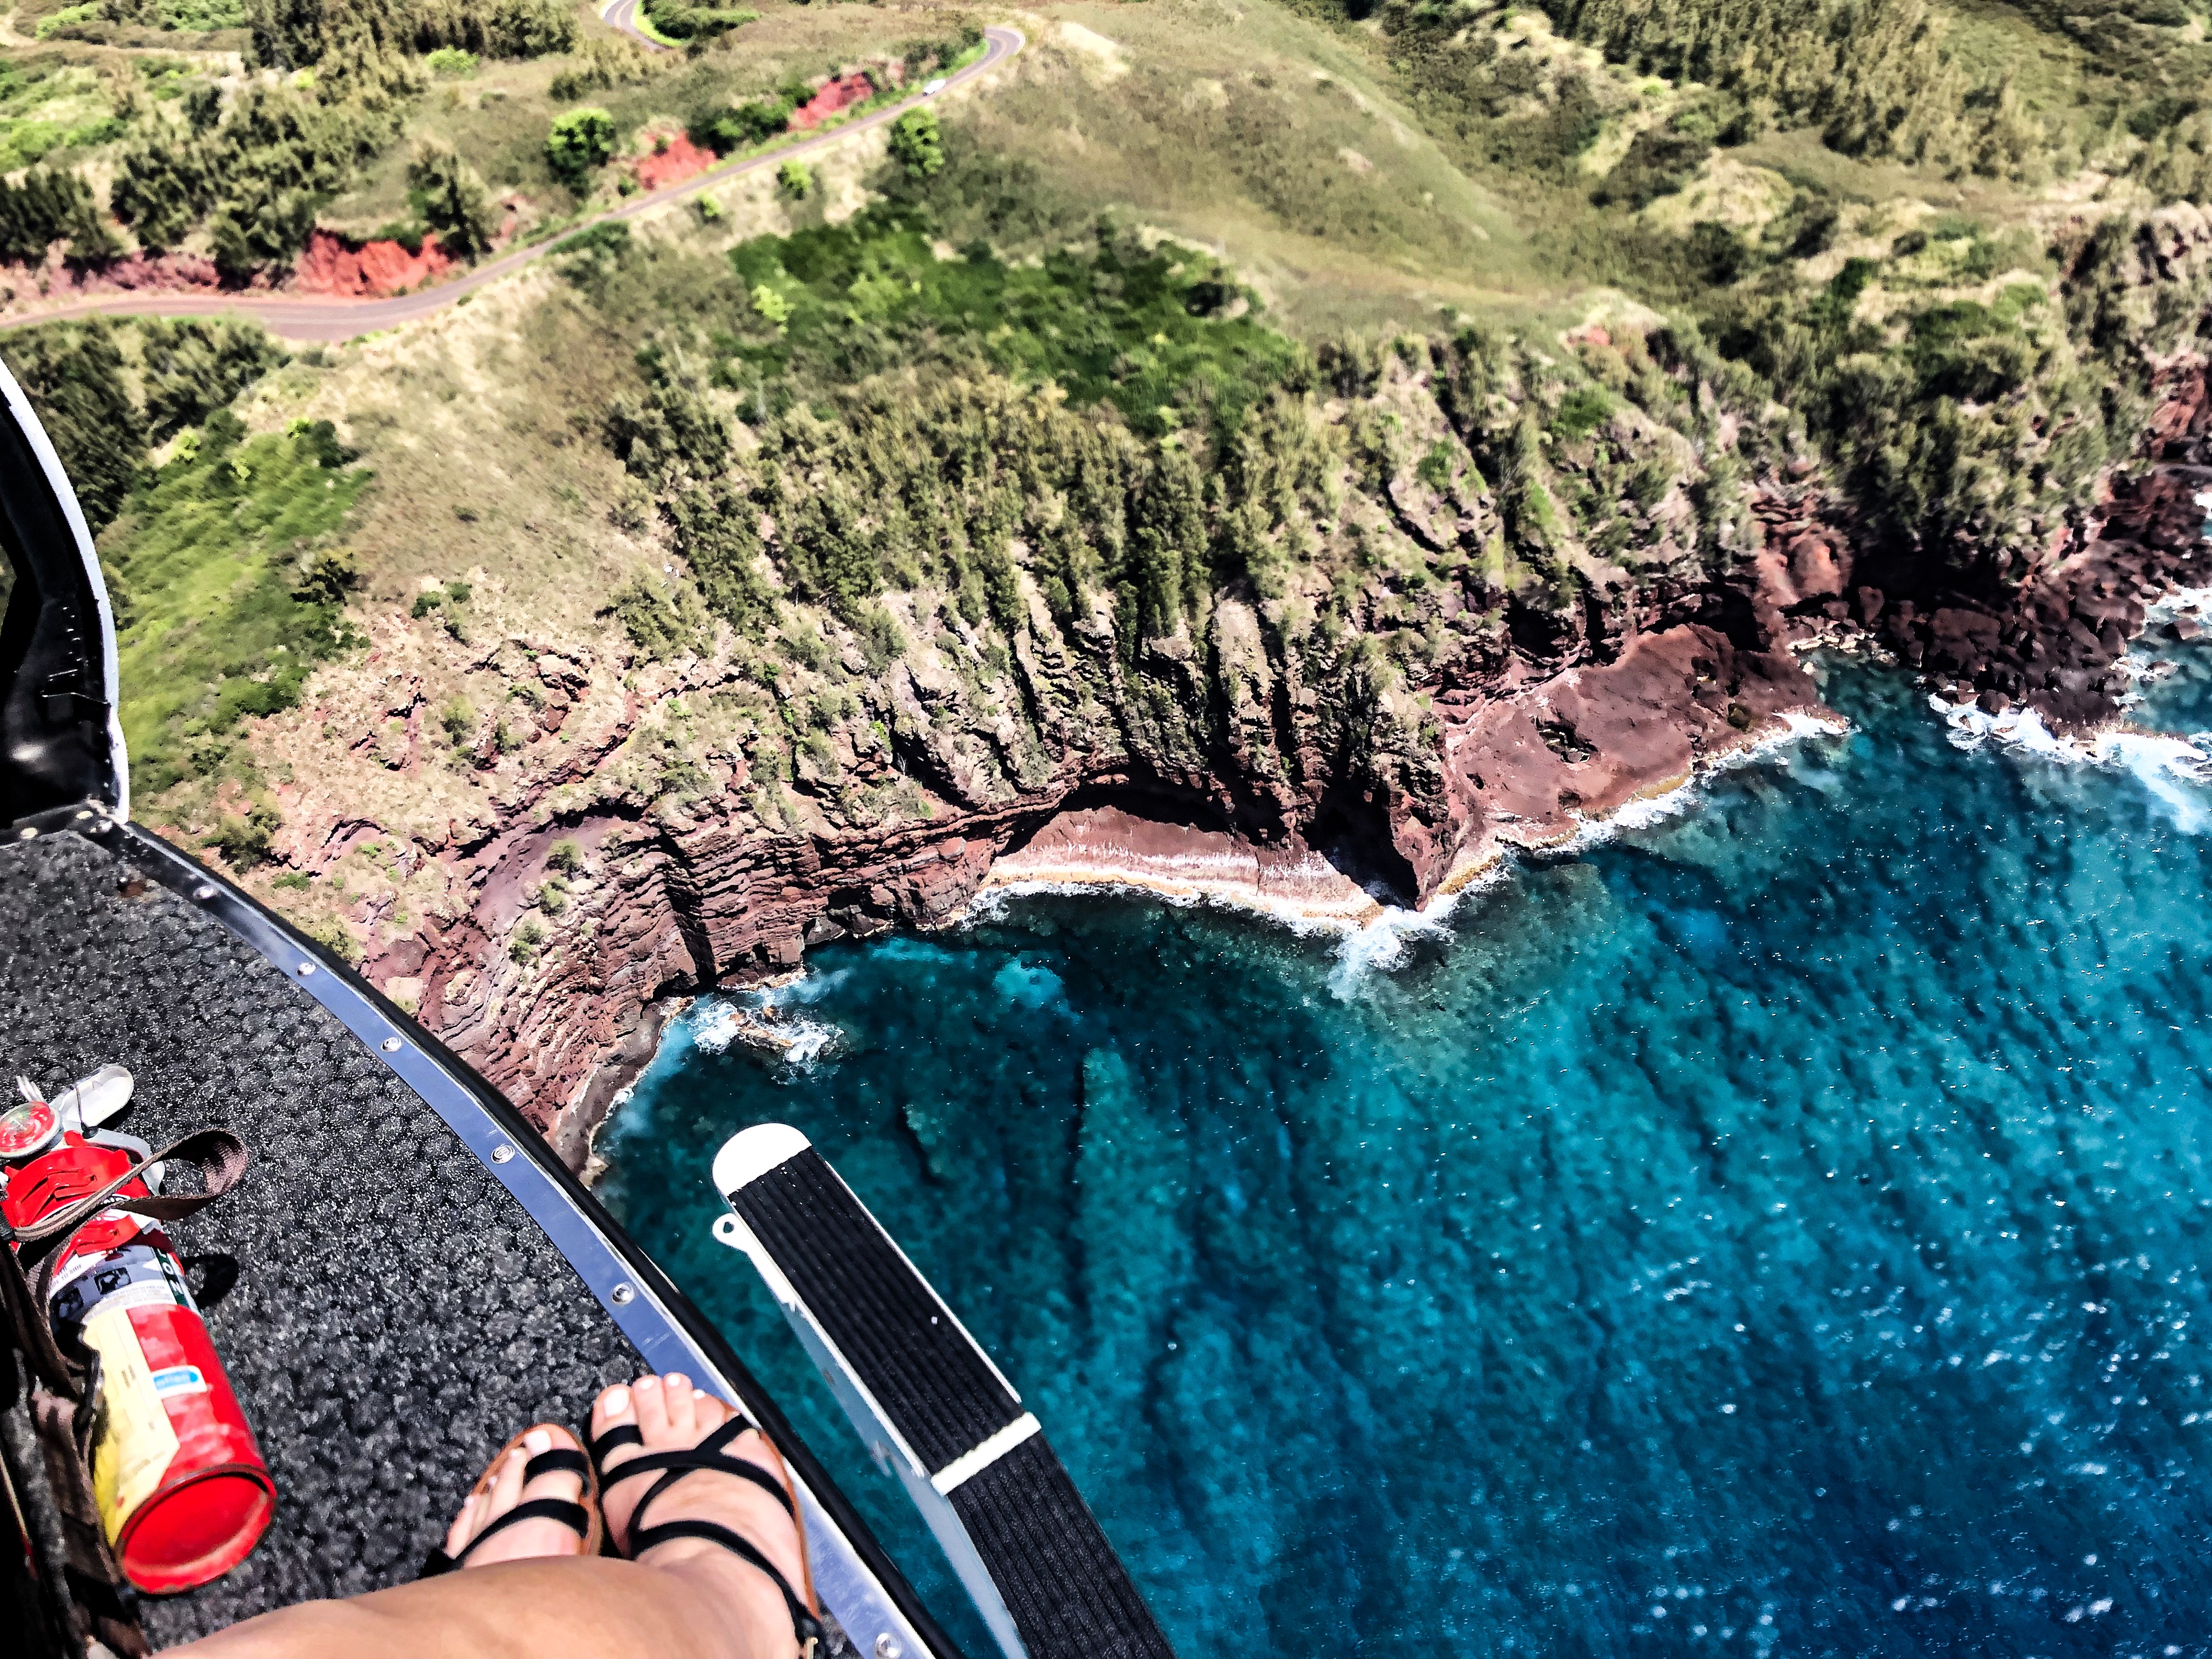
• M O L O K A I • Heli tour over incredible waterfalls
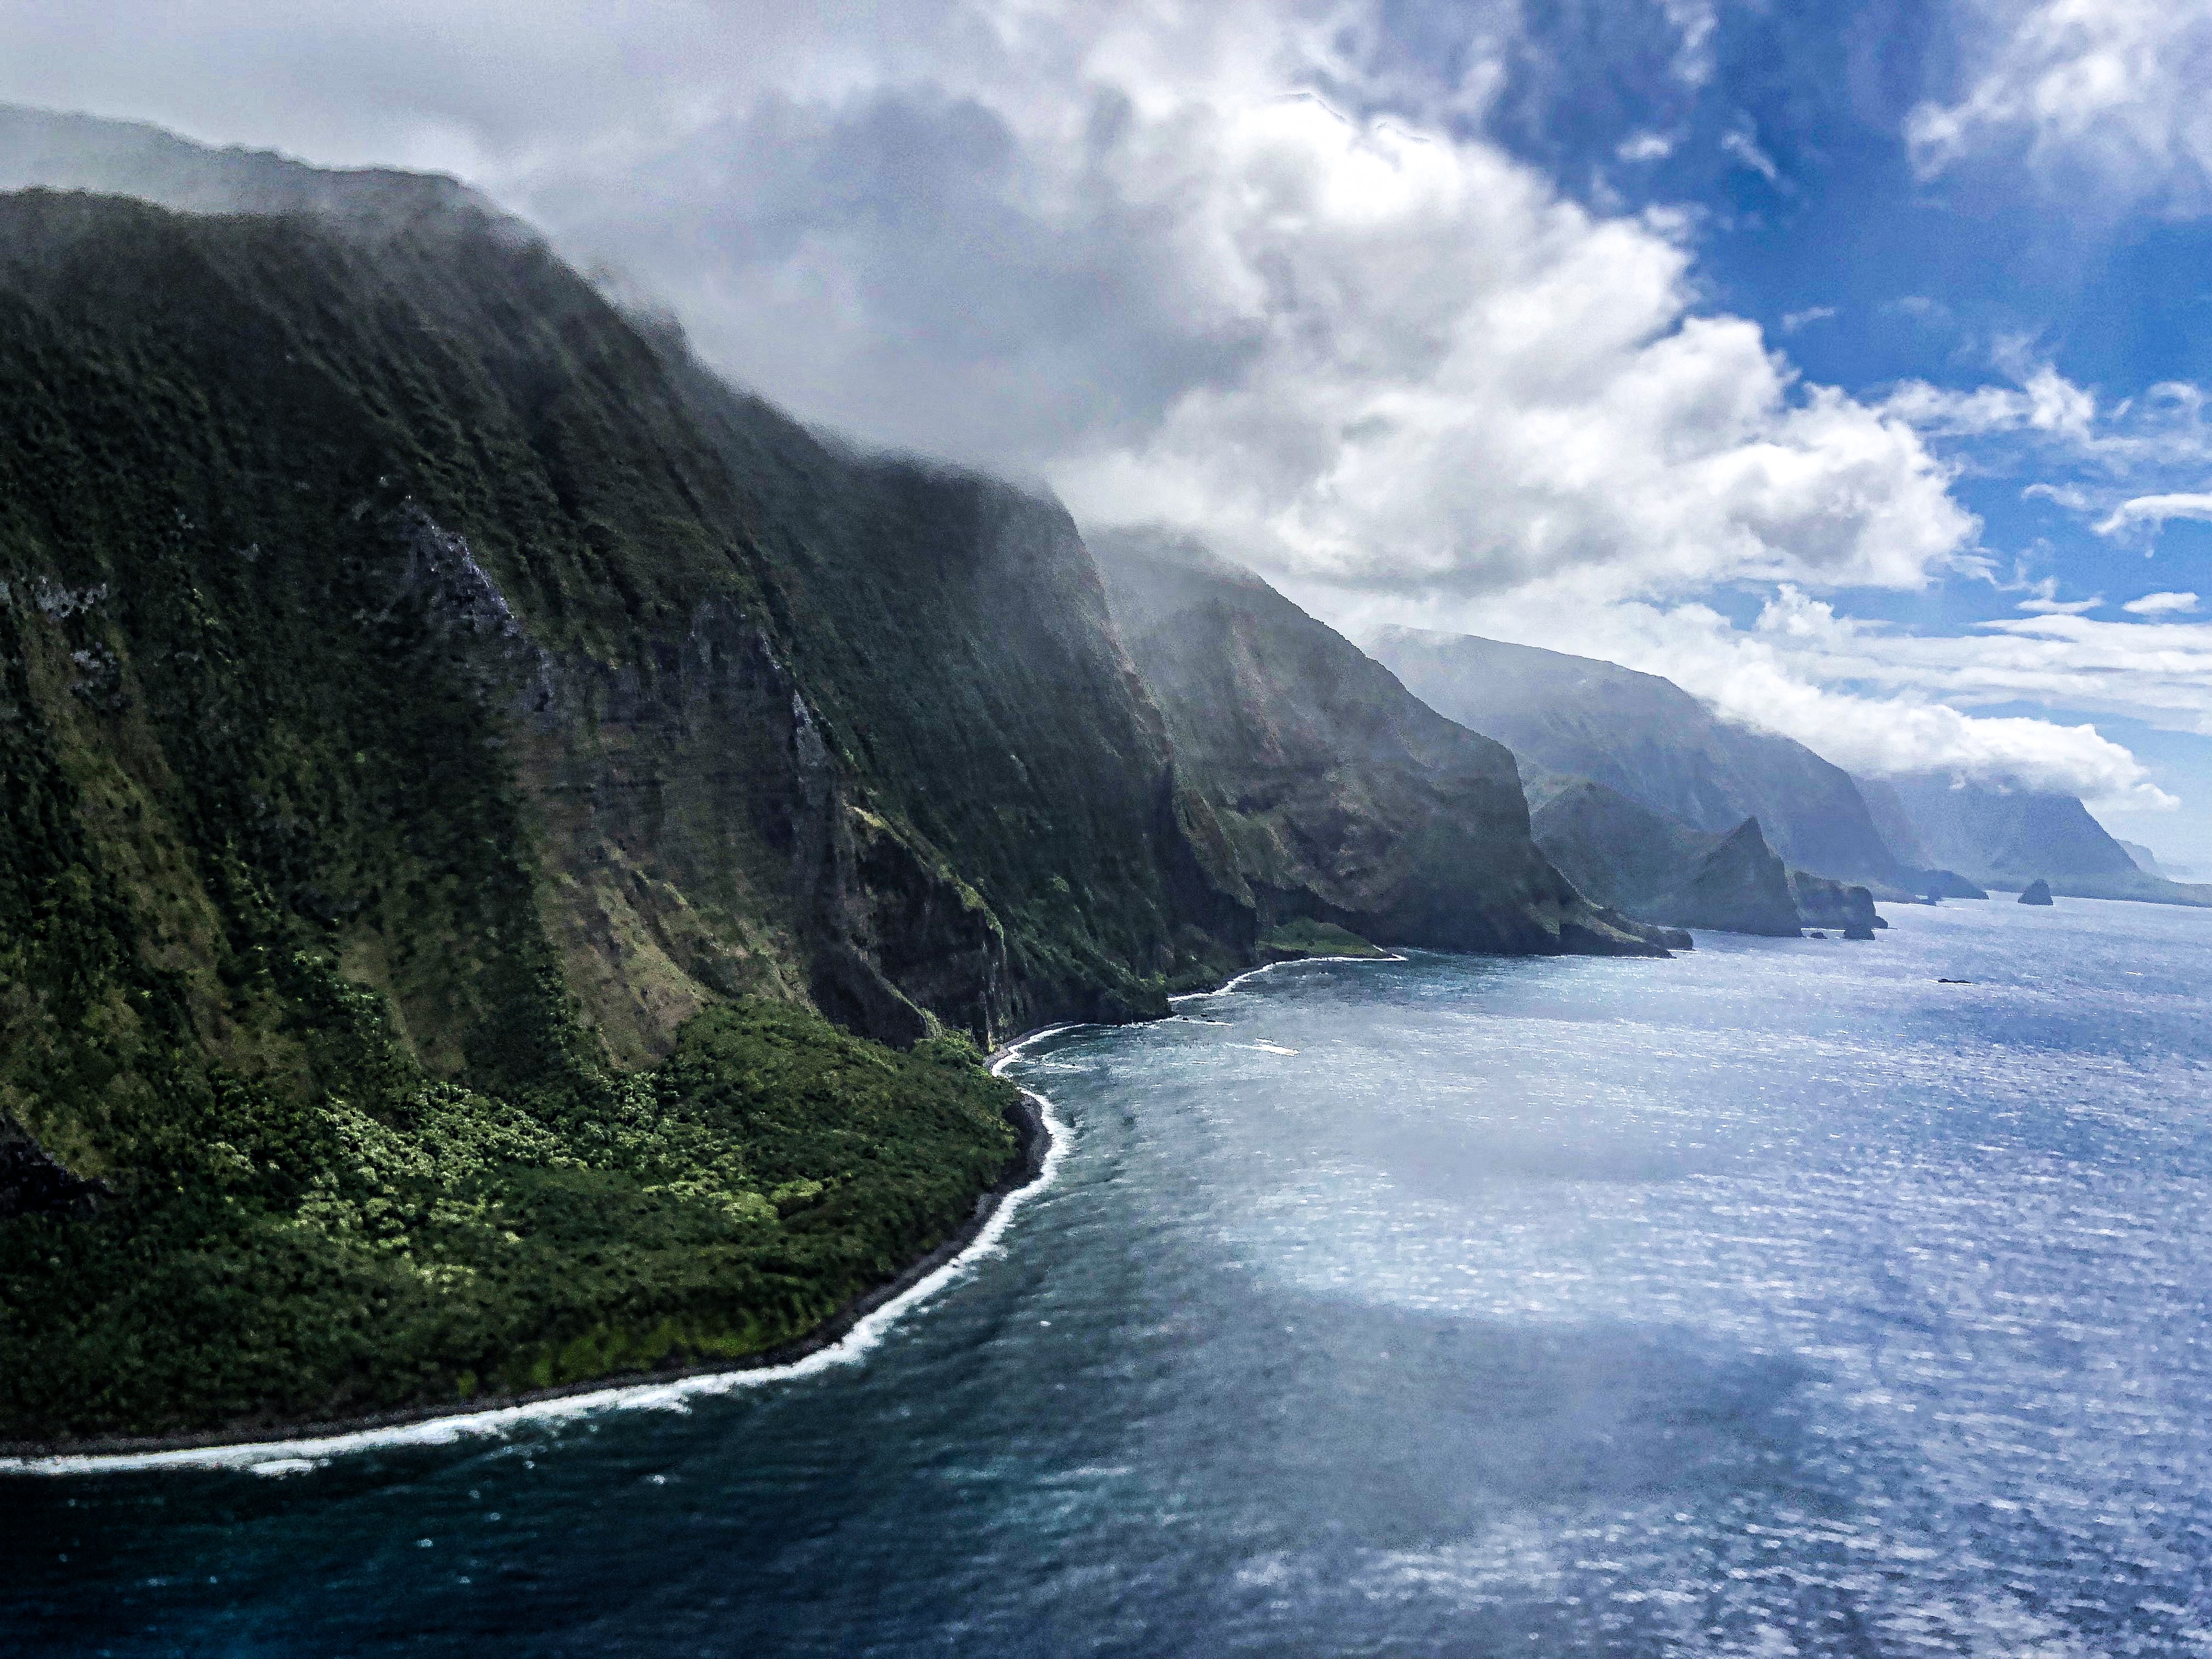
We booked this with Air Maui Helicopter Tours through Viator (always read reviews, but they’re a great way to find good ones). The group was extremely friendly, and our tour guide/pilot truly made it great. You could tell he really loves what he does, and it made our experience so much fun. This has to be one of the coolest things I’ve ever seen. In addition to just putting these islands into scale, and getting to fly over the gorgeous blue waters, we got to fly in to see an “up-close and personal” view of the astonishing waterfalls all over Molokai. This whole island looks like a natural fairytale land, and hovering above it and flying through the valleys of it was one of the most breathtaking experiences of my life!


Molokai has a long history but one of the most interesting things to me, was the fact that from the 1860s to the 1960s, part of this island hosted a colony for quarantining community members diagnosed with leprosy. For a period of that time supposedly, Hawaiians diagnosed with it were banished to this community and families were issued death certificates for that person, who was then ordered to live out their days in this remote community. Over the years it housed over 8,500 people with leprosy. Wow.

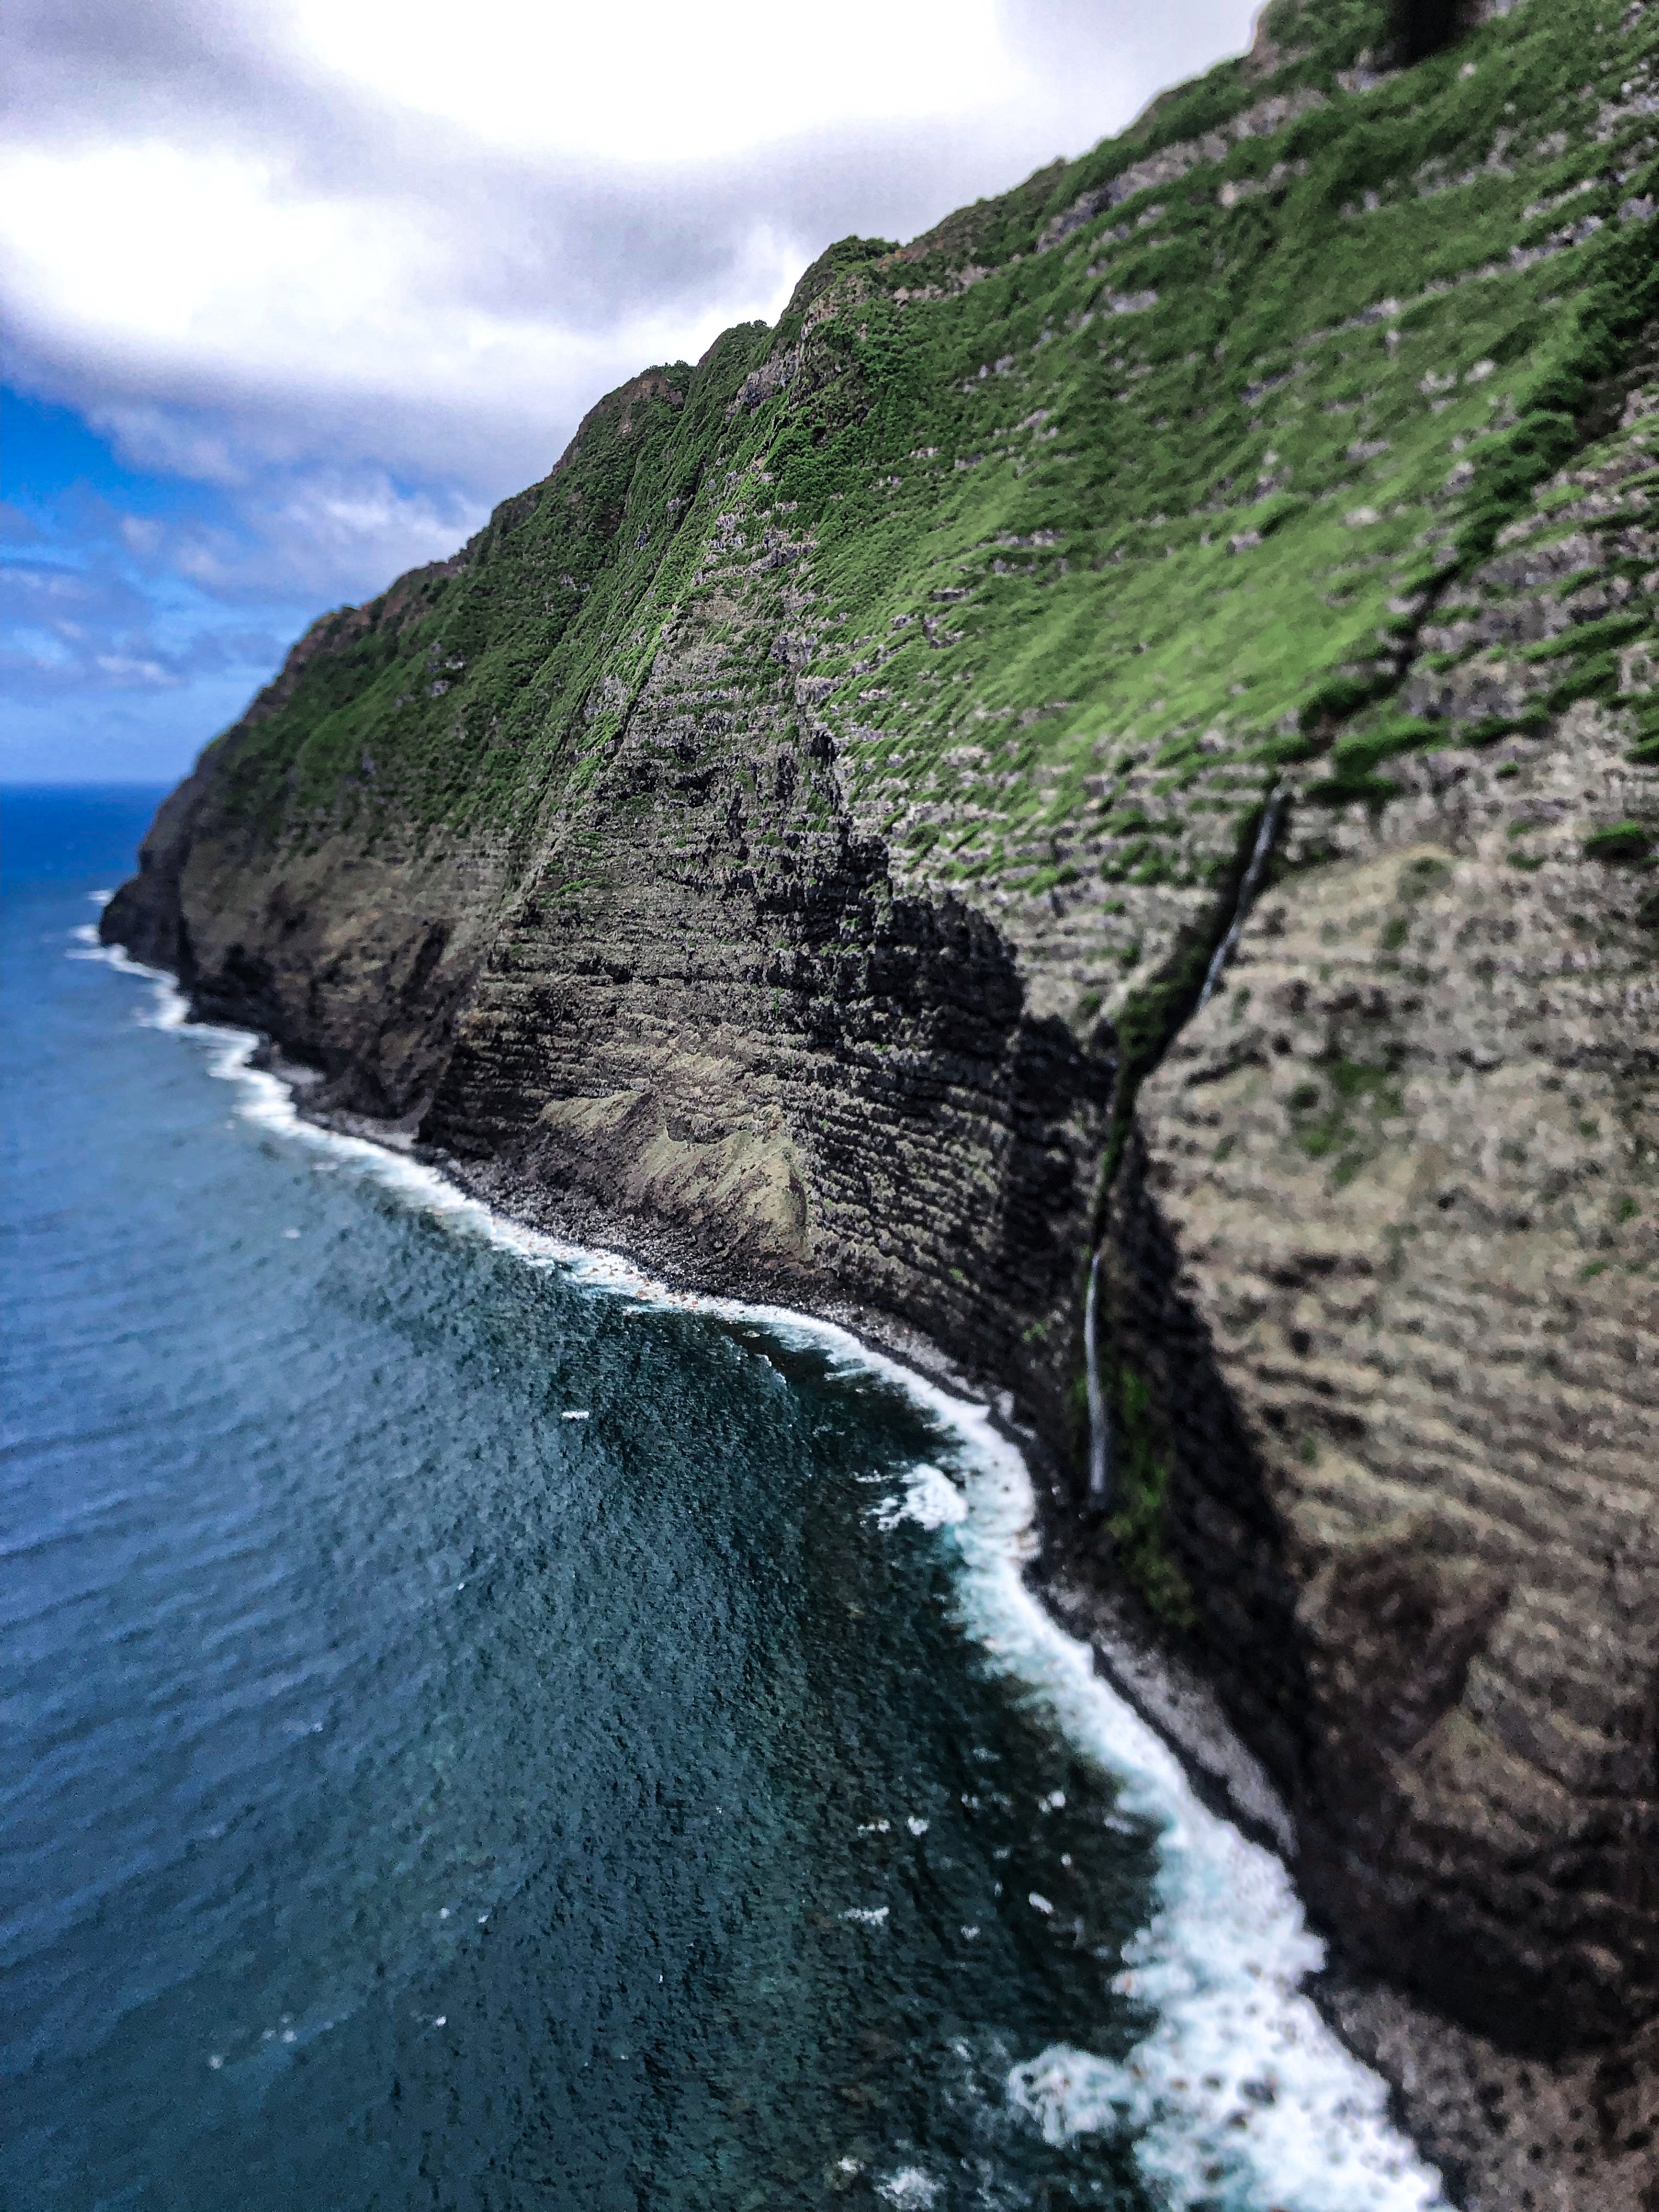
The tallest waterfall in these pictures is called Papaluau Falls, and is over 1,200 feet long – absolutely stunning! If you can swing adding this excursion to your itinerary, it is certainly not to be missed. It was such an unforgettable experience.

Molokai Waterfalls 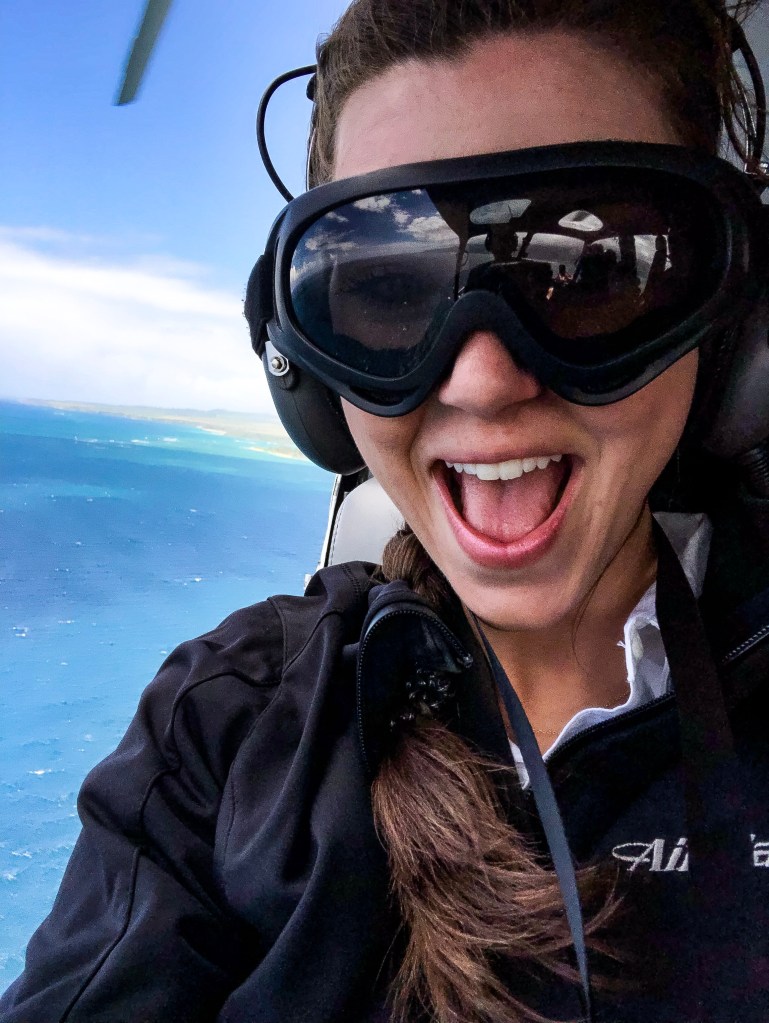
We did the “doors off” tour with Air Maui – while I’m glad we did that, I should warn you that it is difficult to take clear pictures on the doors-off tour just because of the wind-turbulence in flight. Still, worth it to this thrill seeker to feel that much closer to everything.
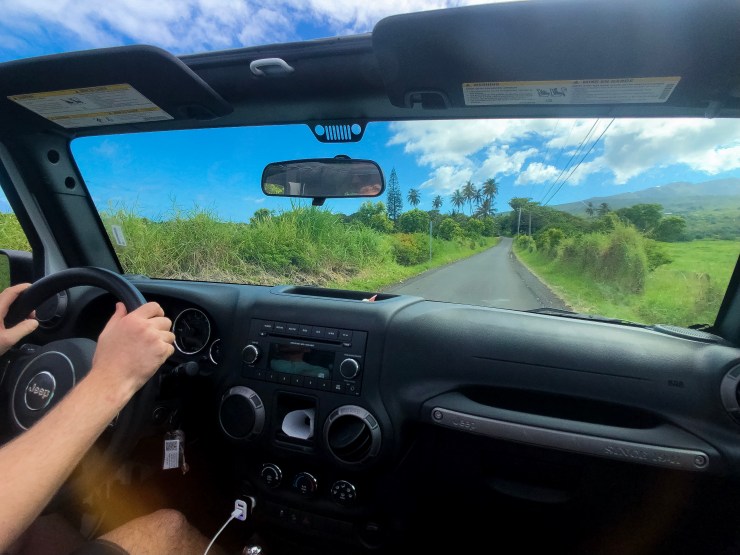
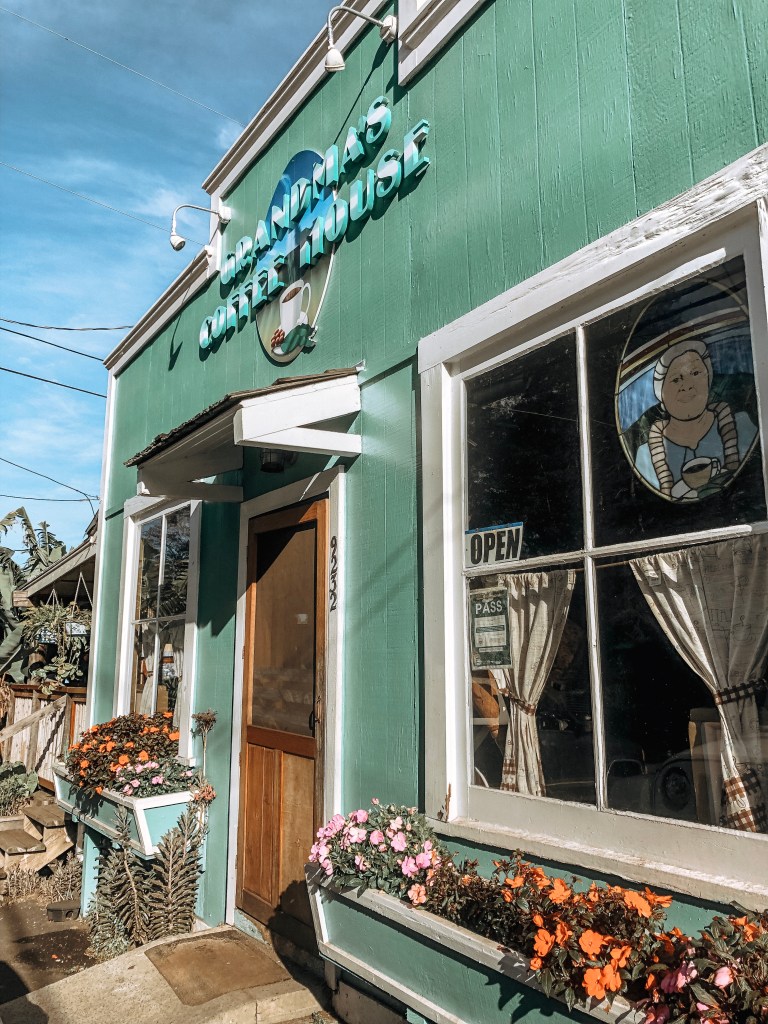
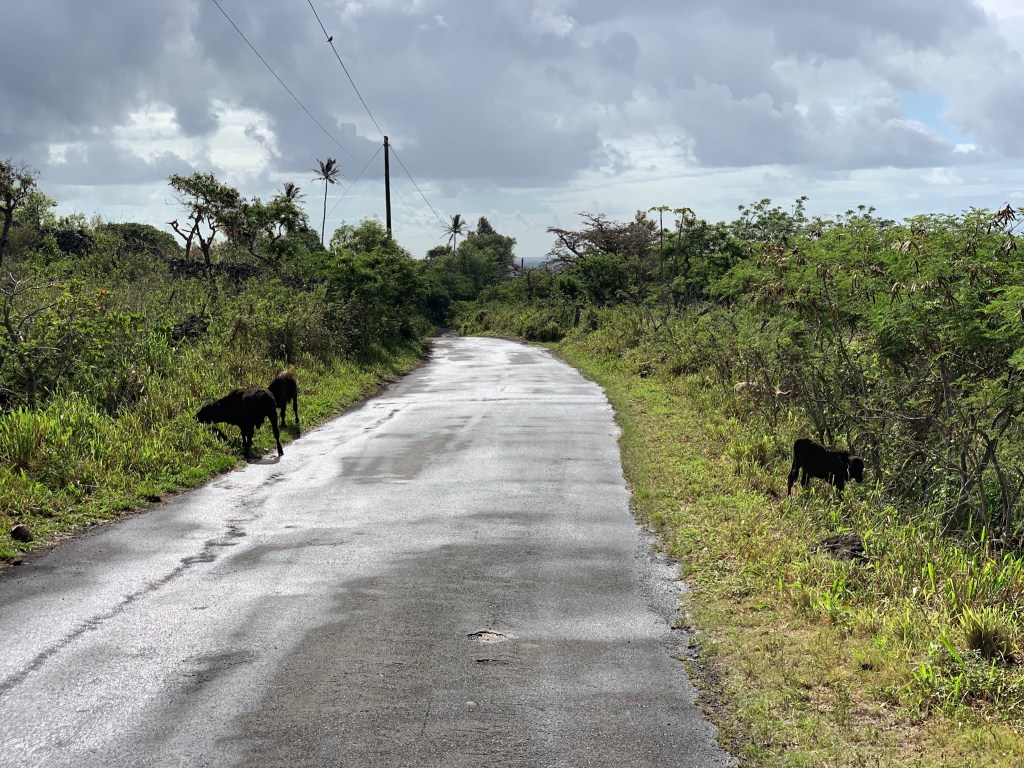
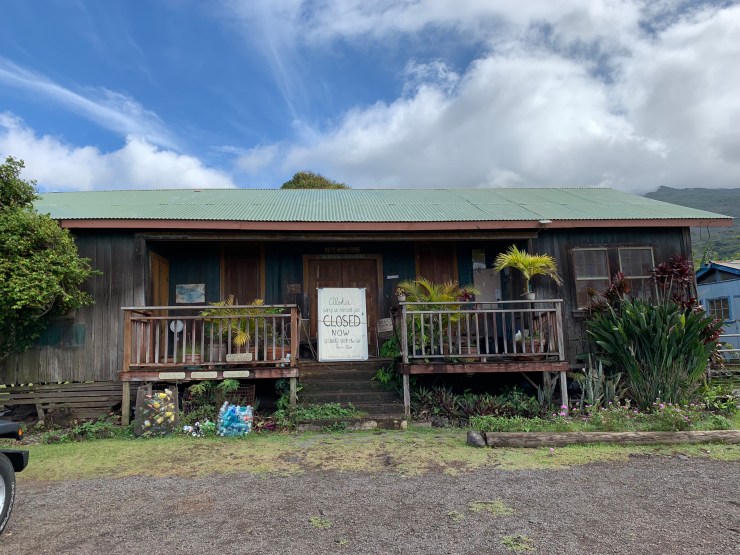
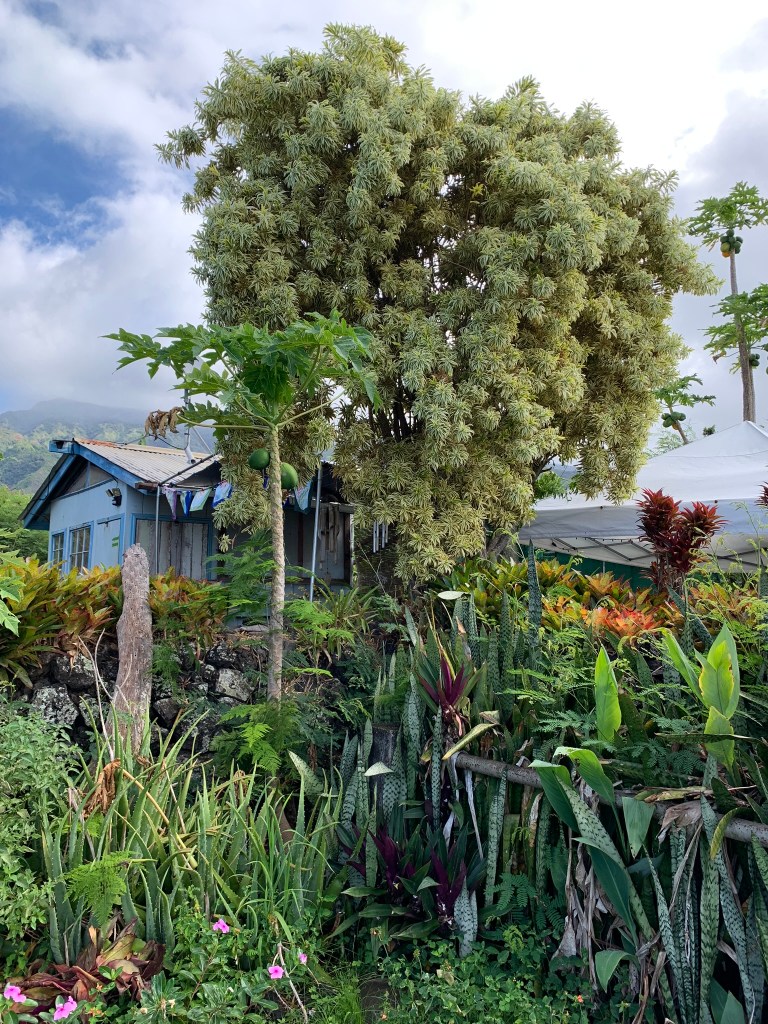
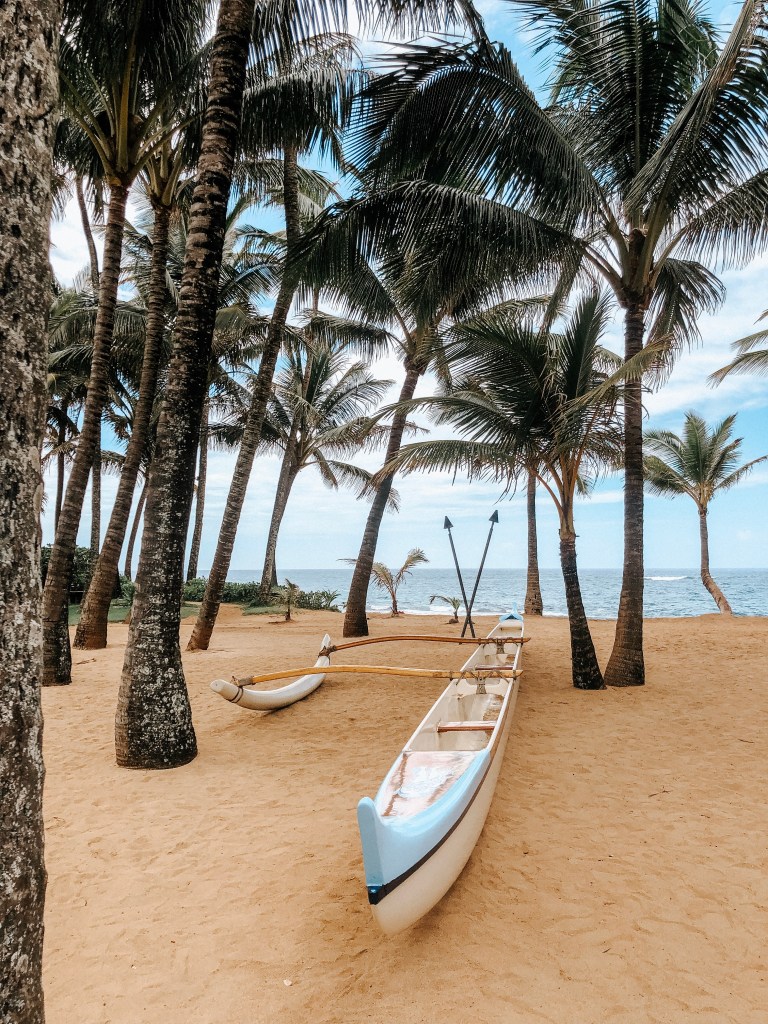
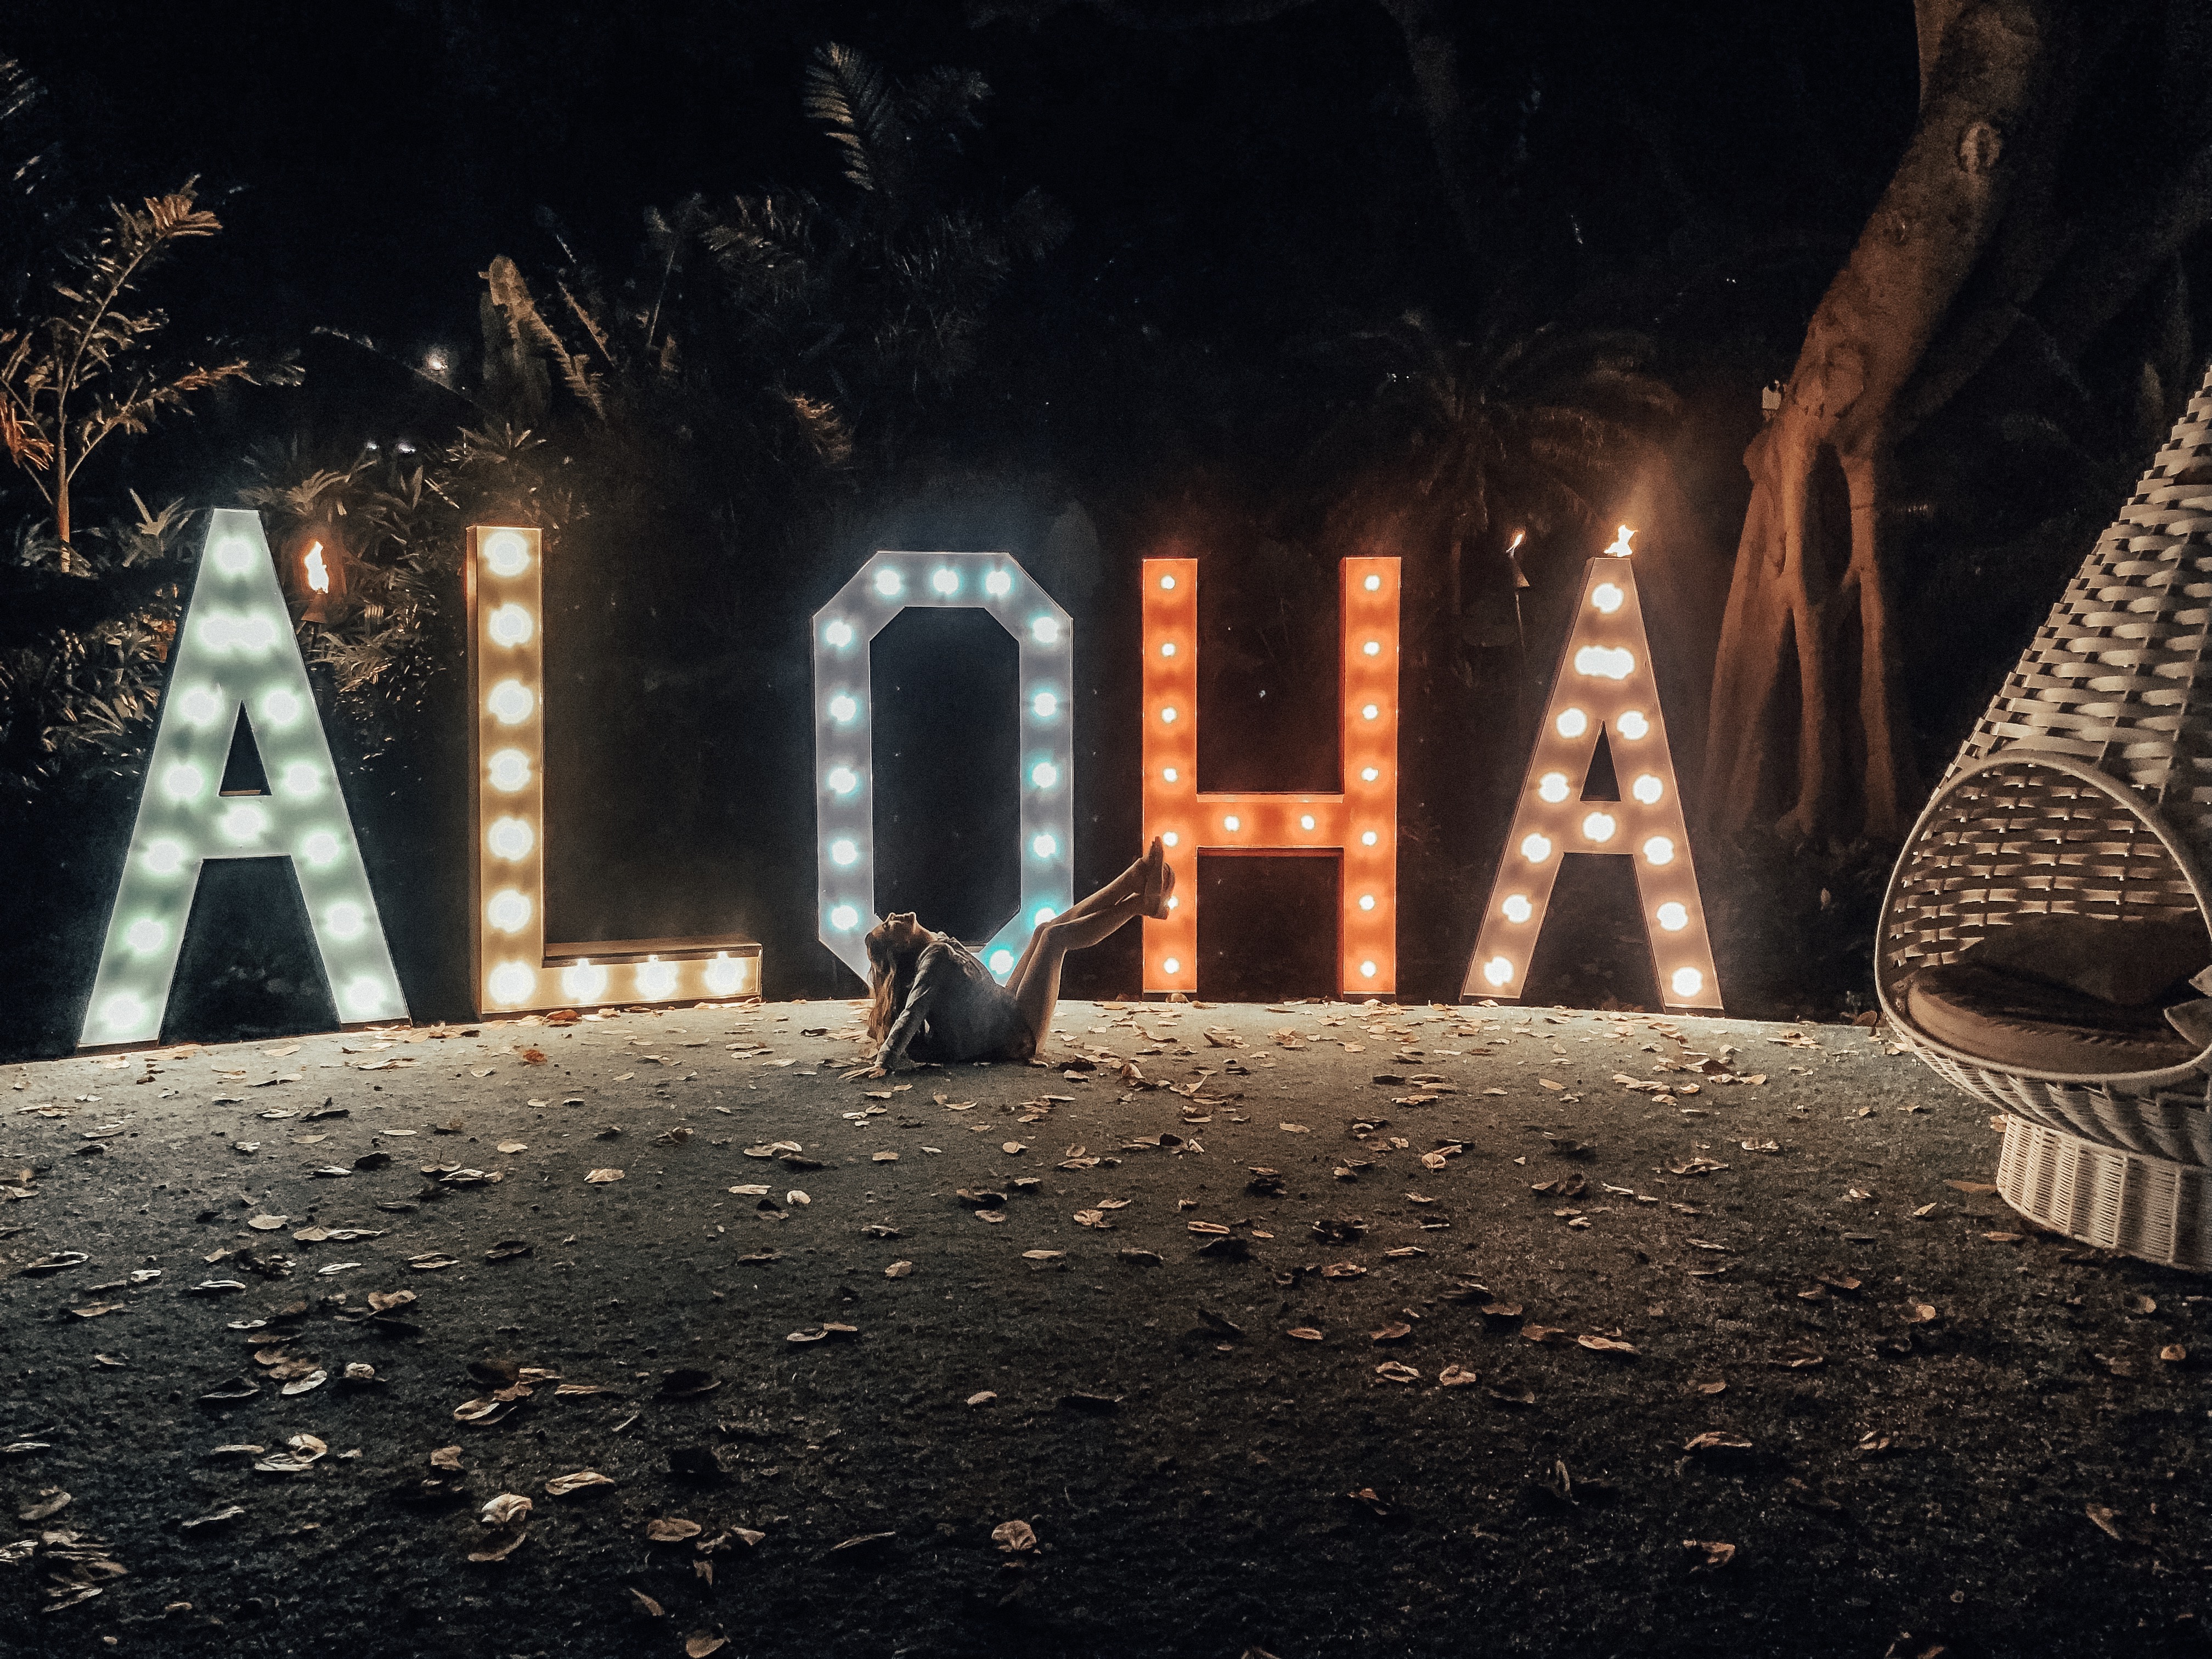
• I S L A N D V I B E S • Experience local culture
So this may seem silly, but I had such a great time just driving around and watching the “island life” happen. This particular bullet-point on my list is really a loaded one, but I don’t think a trip to Maui is complete without taking time out to immerse yourself in it.
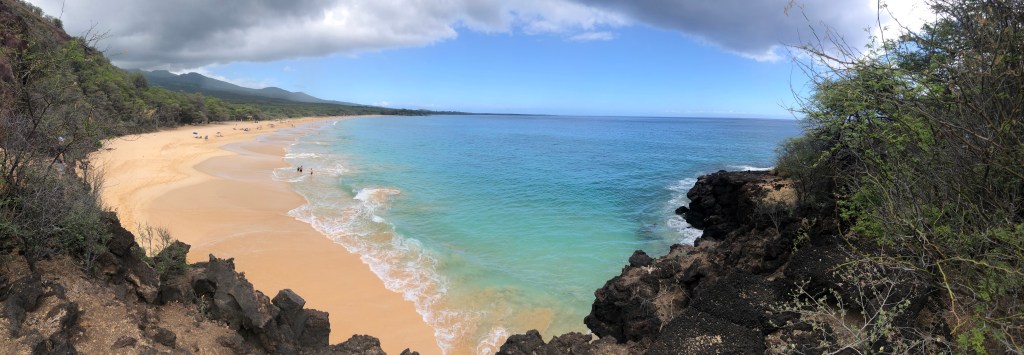
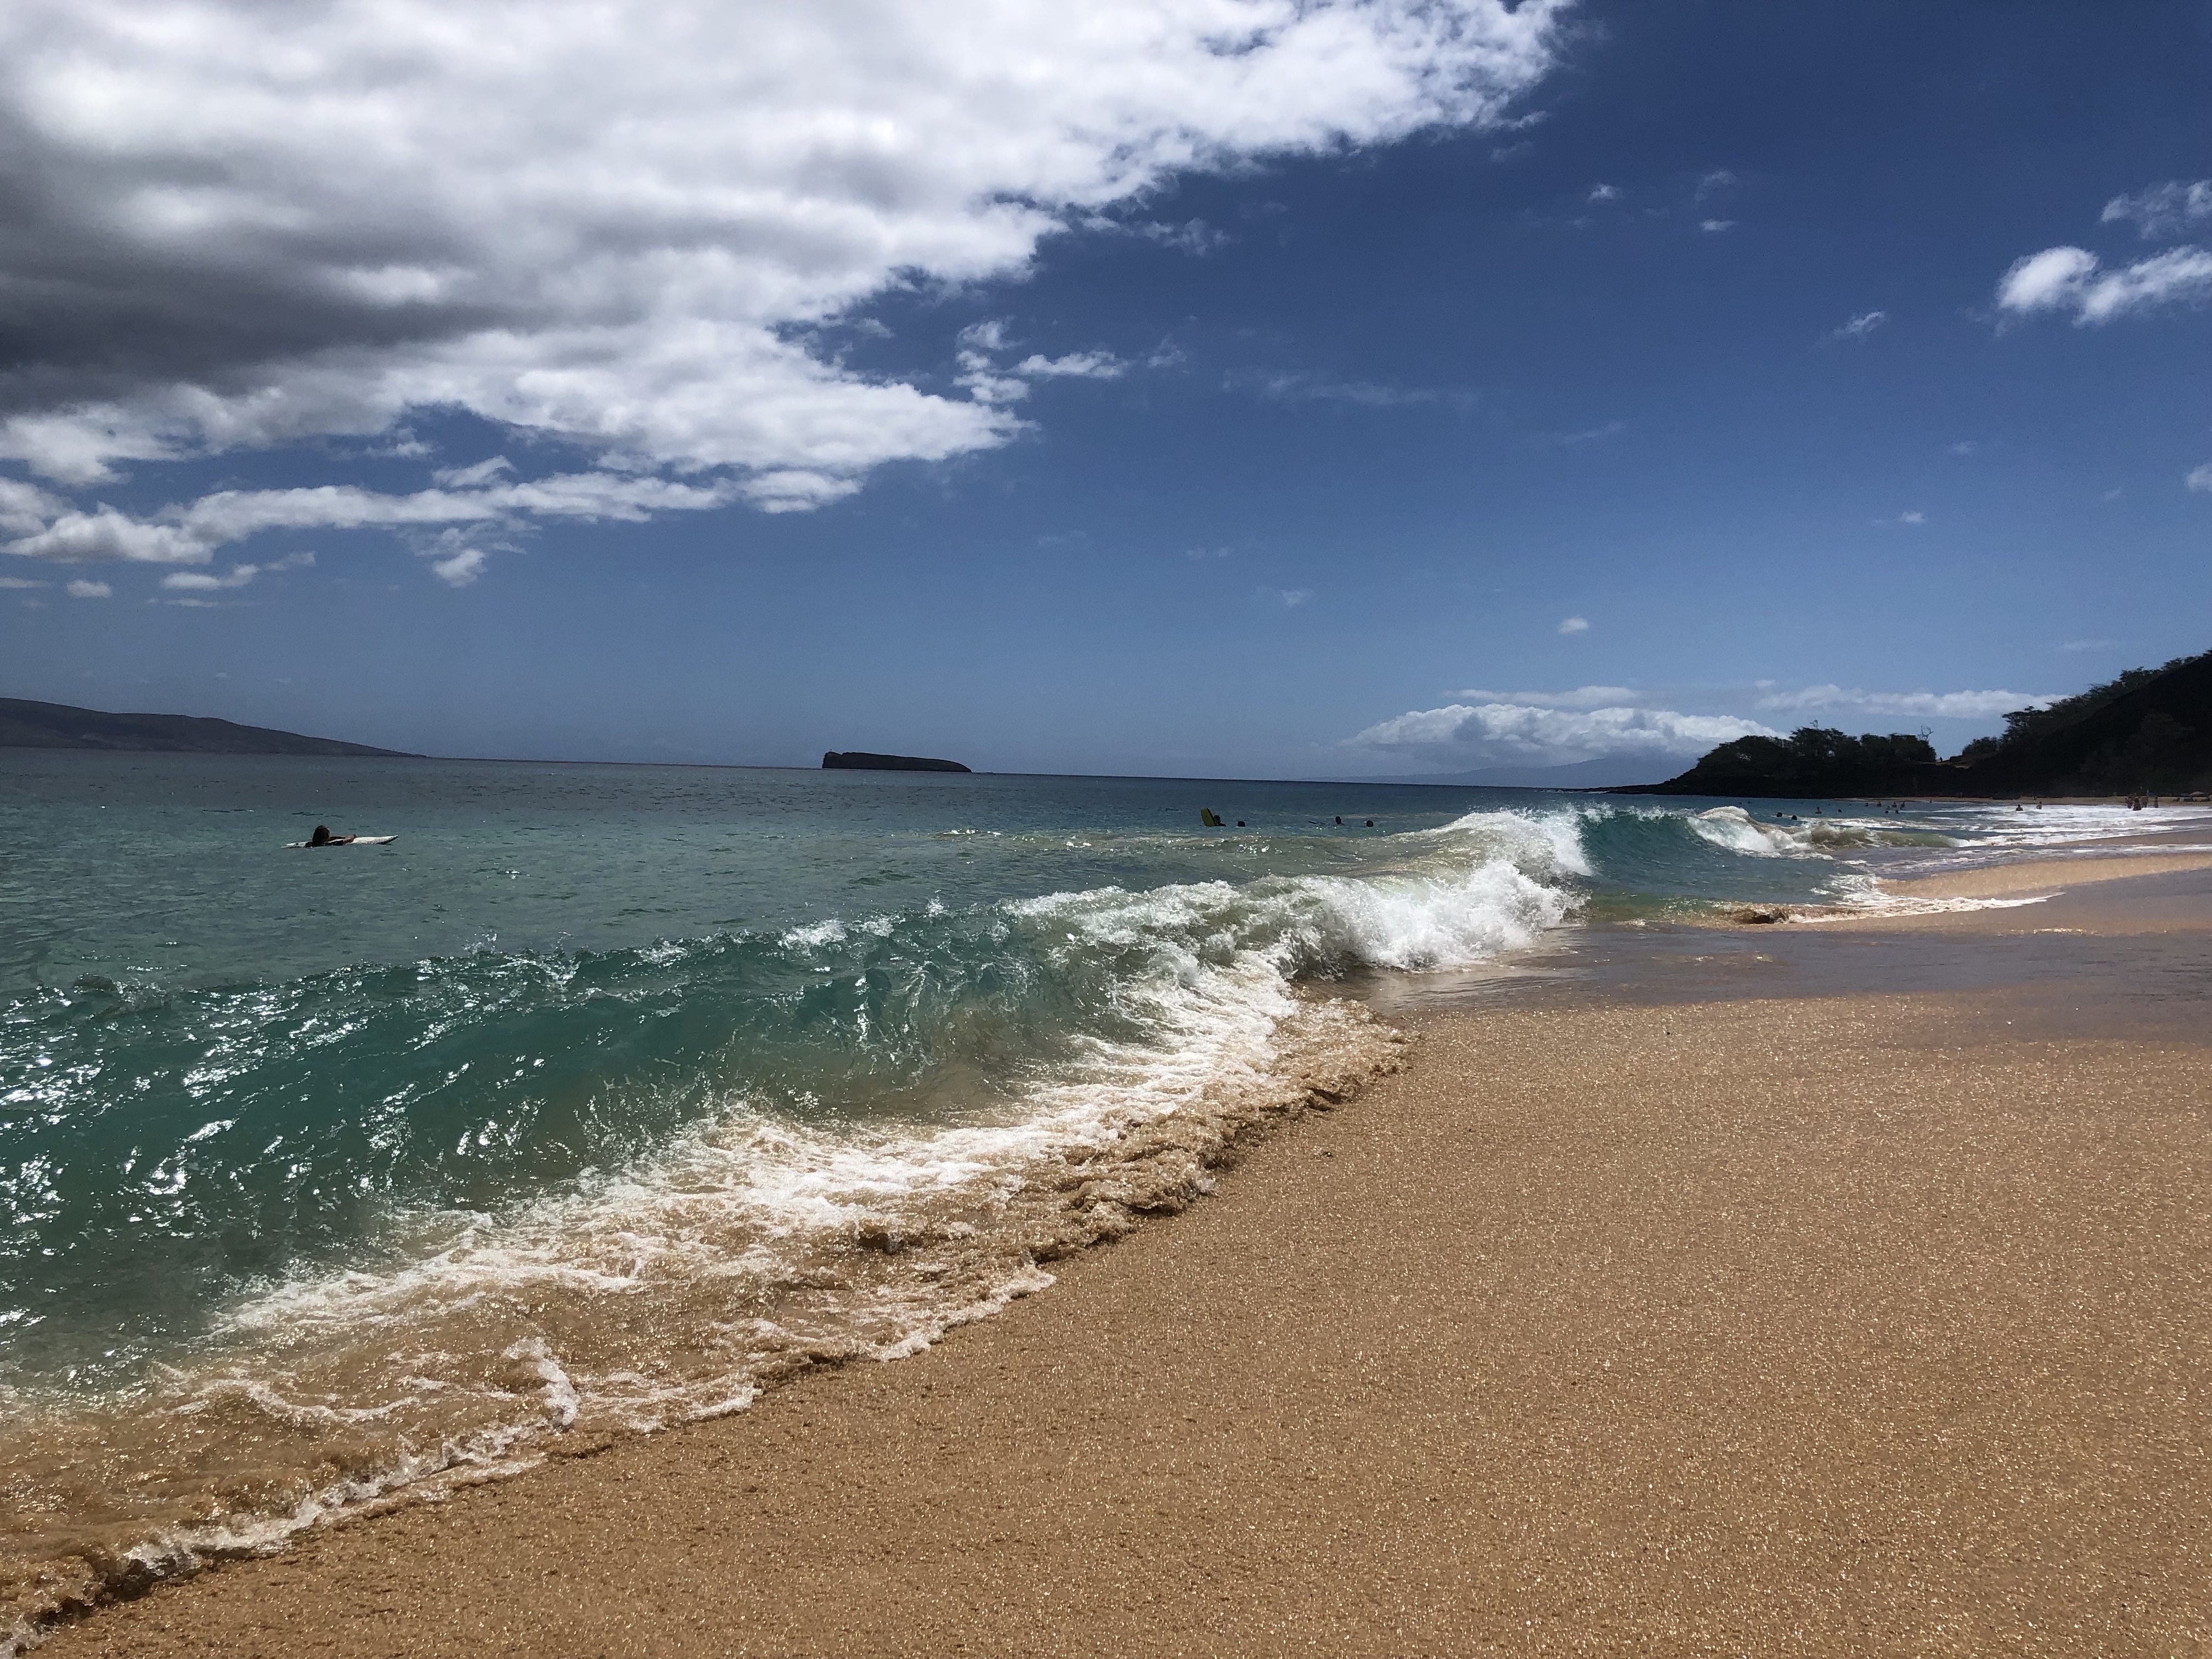
South Maui – Wailea-Makena
Beach hopping is the name of the game!
Makena beach has a “big beach” and “little beach”. Big beach is family friendly and the waves are unreal – but they break really close to shore and can be a bit intense, so be careful and maybe don’t take your kids there for swimming! If you’re bold (and old enough), hike over the cliff and check out little beach…just know clothing is optional, and typically frowned upon over there. We didn’t plan on a visit to that side, but after attempting to swim at big beach, we had to find a safe place to get the sand out of *ahem* places…so we did end up there after all. YOLO.

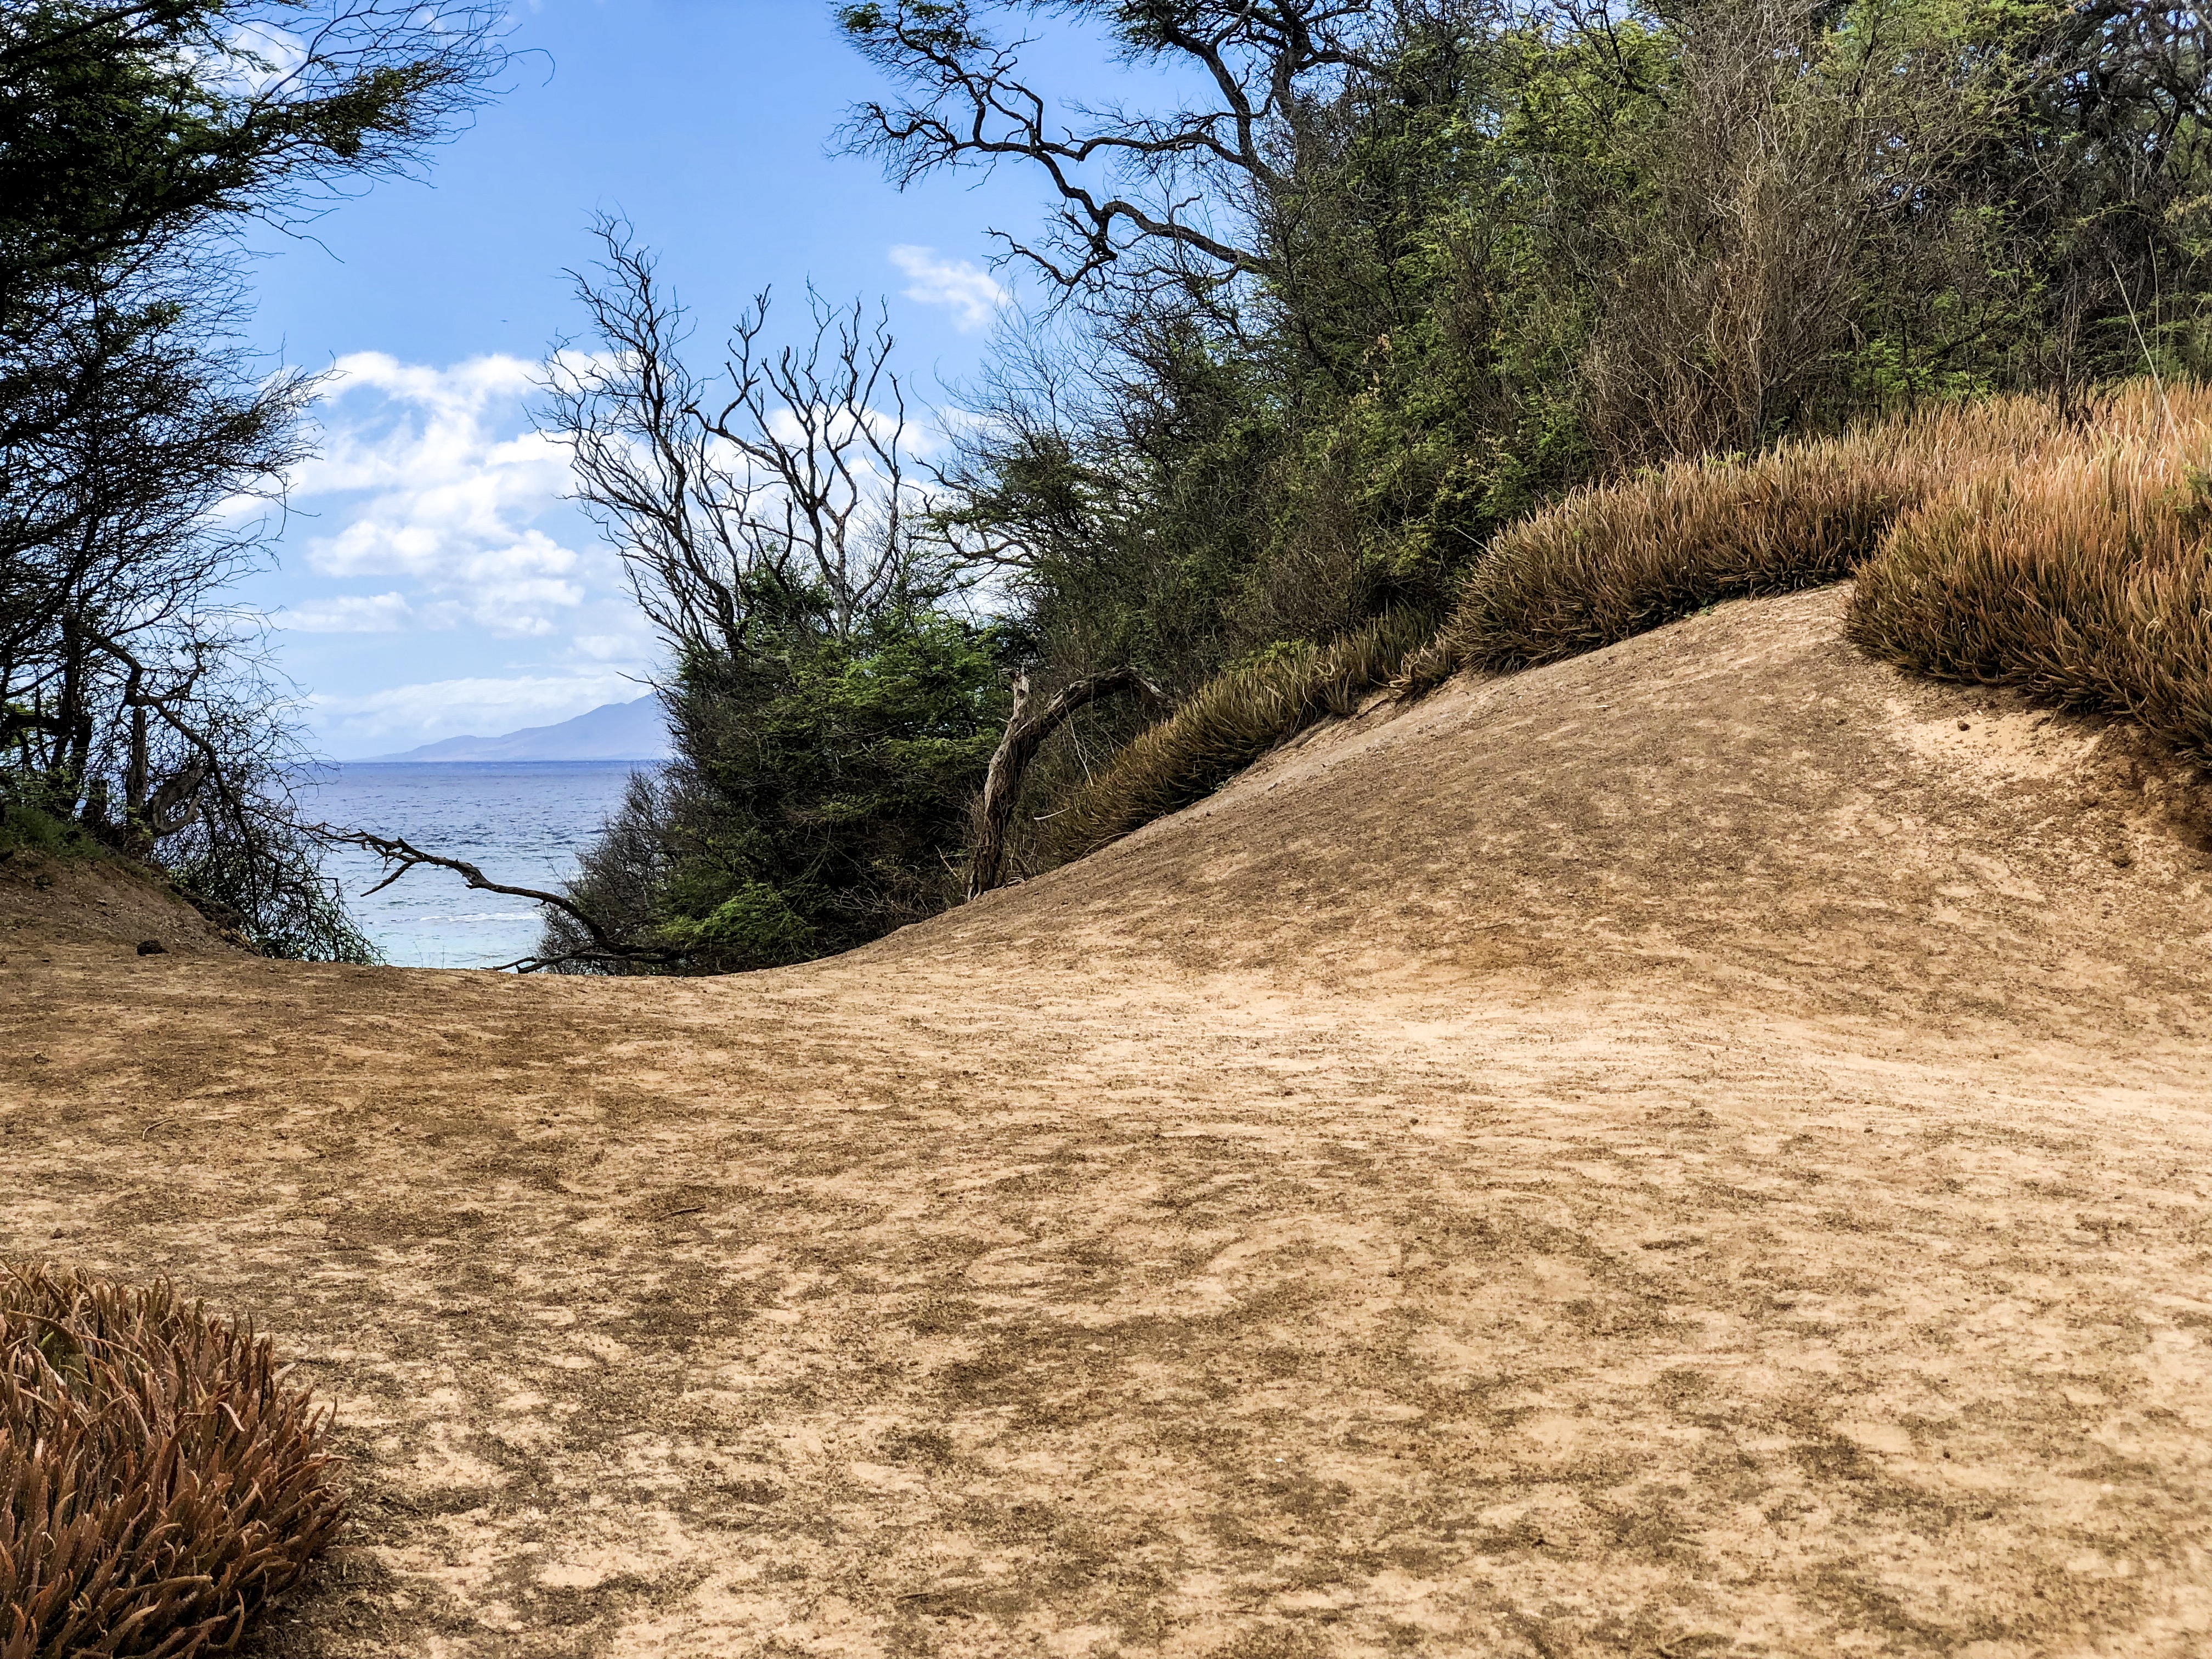
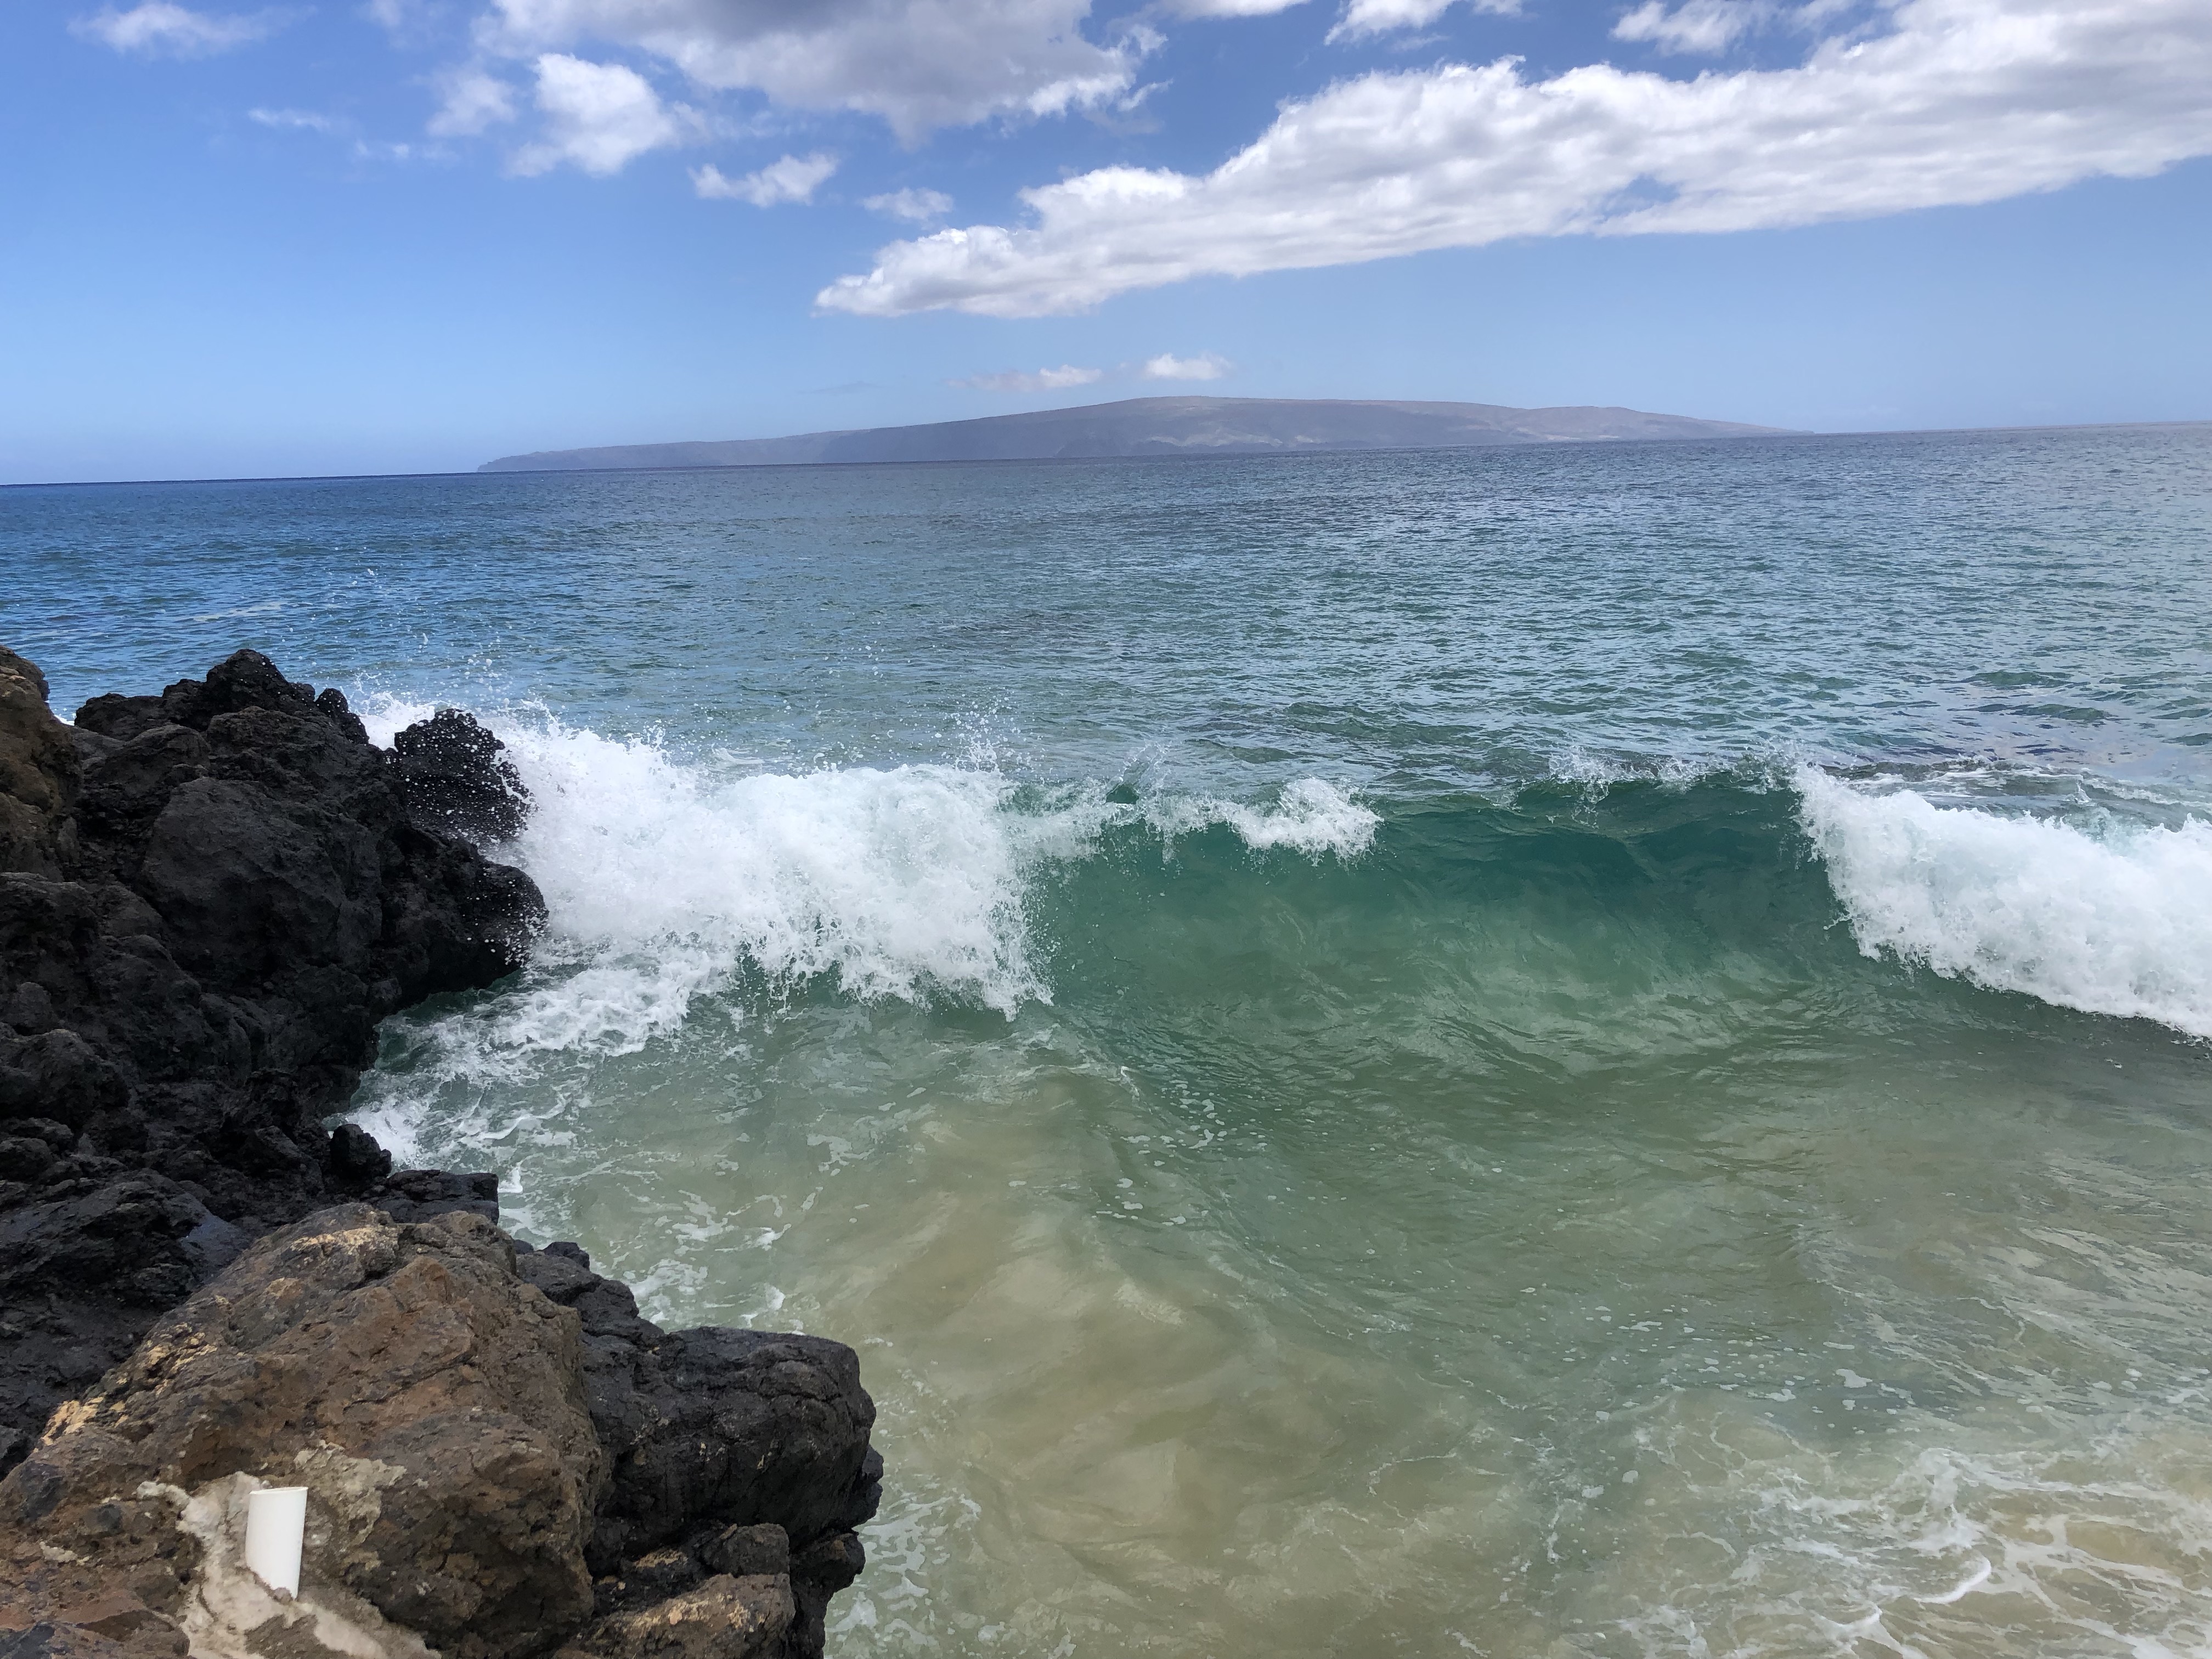
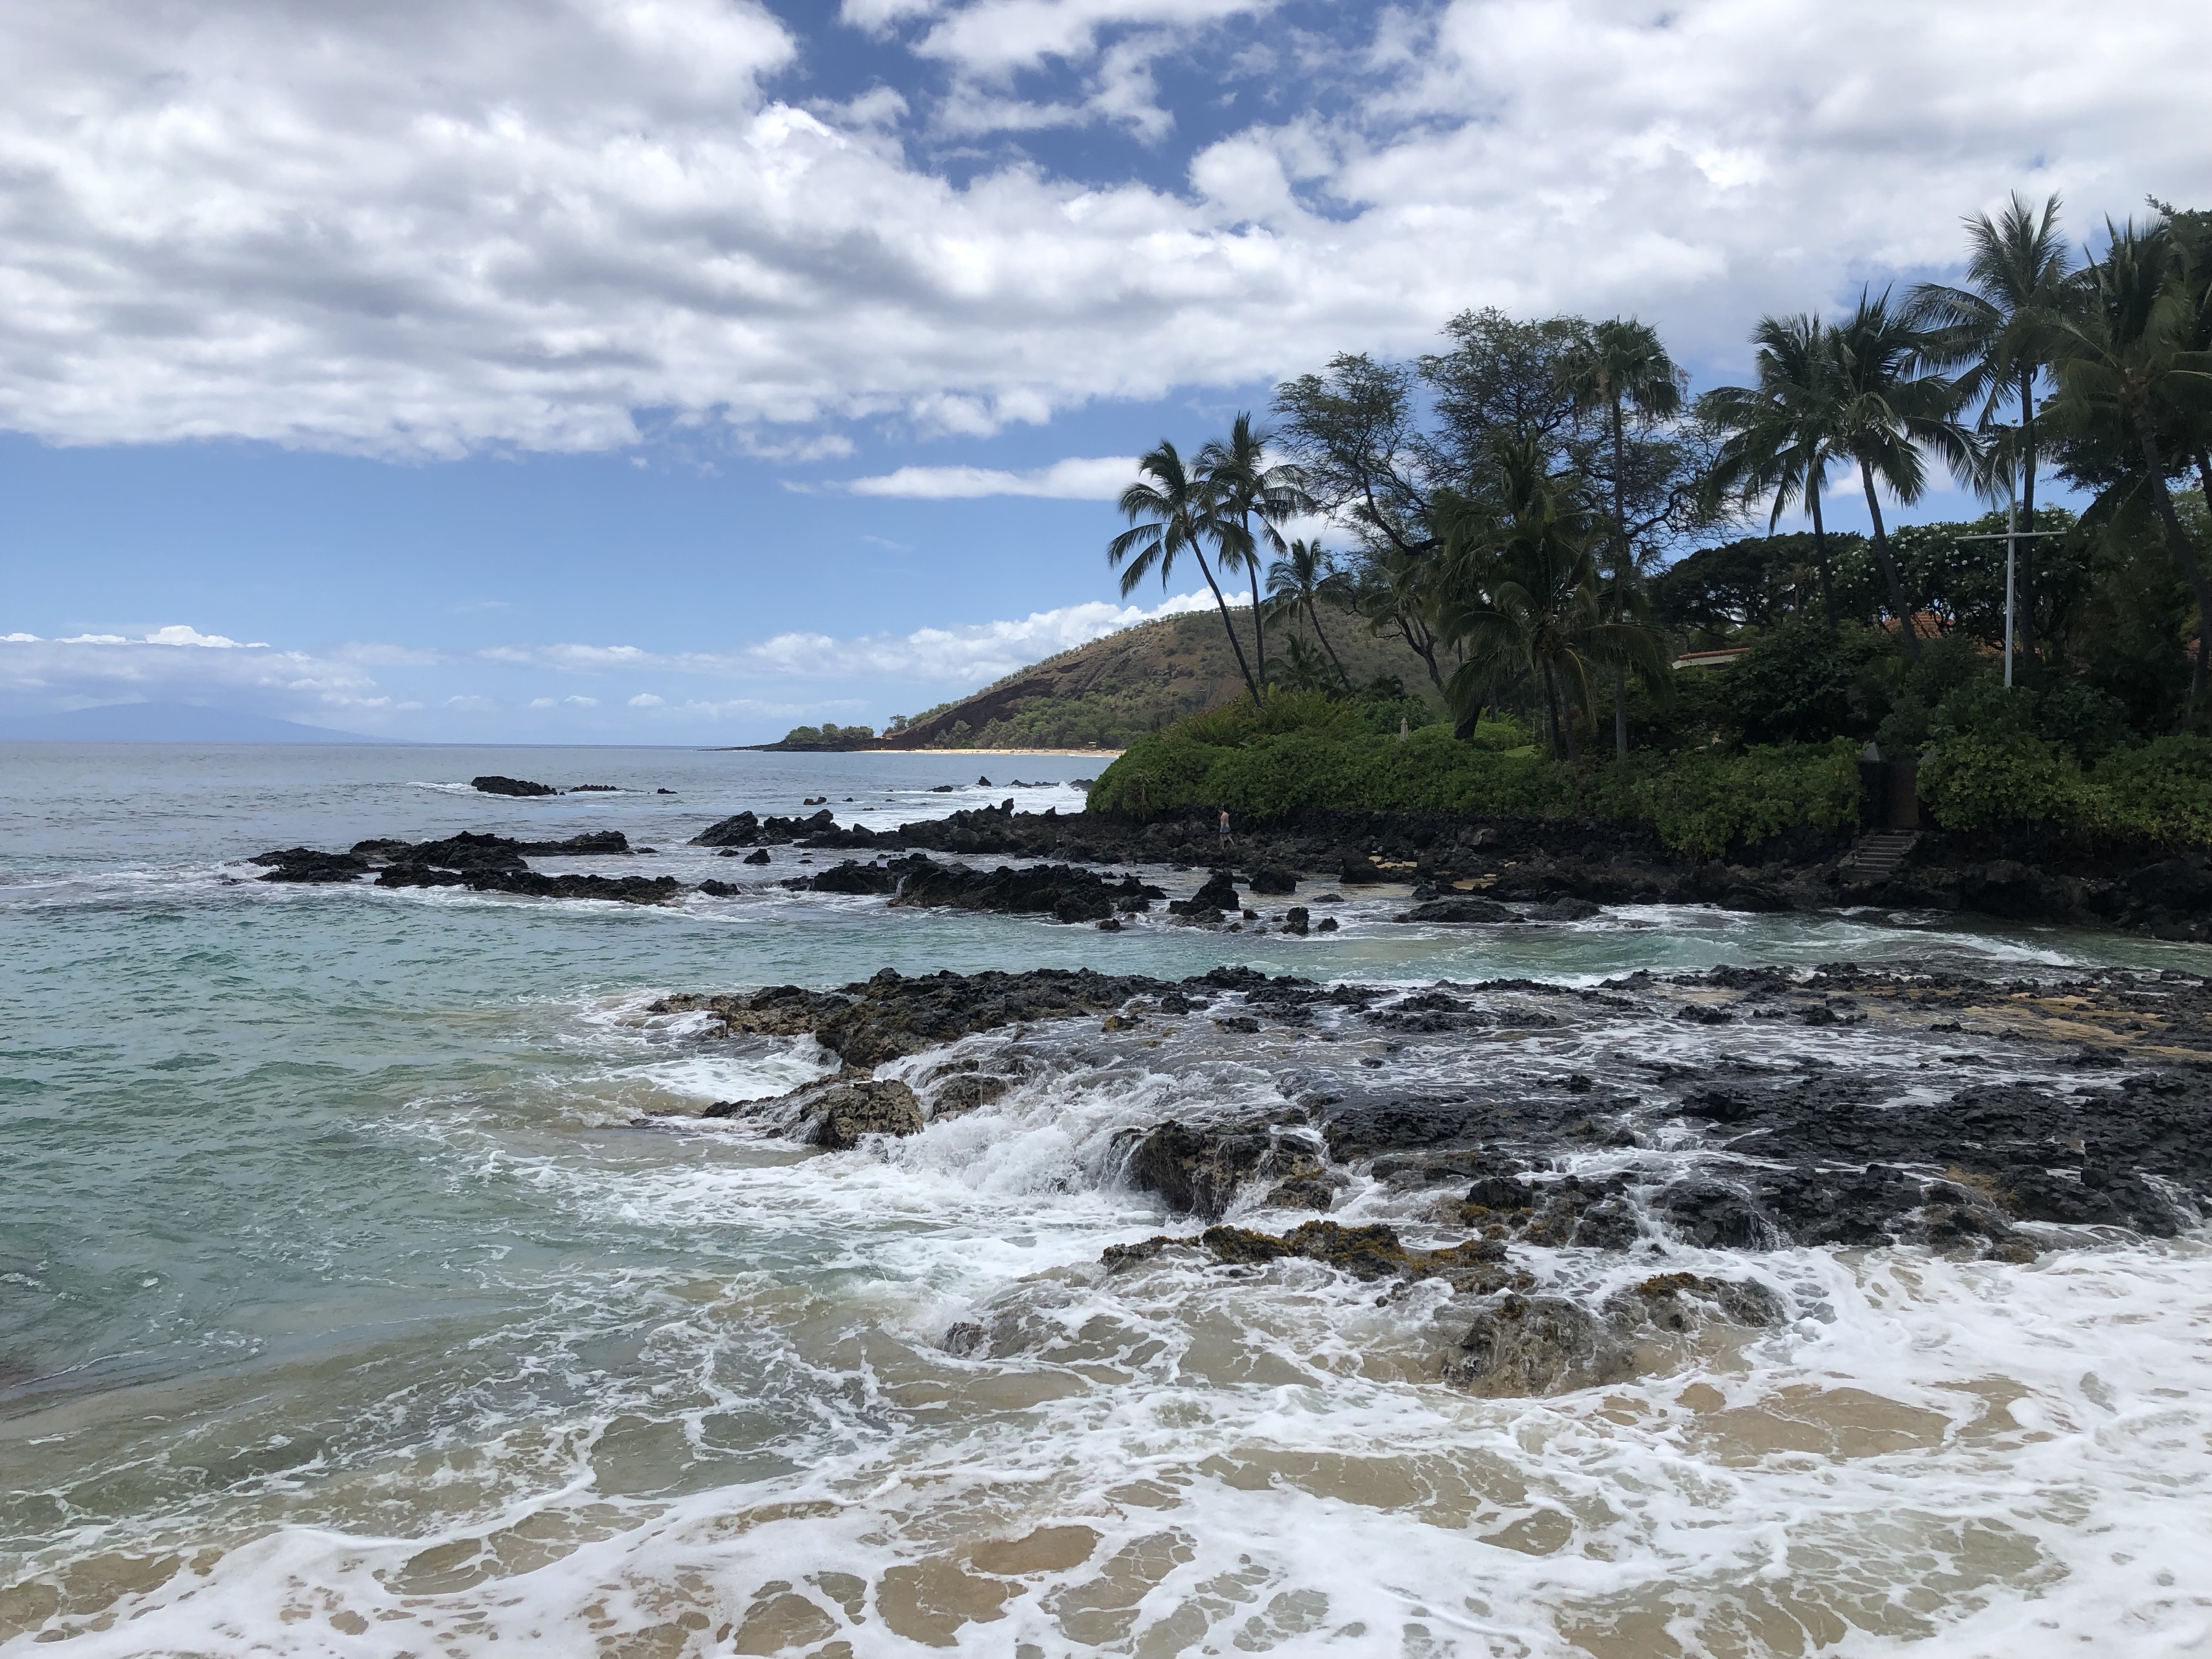
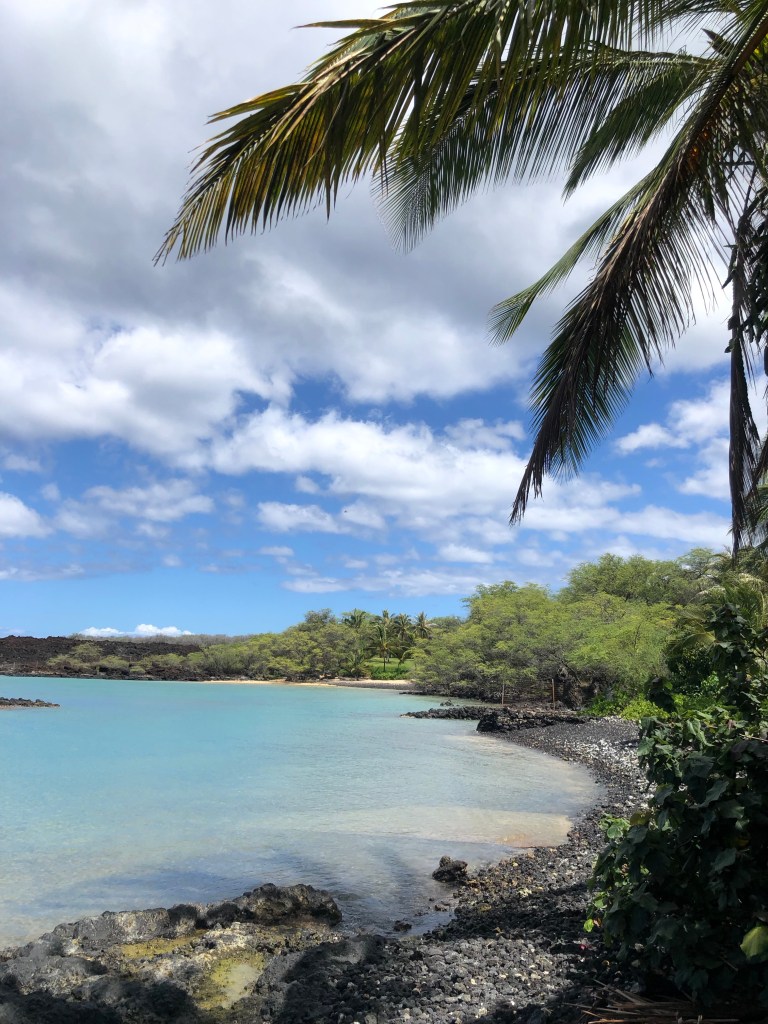
Pa’ako Beach “secret cove” was something we just happened upon. Kyle saw a little gap in the fence as we were driving by and we were curious enough to stop and go inside. It was PRECIOUS. We found out later, that this little cove has become somewhat of an internet-legend, and is often overcrowded as a result, but when we went, it was pretty perfect! The waves here are also too intense to swim in, however the cove is filled with lava rock formations and when the waves crash in, it creates a beautiful water cascade over the tops of them, and the puddles are perfect for littles to splash around in!

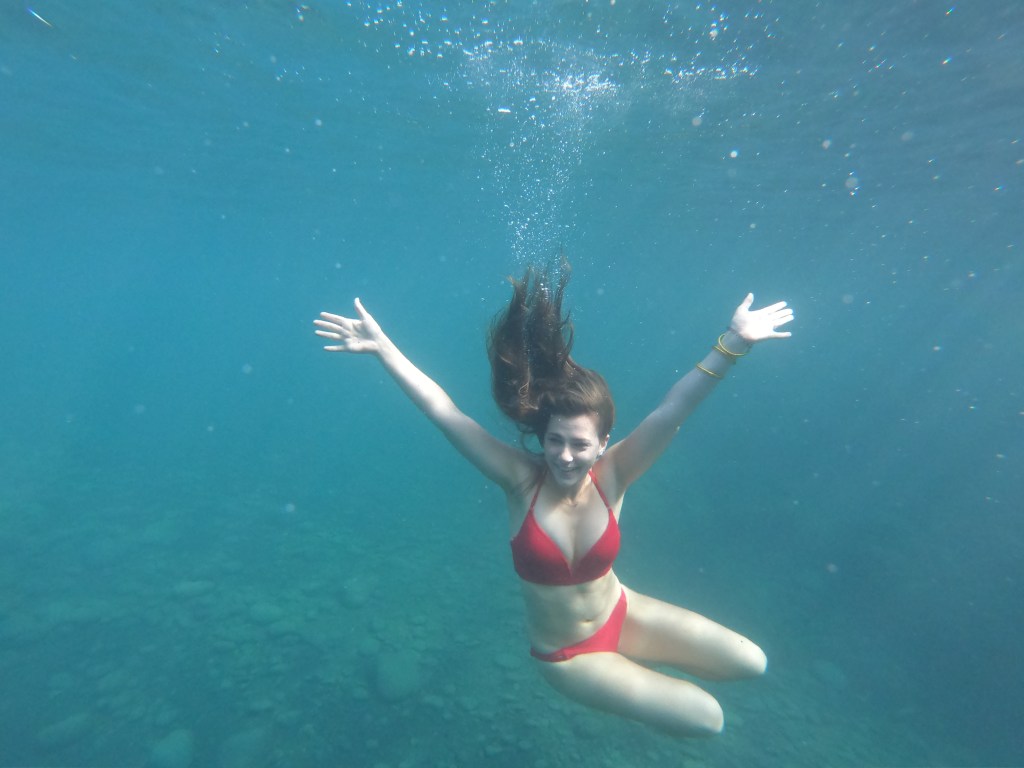
Maluaka Beach “turtle town” is a hot spot for snorkeling just because there are supposedly turtles everywhere! It is often a stop on the Molokini crater snorkeling trips which is another “biggie” thing to do in Maui. We didn’t get to do either of these because we ran out of time, and had plans to try to see more of the reef fish. It’s another thing on our list for next time. Instead we went down towards the end of Makena road to Ahihi Bay and it was gorgeous!


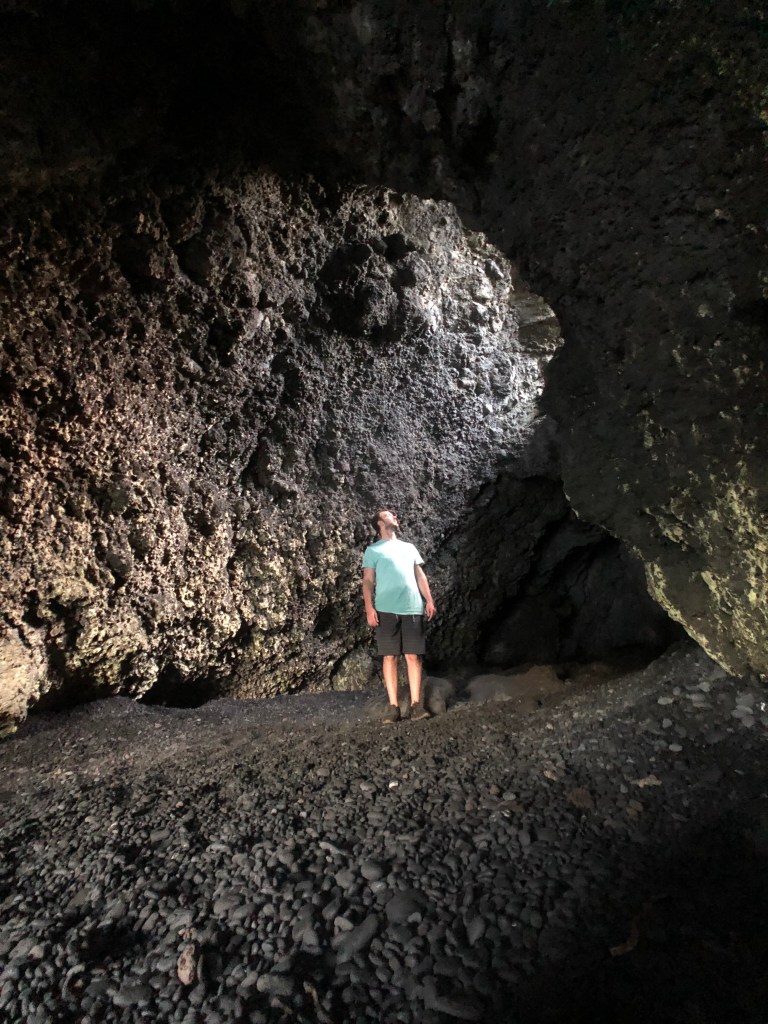
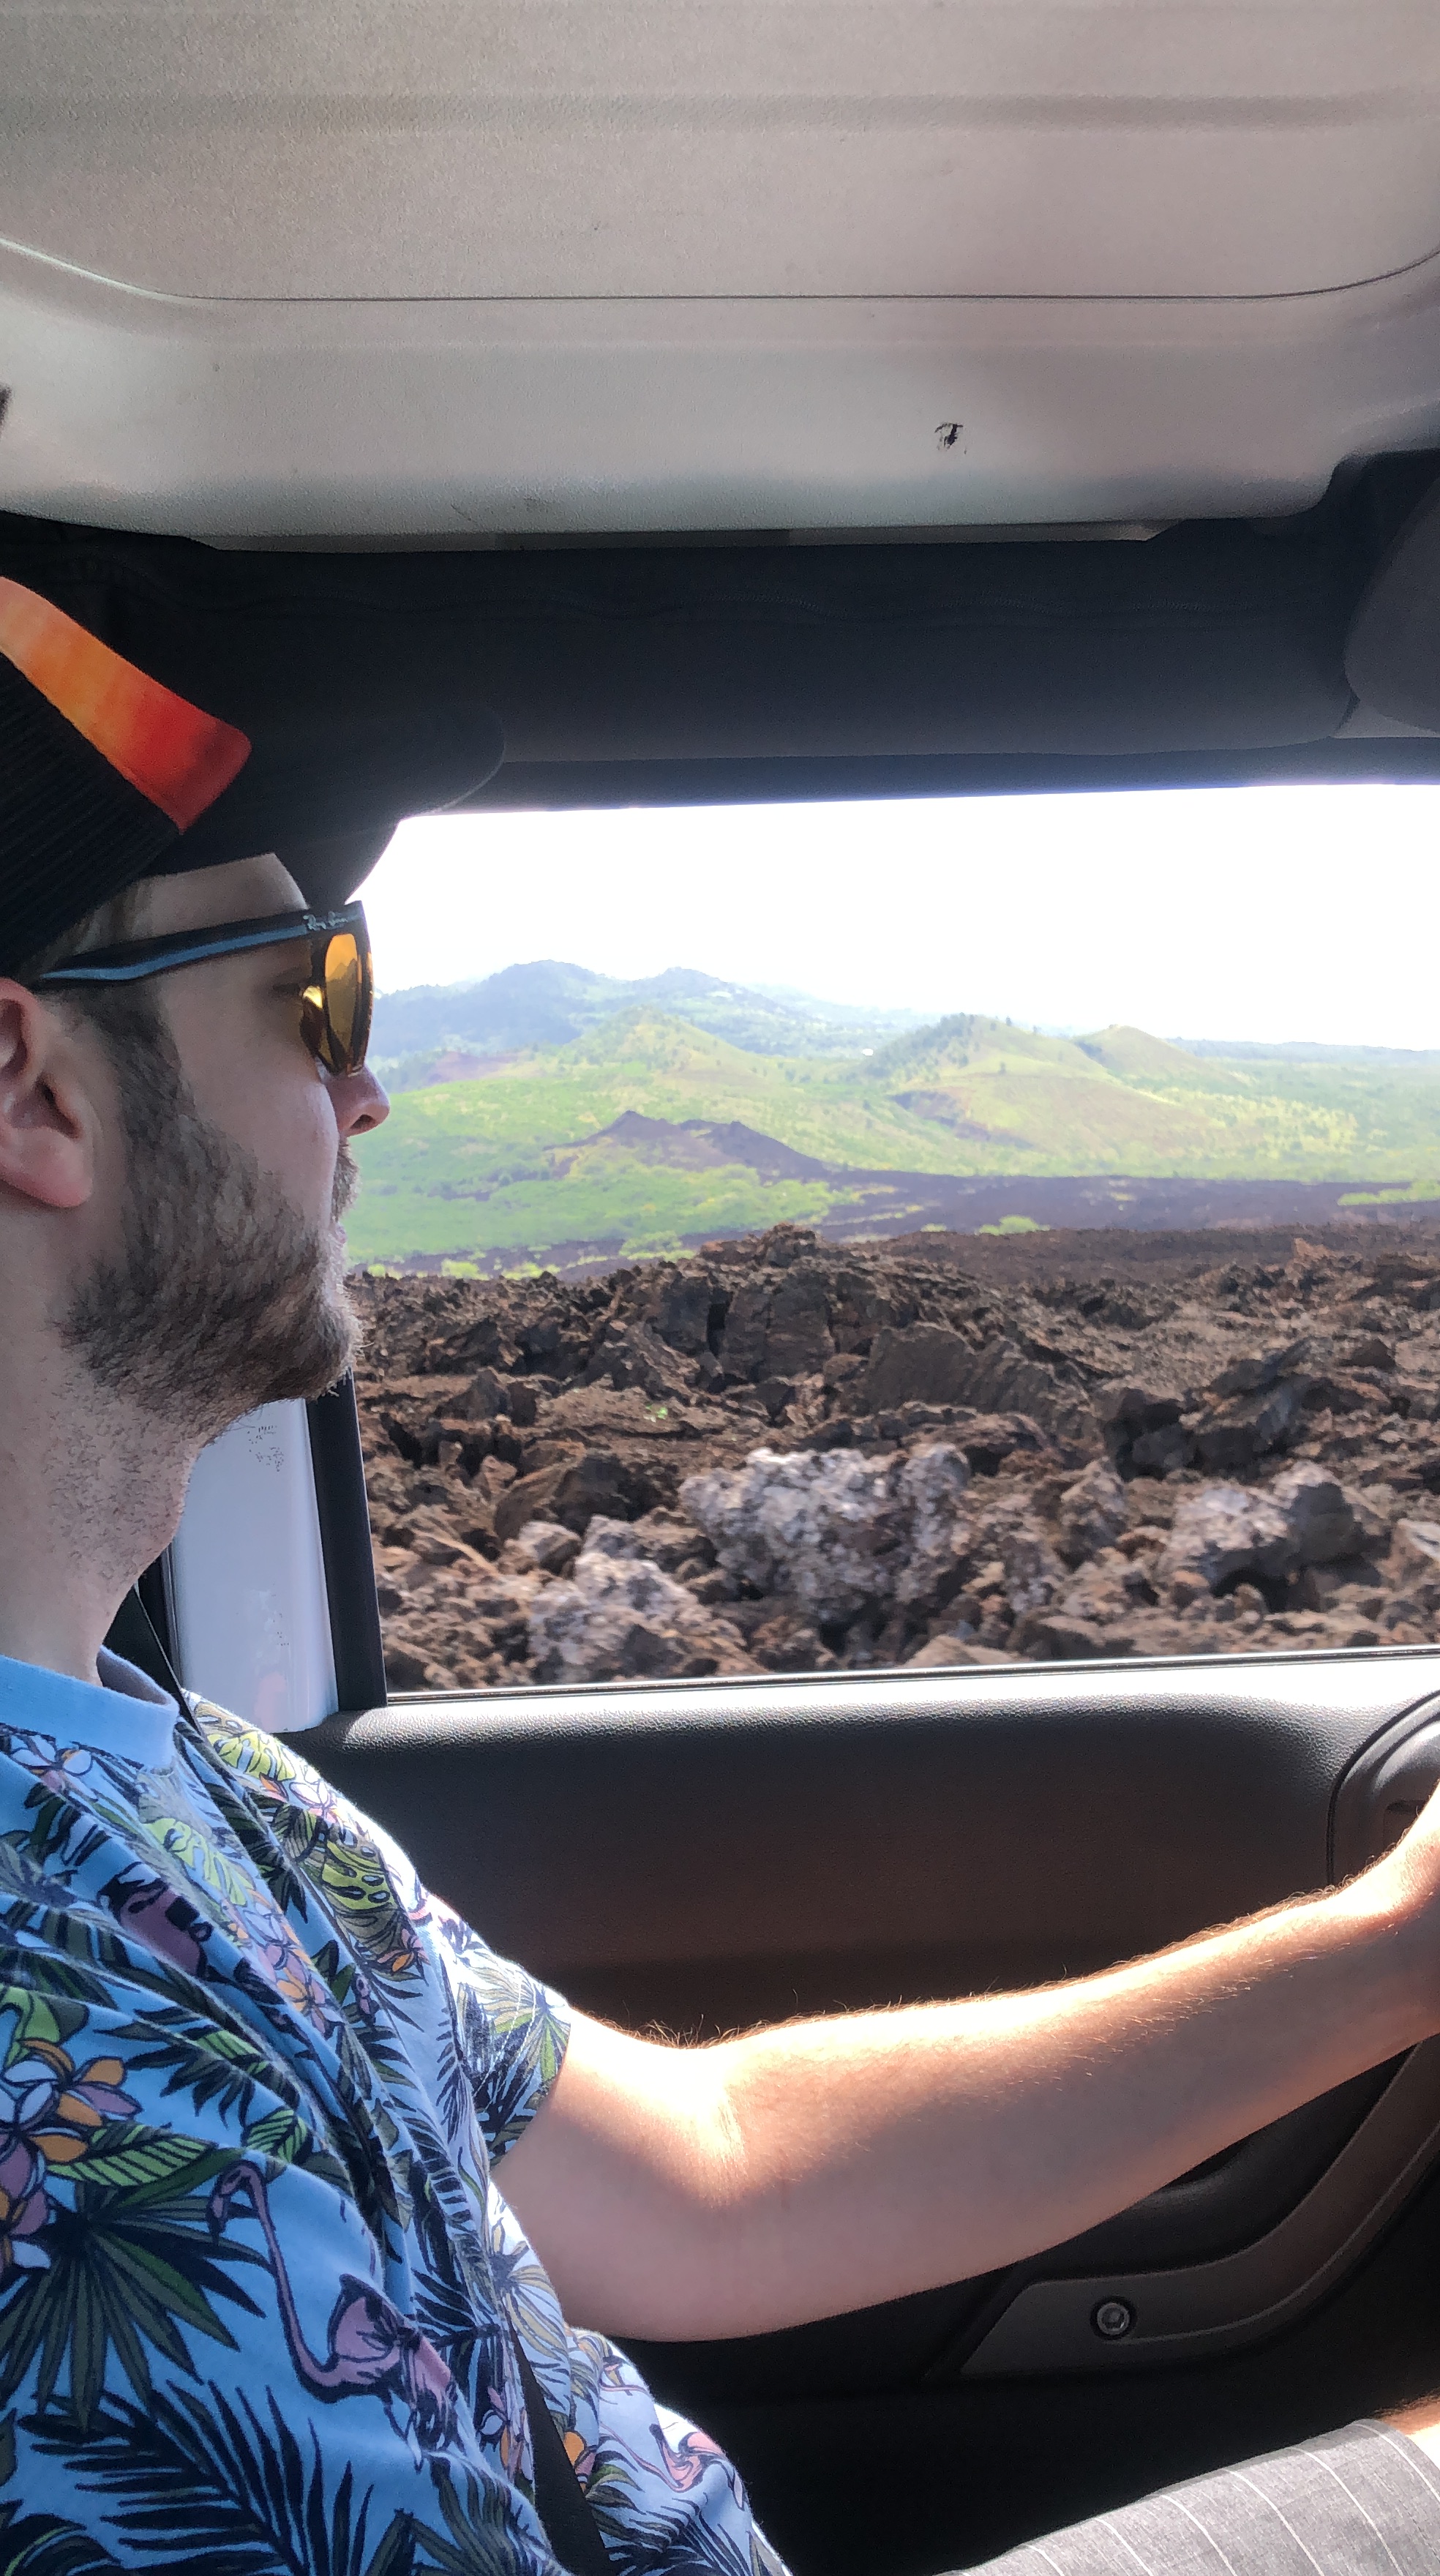
To get there, you have to drive through the Lava Fields – and there are few things I’ve seen as ethereal as this! The story is that the lava fields are the remains of Haleakalā’s last eruption in the late 1700s. It’s like nothing I’ve ever seen before. It looks somewhat like ground beef in pictures, no?


If you continue past Ahihi Bay, you’ll eventually wind up at La Perouse Bay, which I’m told is a fabulous spot to watch whales and dolphins in the winter months!
West Maui
Once you’re on this side, there are a multitude of beaches with a variety of things to offer. Find your way to Ho’okipa to watch the serious surfers practice (at sunset all the turtles come up to hang out on the beach!), take a surfing lesson at Lahaina where the waves are slow and smooth for beginners, bring a picnic to Kaanapali and watch the kite surfing (SERIOUSLY a mind blowing sport!), then go hang out at local hang-outs in Paia and listen to the local musicians. Our favorite thing to do during un-planned moments was to just drive around this area and see all the local culture Maui has to offer! Paia ended up being our favorite spot to find good eats, fun shopping, and super friendly vibes. If you spend enough time there, you start to feel like maybe you wouldn’t mind living on an island in the middle of the sea after all. Such a great community! Sidenote: My friend Kasey also recommended driving the road called Kahakuloa to check out the Nakalele blowhole and the heart shaped rock – we didn’t get to try this, so these are on our list for next time!
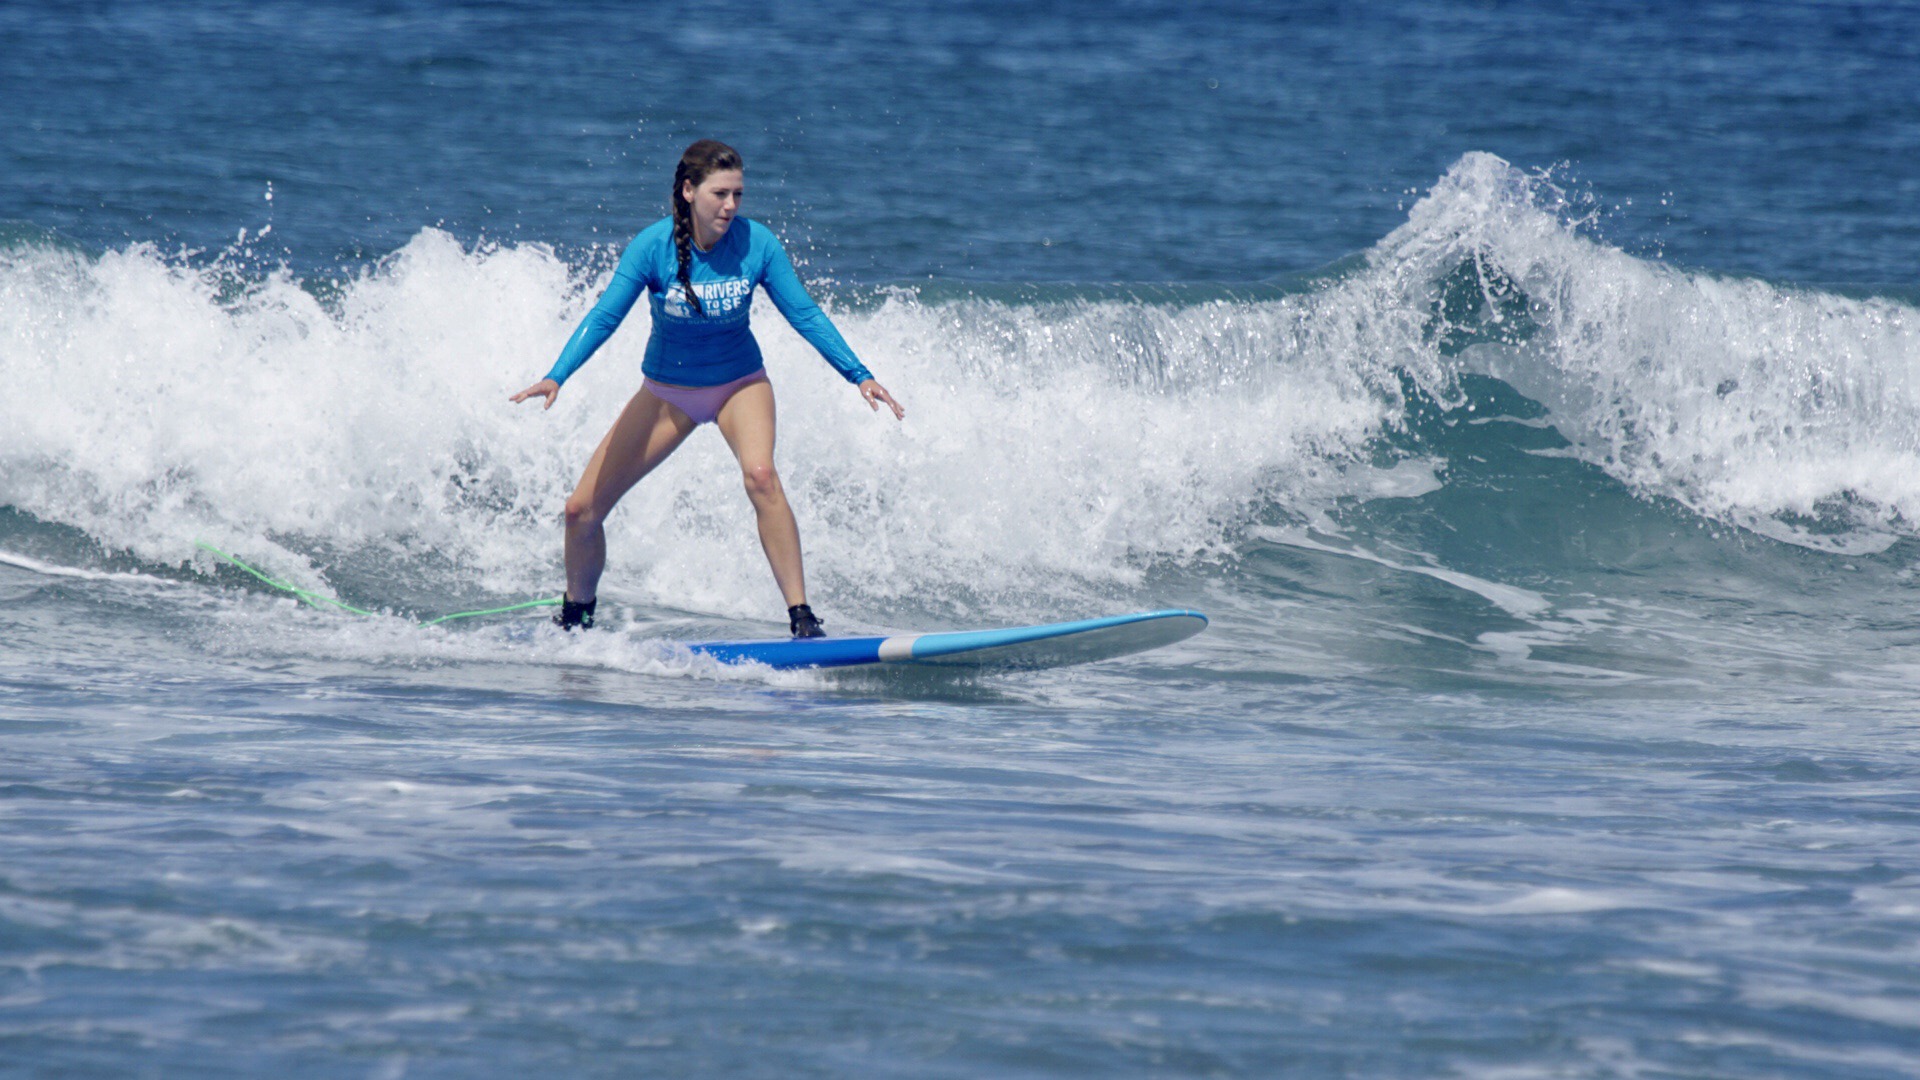
Lahaina Beach is great for beginner surfers 
Ka’anapali Beach Kite Surfers 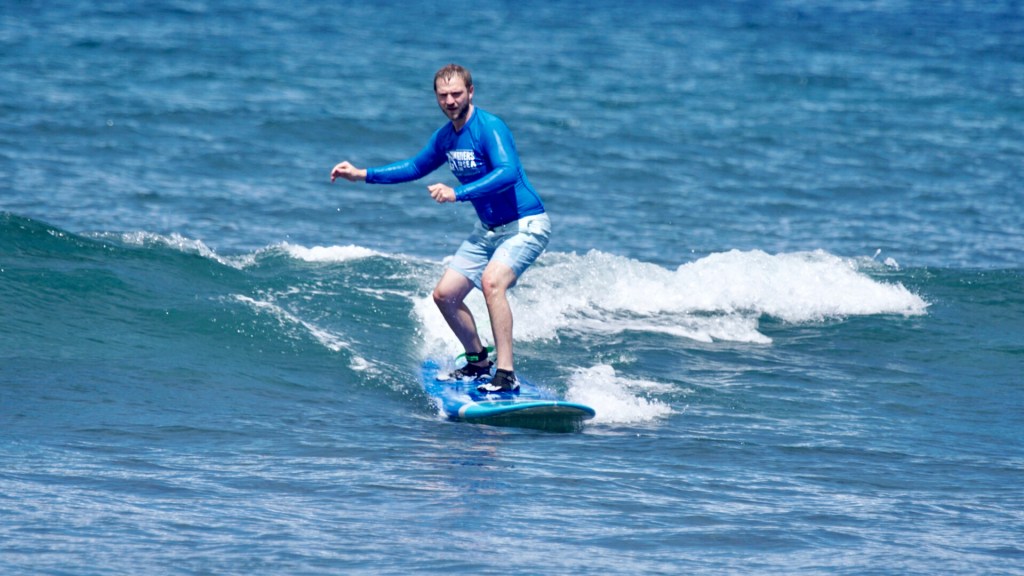

Ho’okipa Beach – great for watching pro surfers and Hawaiian Sea Turtles (seen here sunbathing in the evening rays!) 
I highly recommend surfing lessons – we had such a great time and it was surprisingly easy!
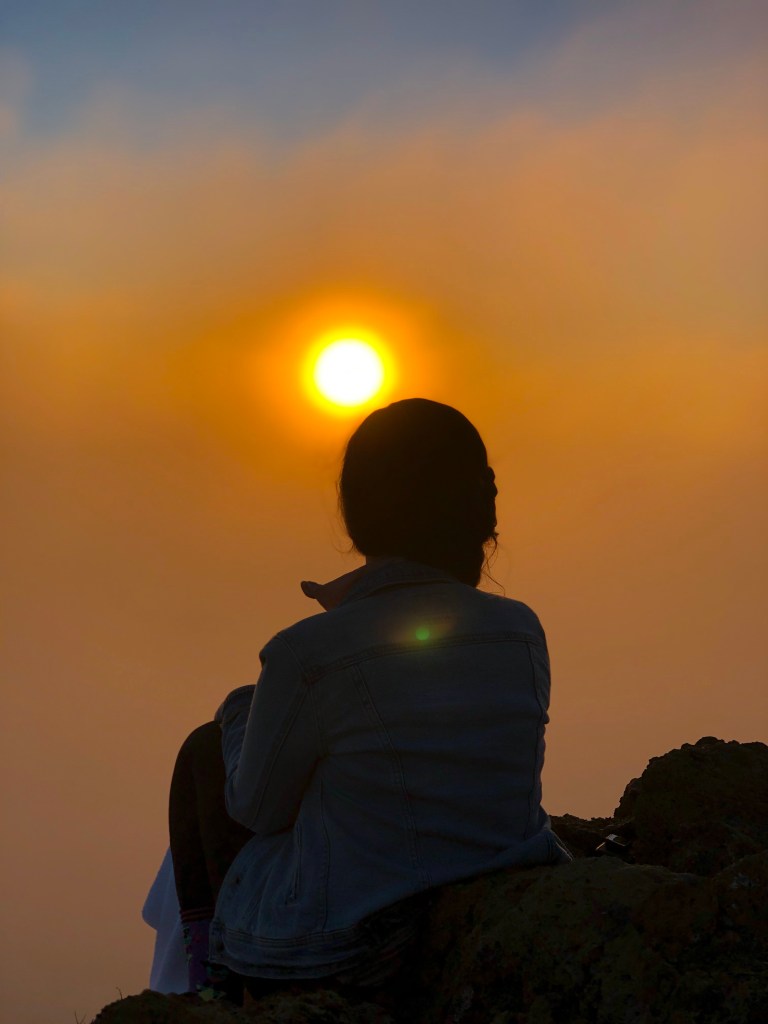
• H A L E A K A L Ā • Sunrise at the crater and Maui meadows
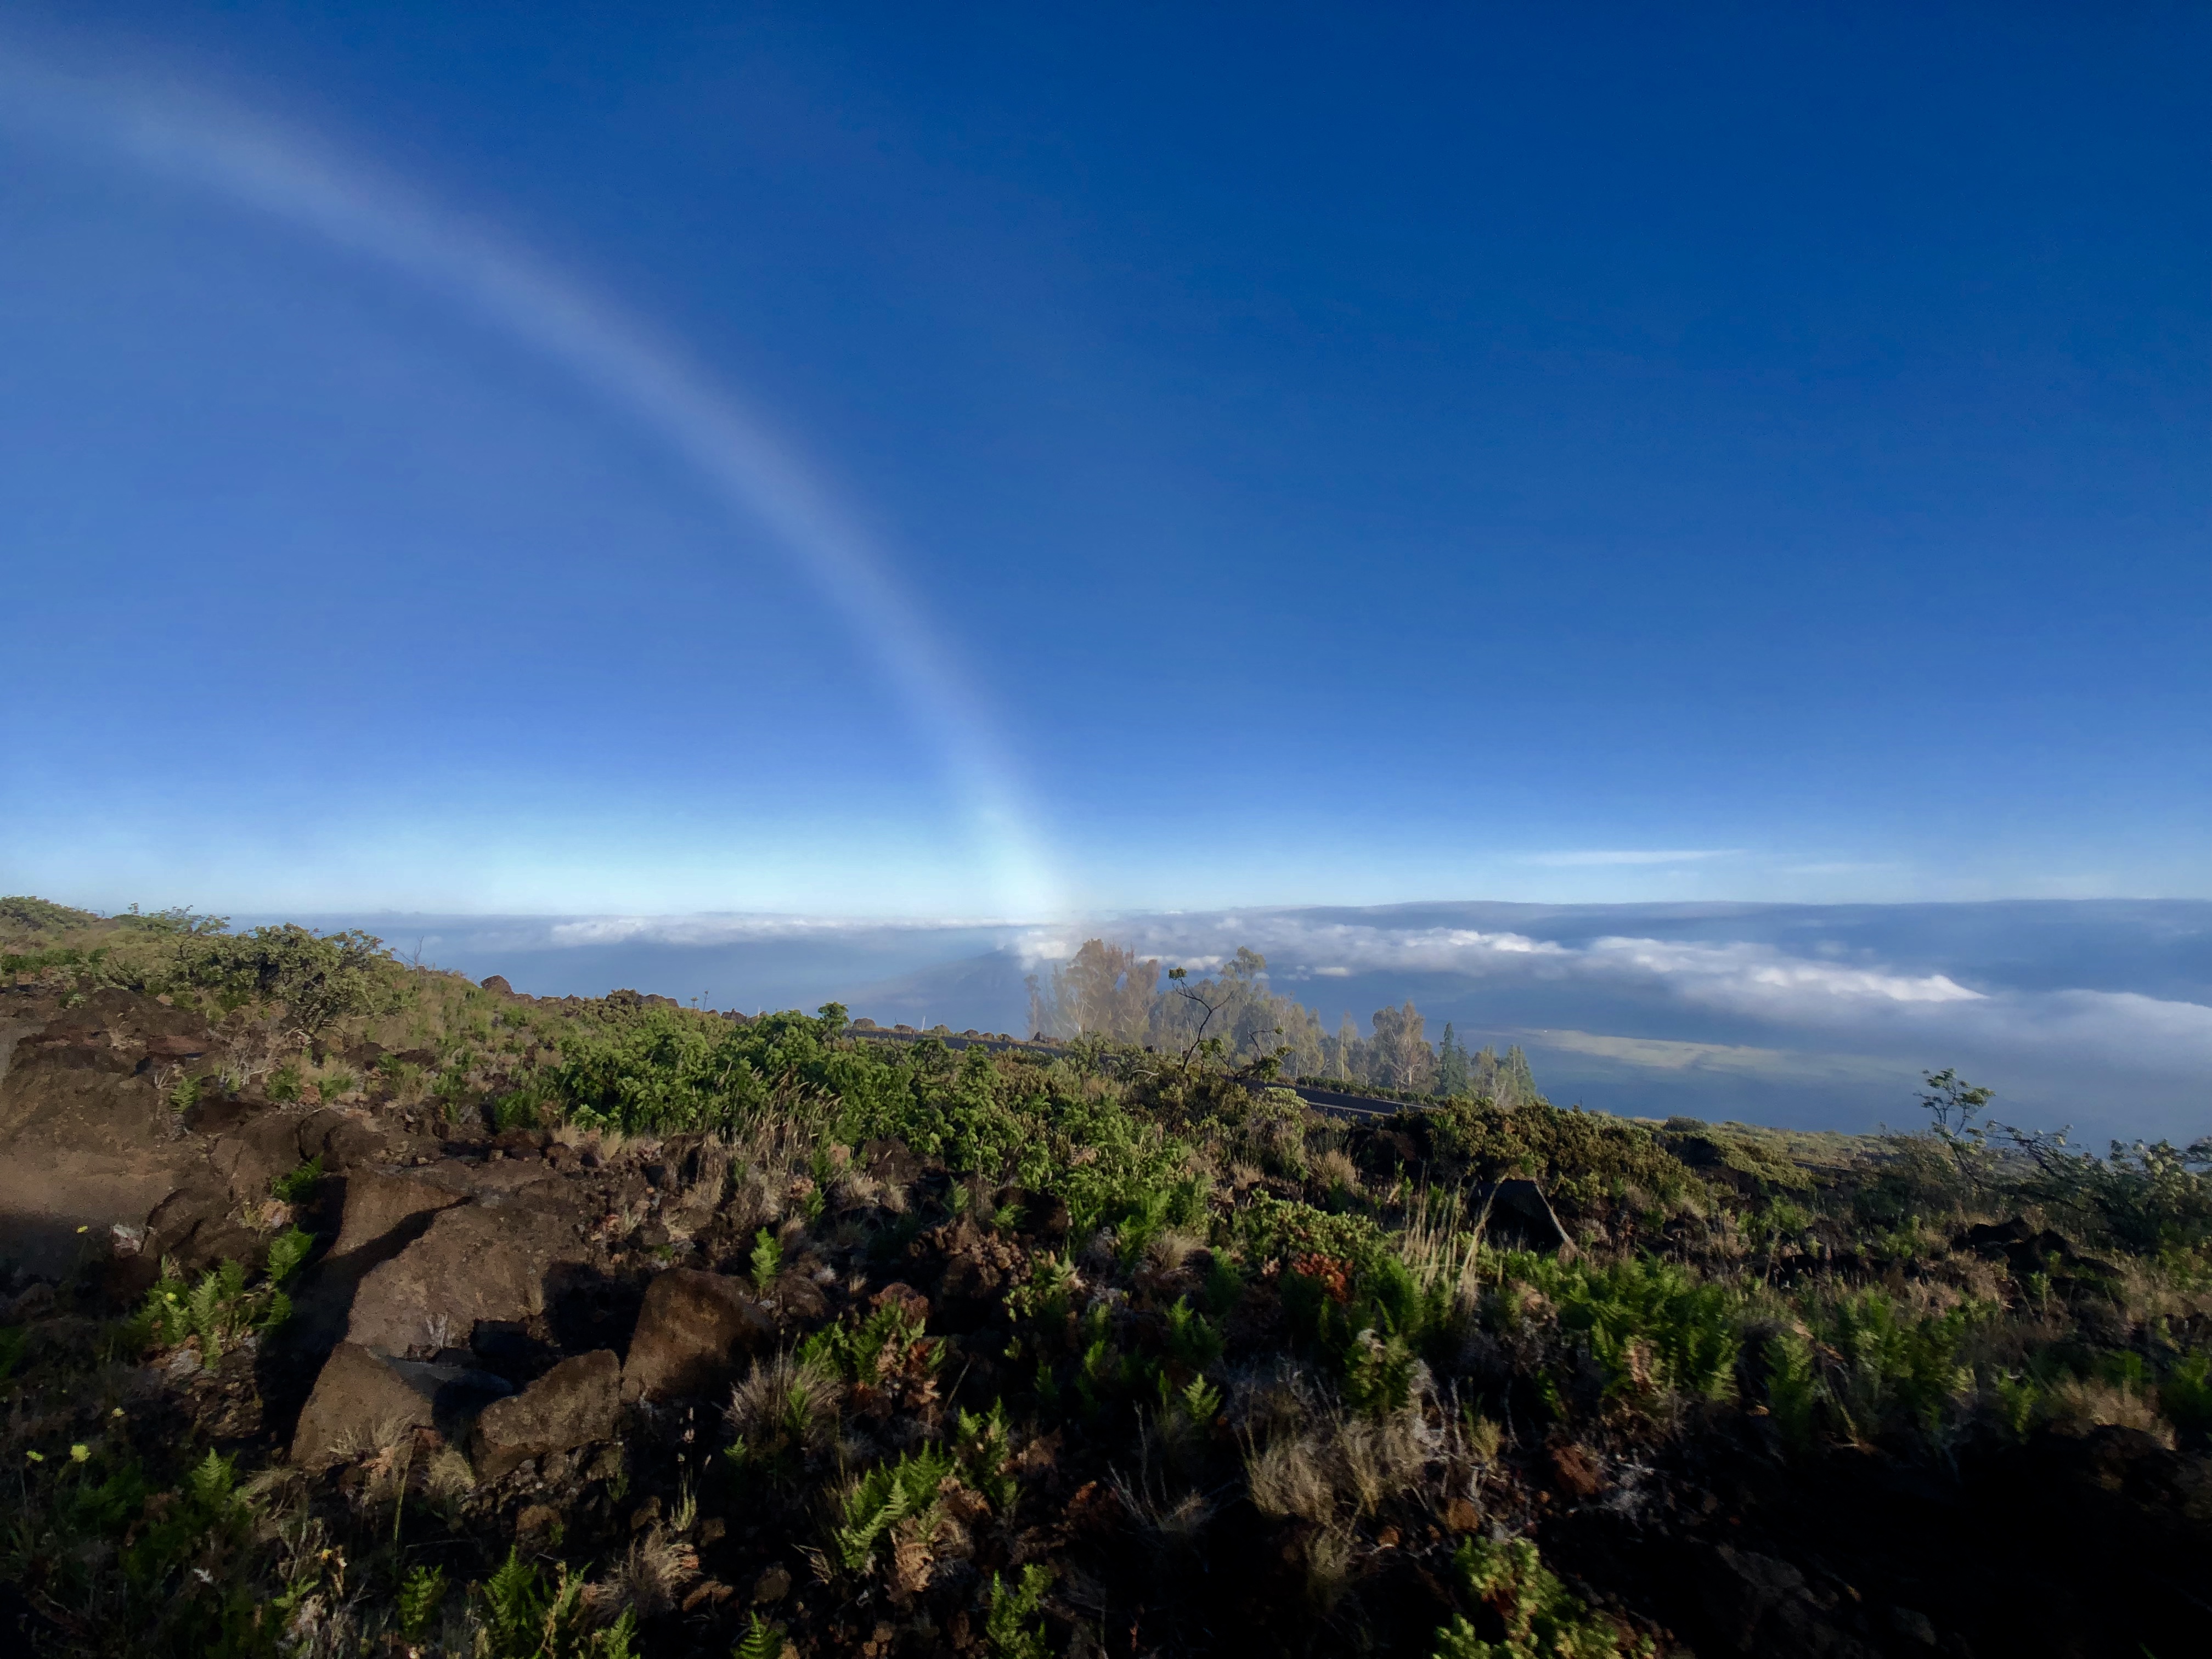
The Haleakalā Crater is a shield volcano that forms more than three-quarters of the island of Maui. The highest elevation (just above where these pictures were taken) sits at just over 10,000 feet elevation and daily houses one of the most stunning and ethereal sunrise experiences imaginable! Because of the elevation, you find yourself sitting right above the clouds gazing at all the beautiful colors, and moments later when the sun rises above them, the clouds join in suit, misting you with this fresh, mystical, icy spritz as they slowly begin to occlude the gorgeous colorful landscape. And just like that, the view is gone. Such a cool experience, but it. was. so. cold.
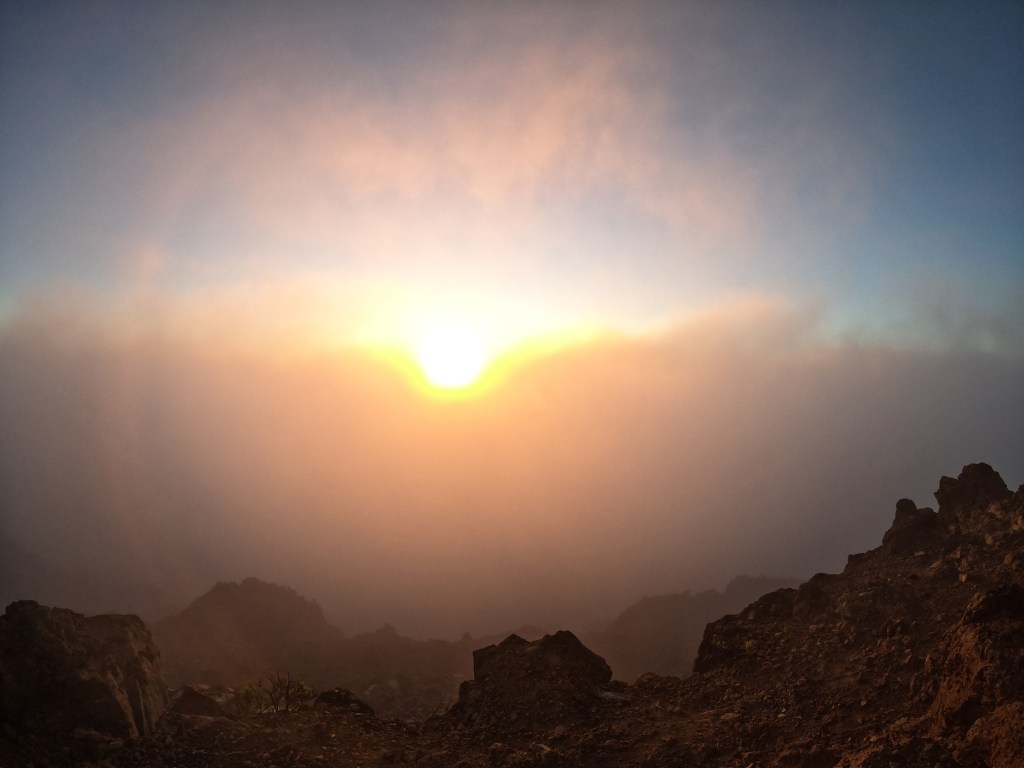
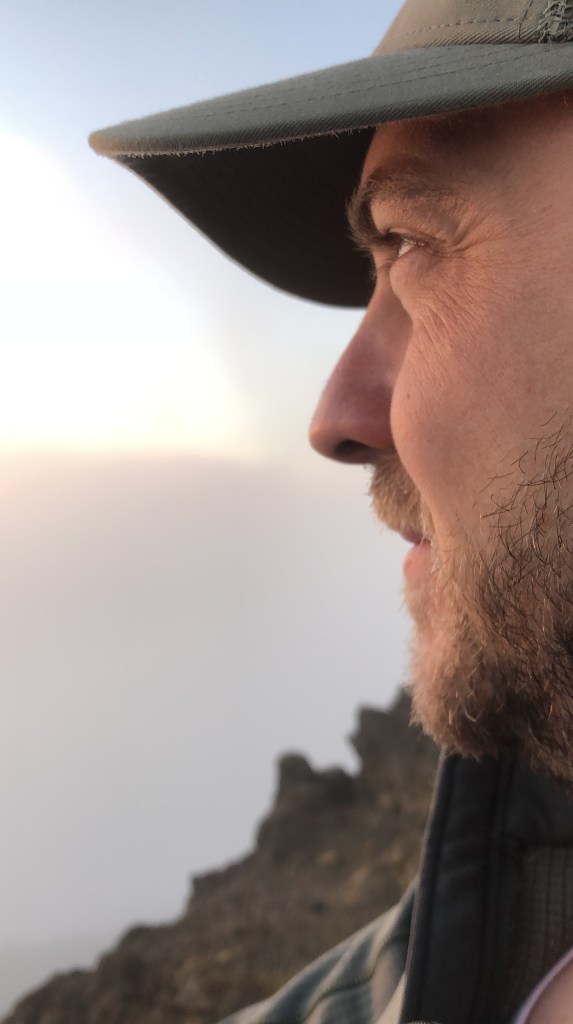
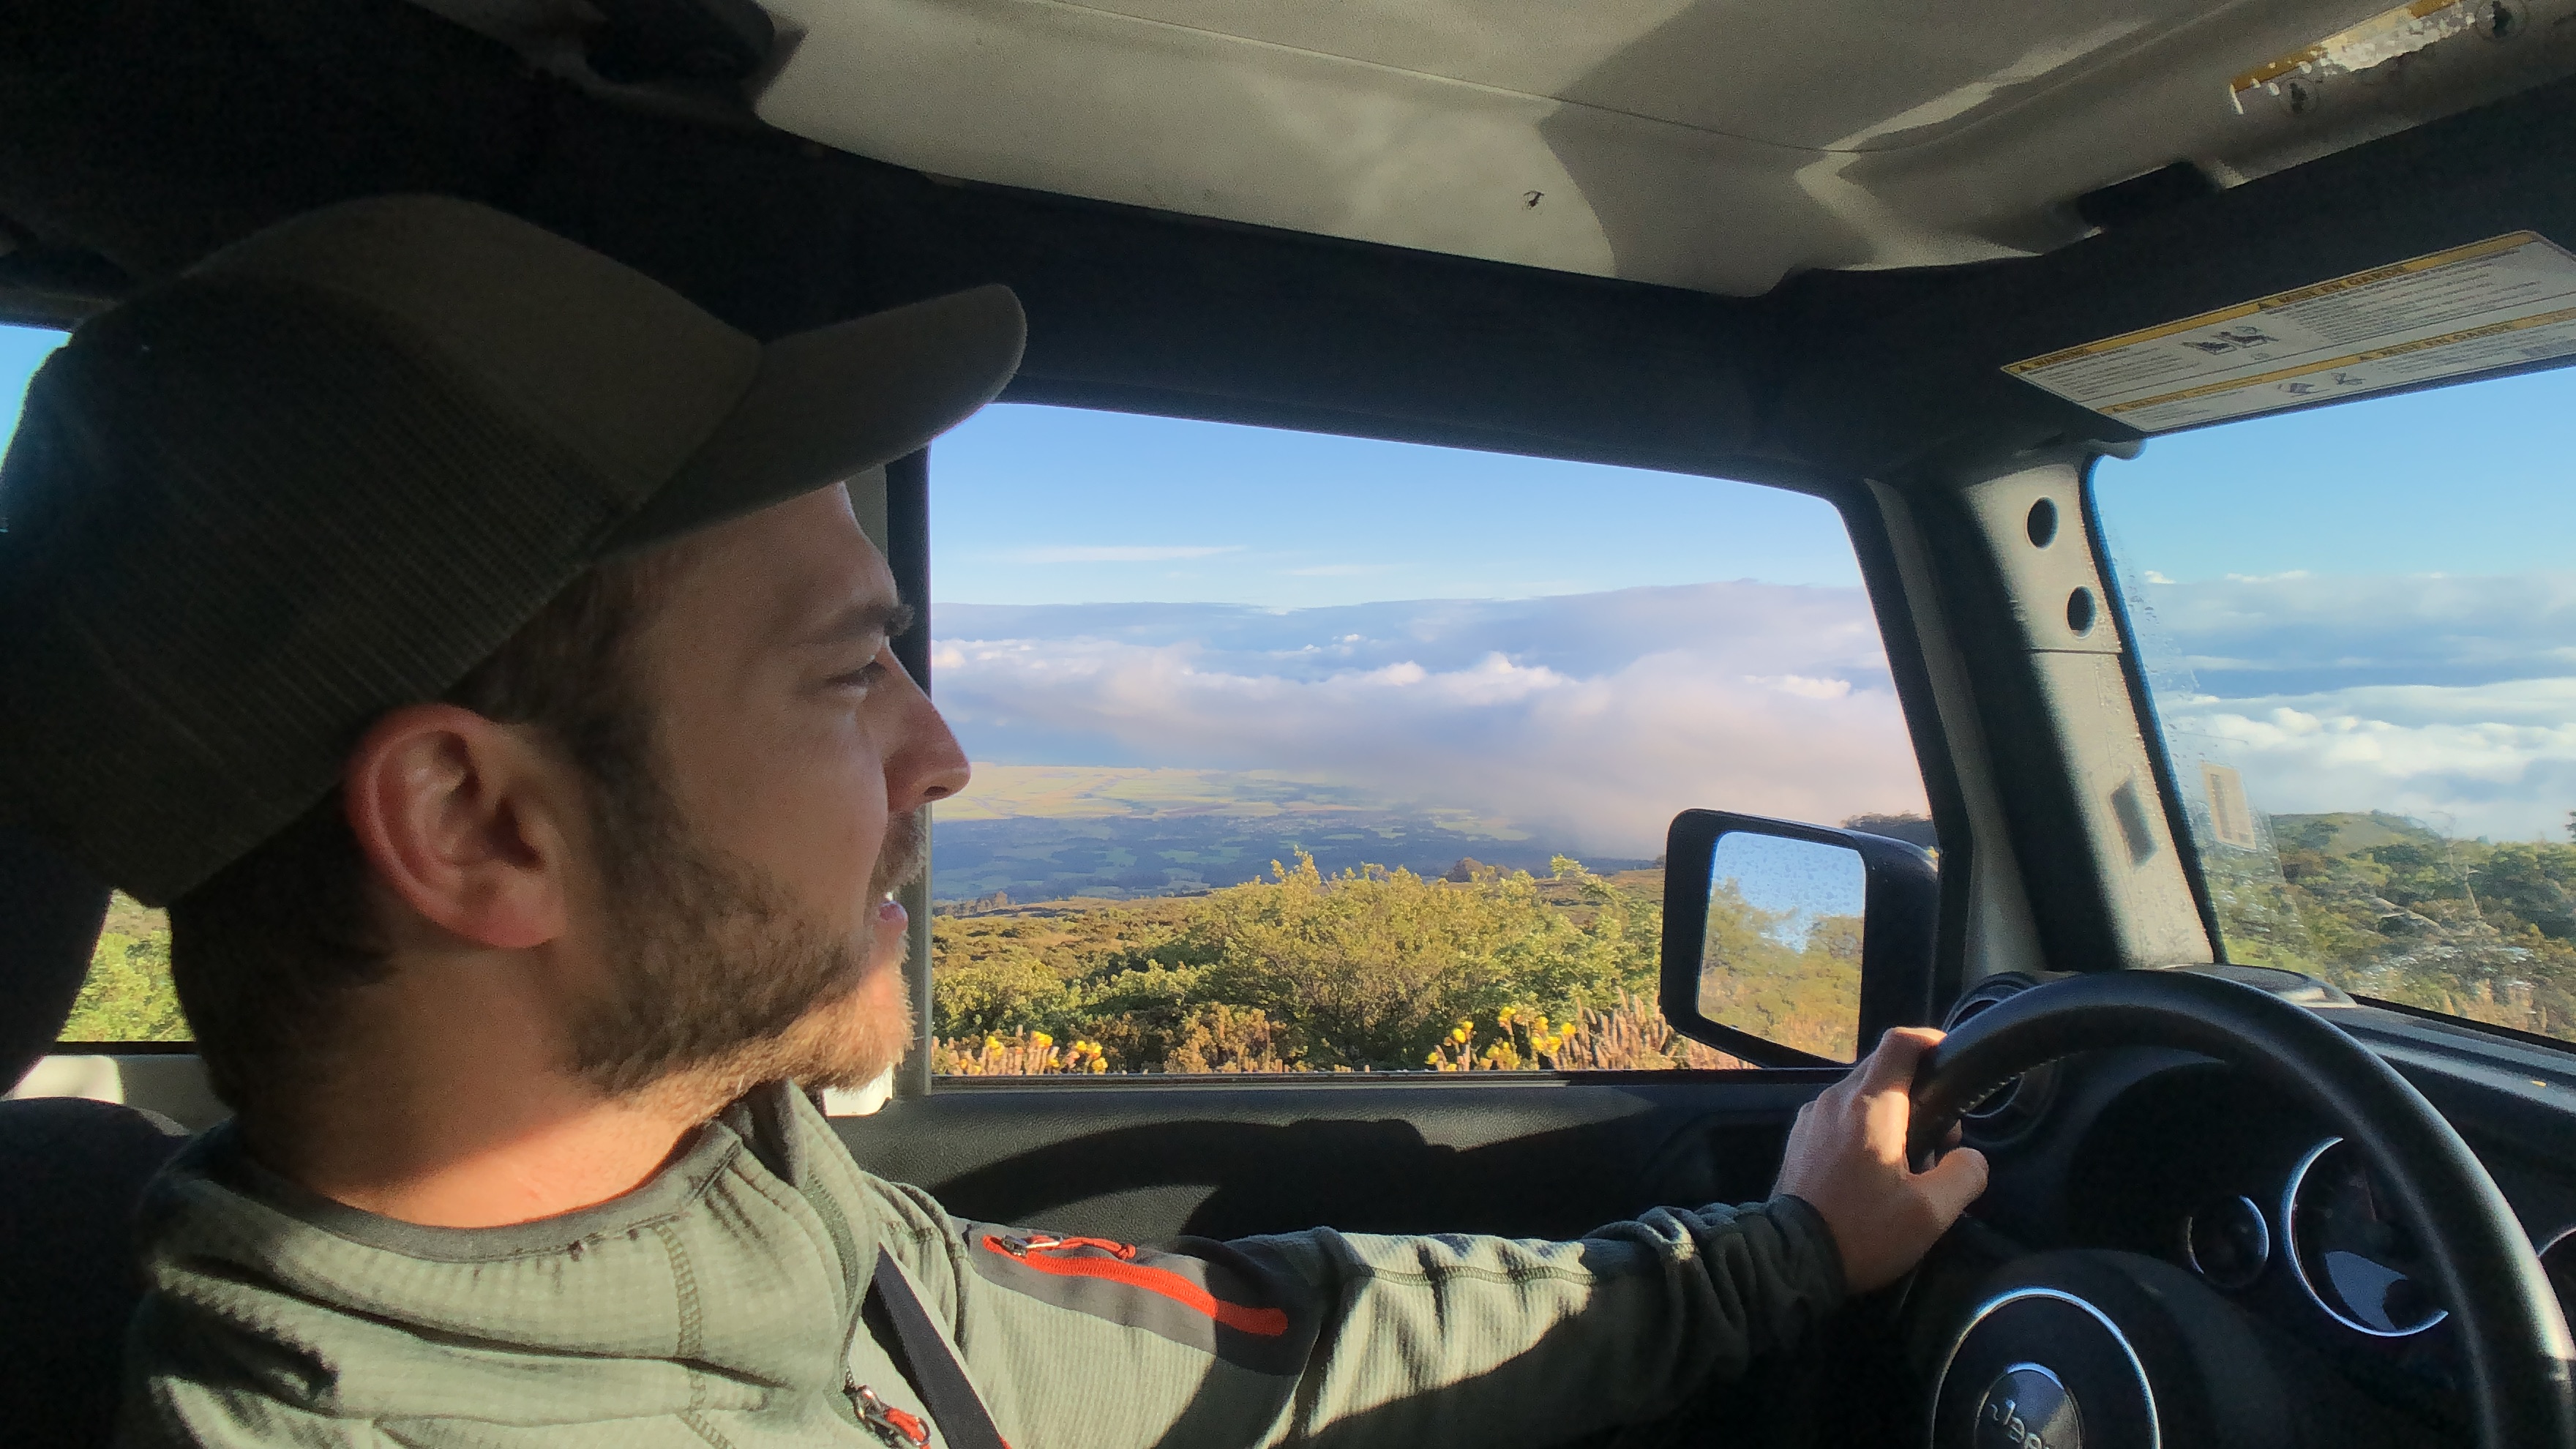
It takes over 2 hours of driving through windy hairpin turns up the mountain (in the dark clouds!) to reach the summit in time to climb up and watch this sunrise. But the most unexpected treat was coming back down afterwards – you can see for miles, and the contrasting layered colors of old lava frozen in time leading down to merge with the mountain tree landscapes which lead into lush tropical jungles that meet with the crystal blue sea, was magical. Like layers in a painting. On top of it all, all of that misty fog reflected a pretty little rainbow for us to enjoy all the way down. If you ever do this, be sure and roll your windows down to smell the fresh fields of lavender and the groves of spruce and plumeria trees on the way down. I don’t know that it always smells that good or if we were just lucky (we were there in May), but the air literally smelled like all of my favorite candles burning at once. What a dream!
ESSENTIAL Tips for Visiting Haleakalā:
You can go at sunrise or sunset (or both if you want!), but sunrise gets very crowded and as a result is more regulated. You MUST have reservations to go! And it’s an undertaking to get there before sunrise. If you decide on the sunrise and don’t already have reservations into the park they can be tricky to get. Here’s how we did it (and other friends I’ve sent this too were successful too!)
- YOU HAVE TO RESERVE TICKETS!!!! They sell out every single day. In minutes or seconds after release. Ideally get your tickets weeks ahead of your trip…that saves you several annoying steps. A limited quantity are available, and are released 60 days ahead of the date, at 7AM (HST), and then more are released 2 days ahead of time, so booking ahead is nice, but you’ll still have to follow the steps below for the most part, just hopefully not while on your trip. If you didn’t do this, skip down to the instructions at the bottom***
- WEAR WARM CLOTHES – it gets down to like 45* and is wet and breezy.
- Make sure you have a full tank of gas the day before (since most of the Maui gas stations …at least on our route aren’t open 24-hours), so you don’t have to coast THE ENTIRE WAY DOWN the mountain gritting your teeth and hoping you make it since there’s no place to safely pull over…Not that we would know what that’s like…
- Depending on where you’re staying, you may need to leave at like 2:00am to get up there in time. We left at 2:30 from Wailea. You want to get there about 1 hour ahead, and hike to the top around 30 min from when sunrise is scheduled to happen (look that up ahead of time).
- When you go back down, roll down your windows to smell the ridiculous air. I don’t know if we just got lucky or if it always smells that amazing, but you can’t miss it. Lavender fields, plumeria’s in bloom, and spruce groves! You could sell it as a candle.
- Eat breakfast at La Provence in Kula – trust me!
*** IF you didn’t reserve tickets ahead, last minute tickets (80 of them) are released daily at 4 pm, for *two days ahead*. Ex: today, you’d be trying to get tickets for the day after tomorrow.
– Go to the National Park website and sign up now so you have a username and all that. If you don’t have an account, you don’t have a great chance of setting one up before tickets are taken from you (even if you get some reserved!) You can access the site by clicking here. You can also use the Recreation.gov app which I HIGHLY recommend for all national park tickets. It always runs more smoothly!
– On the day you’re ready to reserve (for 2 days ahead): Have the account set up. Pull up the website on SAFARI not anything else and log in a few minutes early…Enter all the details ahead of time and be ready to refresh EXACTLY at 7am (HST)…be sure and check time zones to know what that equates to where you are.

Regardless of what you do, where you go, or how much (or little!) you plan, you’re bound to LOVE Maui. I truly can’t imagine how anyone wouldn’t be utterly obsessed with it. If you have any “must see” or “must do” or “must eat” things that aren’t in here, please let me know! I would love to know what we should do/see/eat the next time we are there. I hope all of this is helpful for anyone headed to Maui. I am positive we will make it back there one of these days. It is truly an unforgettable place. Mahalo!